
So there is a brief bit of history behind this recipe’s origination. Basically about 2 years ago a certain well known Piri Piri chicken chain changed their loyalty cards and refused to accept the two I had diligently been collecting stamps for – despite the fact they were completed and I was eagerly anticipating two, whole, juicy, spicy and most importantly FREE chickens. Thanks to this crappy customer service, in a fit of (pathetic) rage I decided to boycott said restaurant chain and invent my own Piri Piri chicken recipe to get me over my frequent cravings.
Thus began many hours of sad, sad research into Piri Piri preparation. And not just Piri recipes – I looked at all sorts of spicy chicken recipes from american bbq to indian curried, in my quest to invent what I believe to be the ultimate in Piri Piri chicken. This isn’t a purists Piri chicken – I’ve added a few elements and steps that you wouldn’t find a your average, bog standard Piri recipe – But it is better! This is, what I hope, a Piri Piri recipe would look like if it evolved towards self awareness.
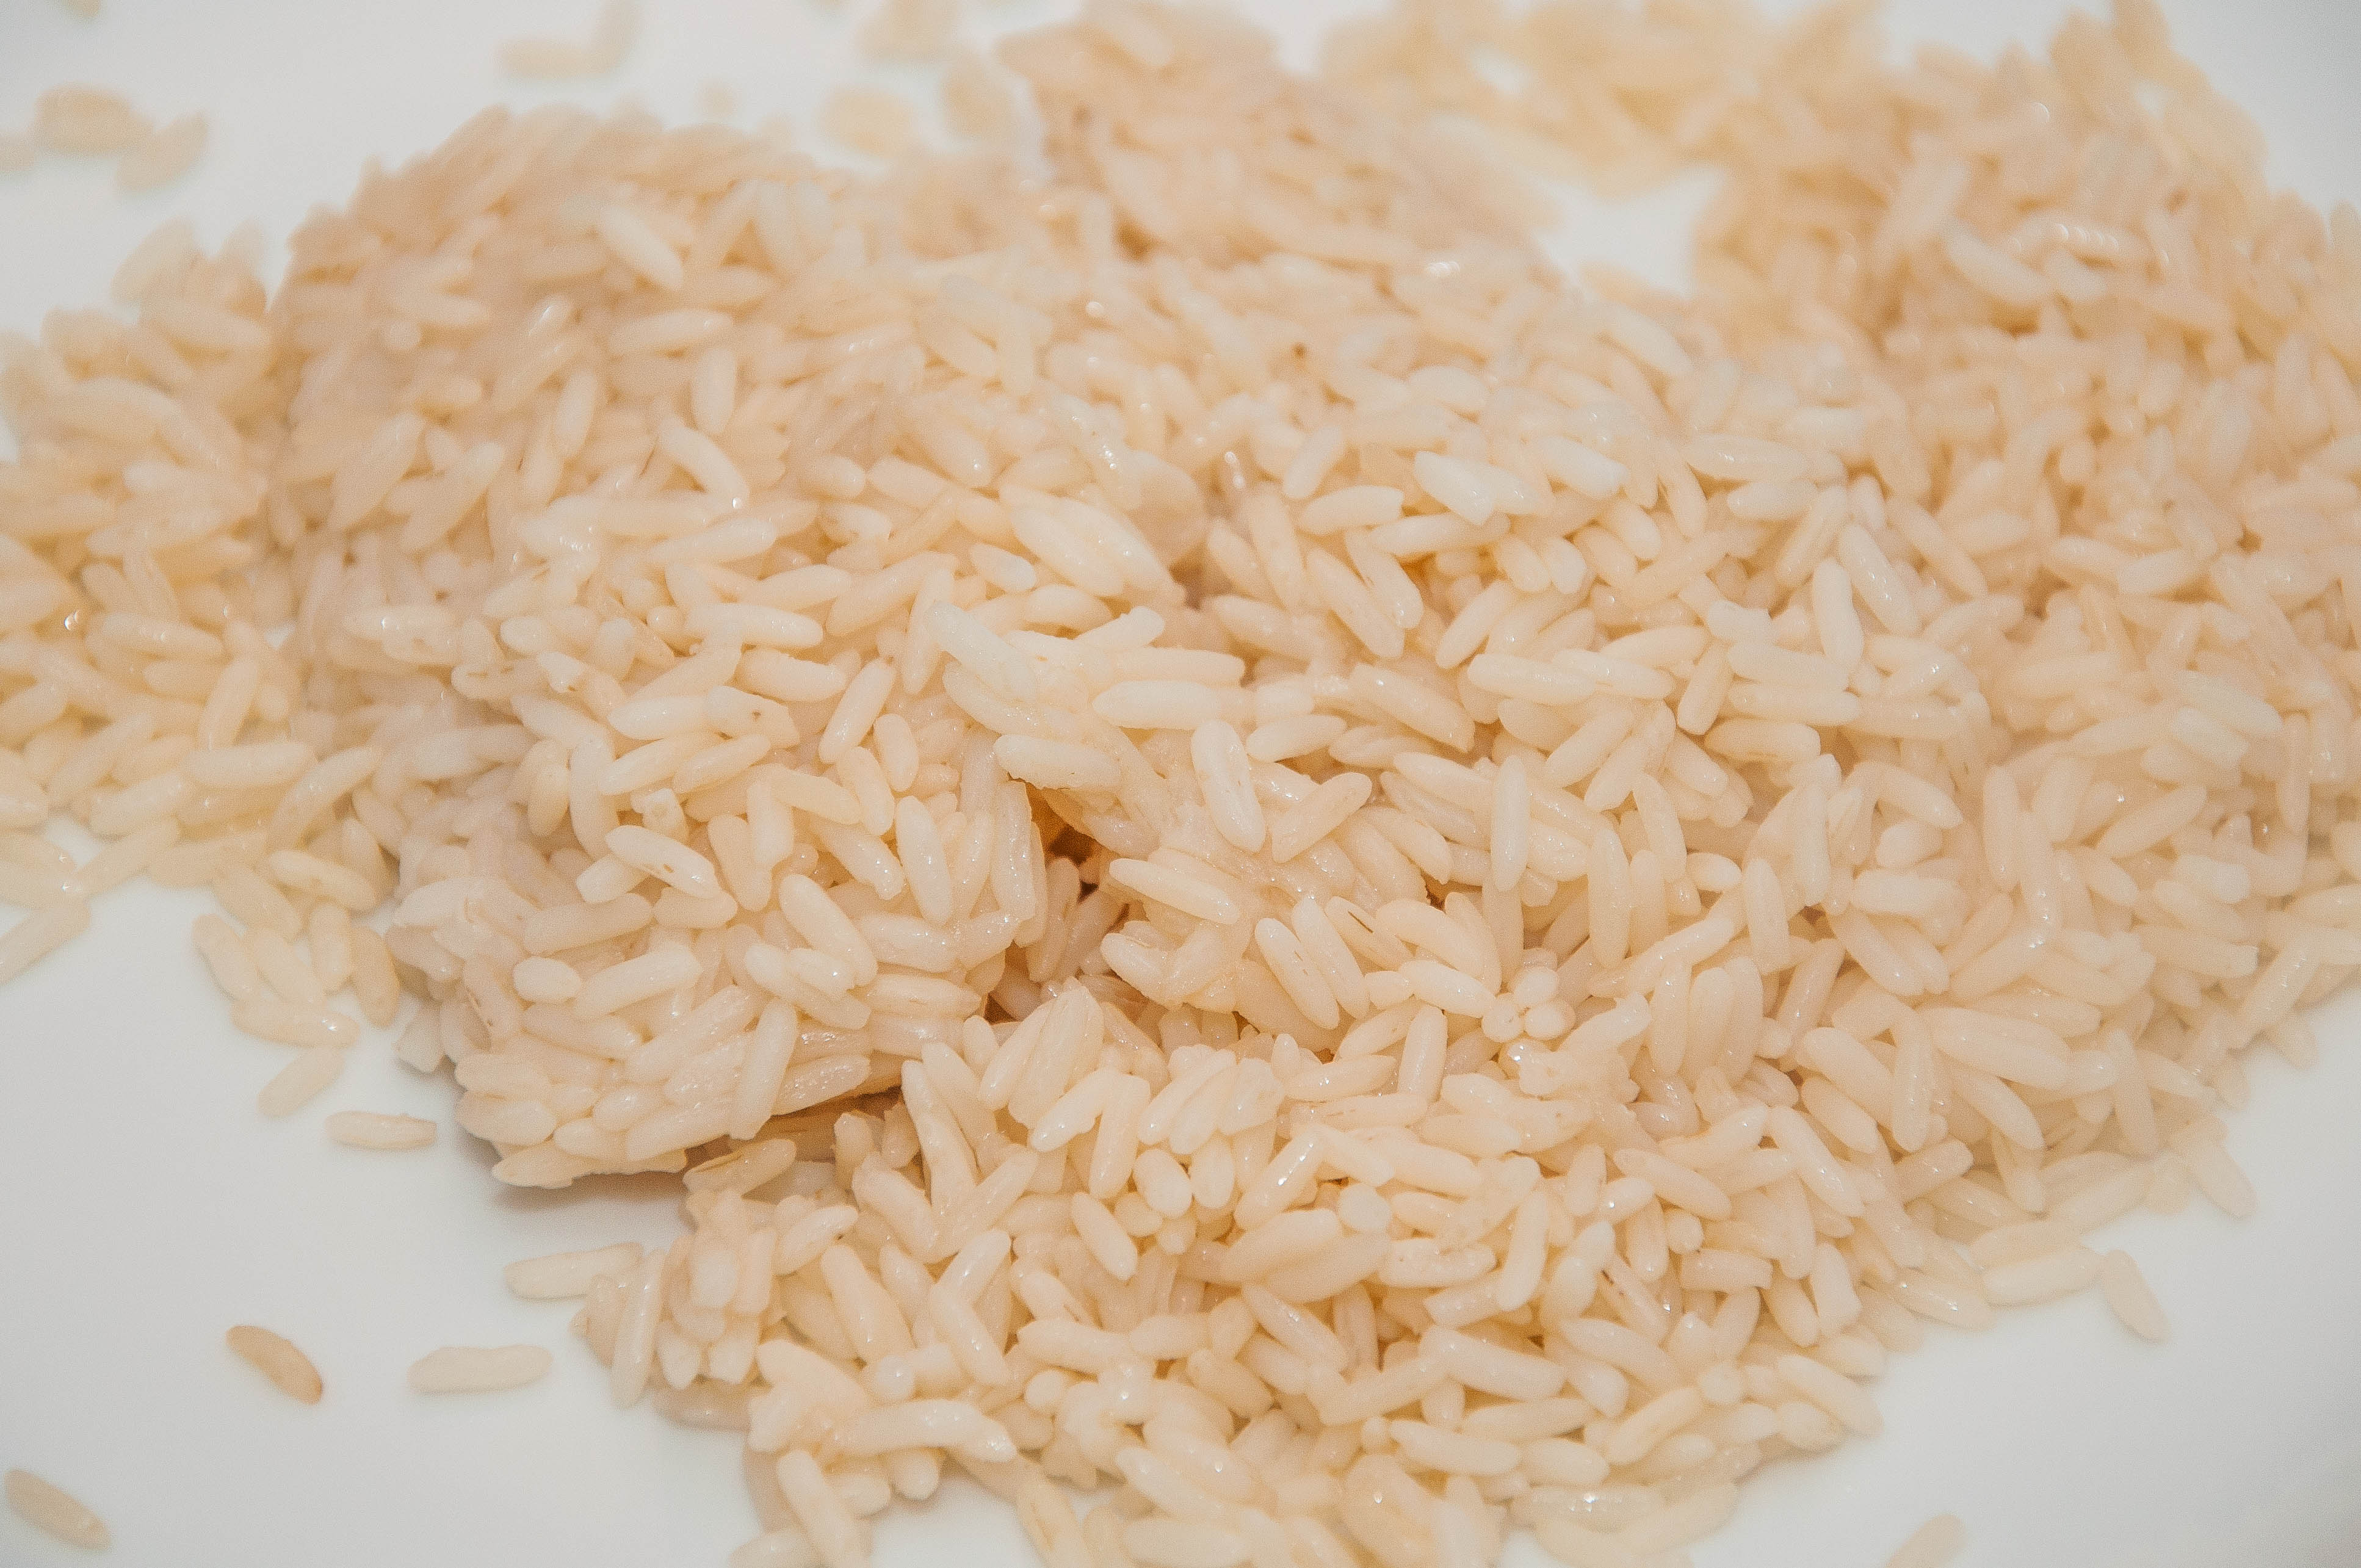
I’ll admit that this recipe does require a smidgeon more effort than popping down to your local high street food chain… BUT it is so worth it. The extra effort is minimal – all thats required is a small amount of pre-planning and effort in order to prepare the dry rub salt cure for the chicken and cook some rice about a day before hand. This dry rub may seem like a lot of needless prep, but the extra juicy, moistness and booming flavour it adds to the meat is astounding. Dry rubs essentially work by using the salt/sugar to draw out the water in the meat, allowing it to mingle with the flavours in the cure, before, through a process of osmosis, all the surrounding moisture is drawn back into the meat. And just like that – BOOM – your meat becomes juicy flavour central. Then with an extra short marinade for good measure this recipe packs a hot, spicy, sweet, sticky wallop of Piri Piri awesomeness.

INGREDIENTS
For the chicken dry cure rub
- salt and freshly ground black pepper
- 4 chopped and crushed garlic cloves
- 2 tbsp. fresh rosemary leaves
- 2 tbsp. fresh oregano leaves
- 2 tbsp smoked paprika
- 4 tsp. rock salt
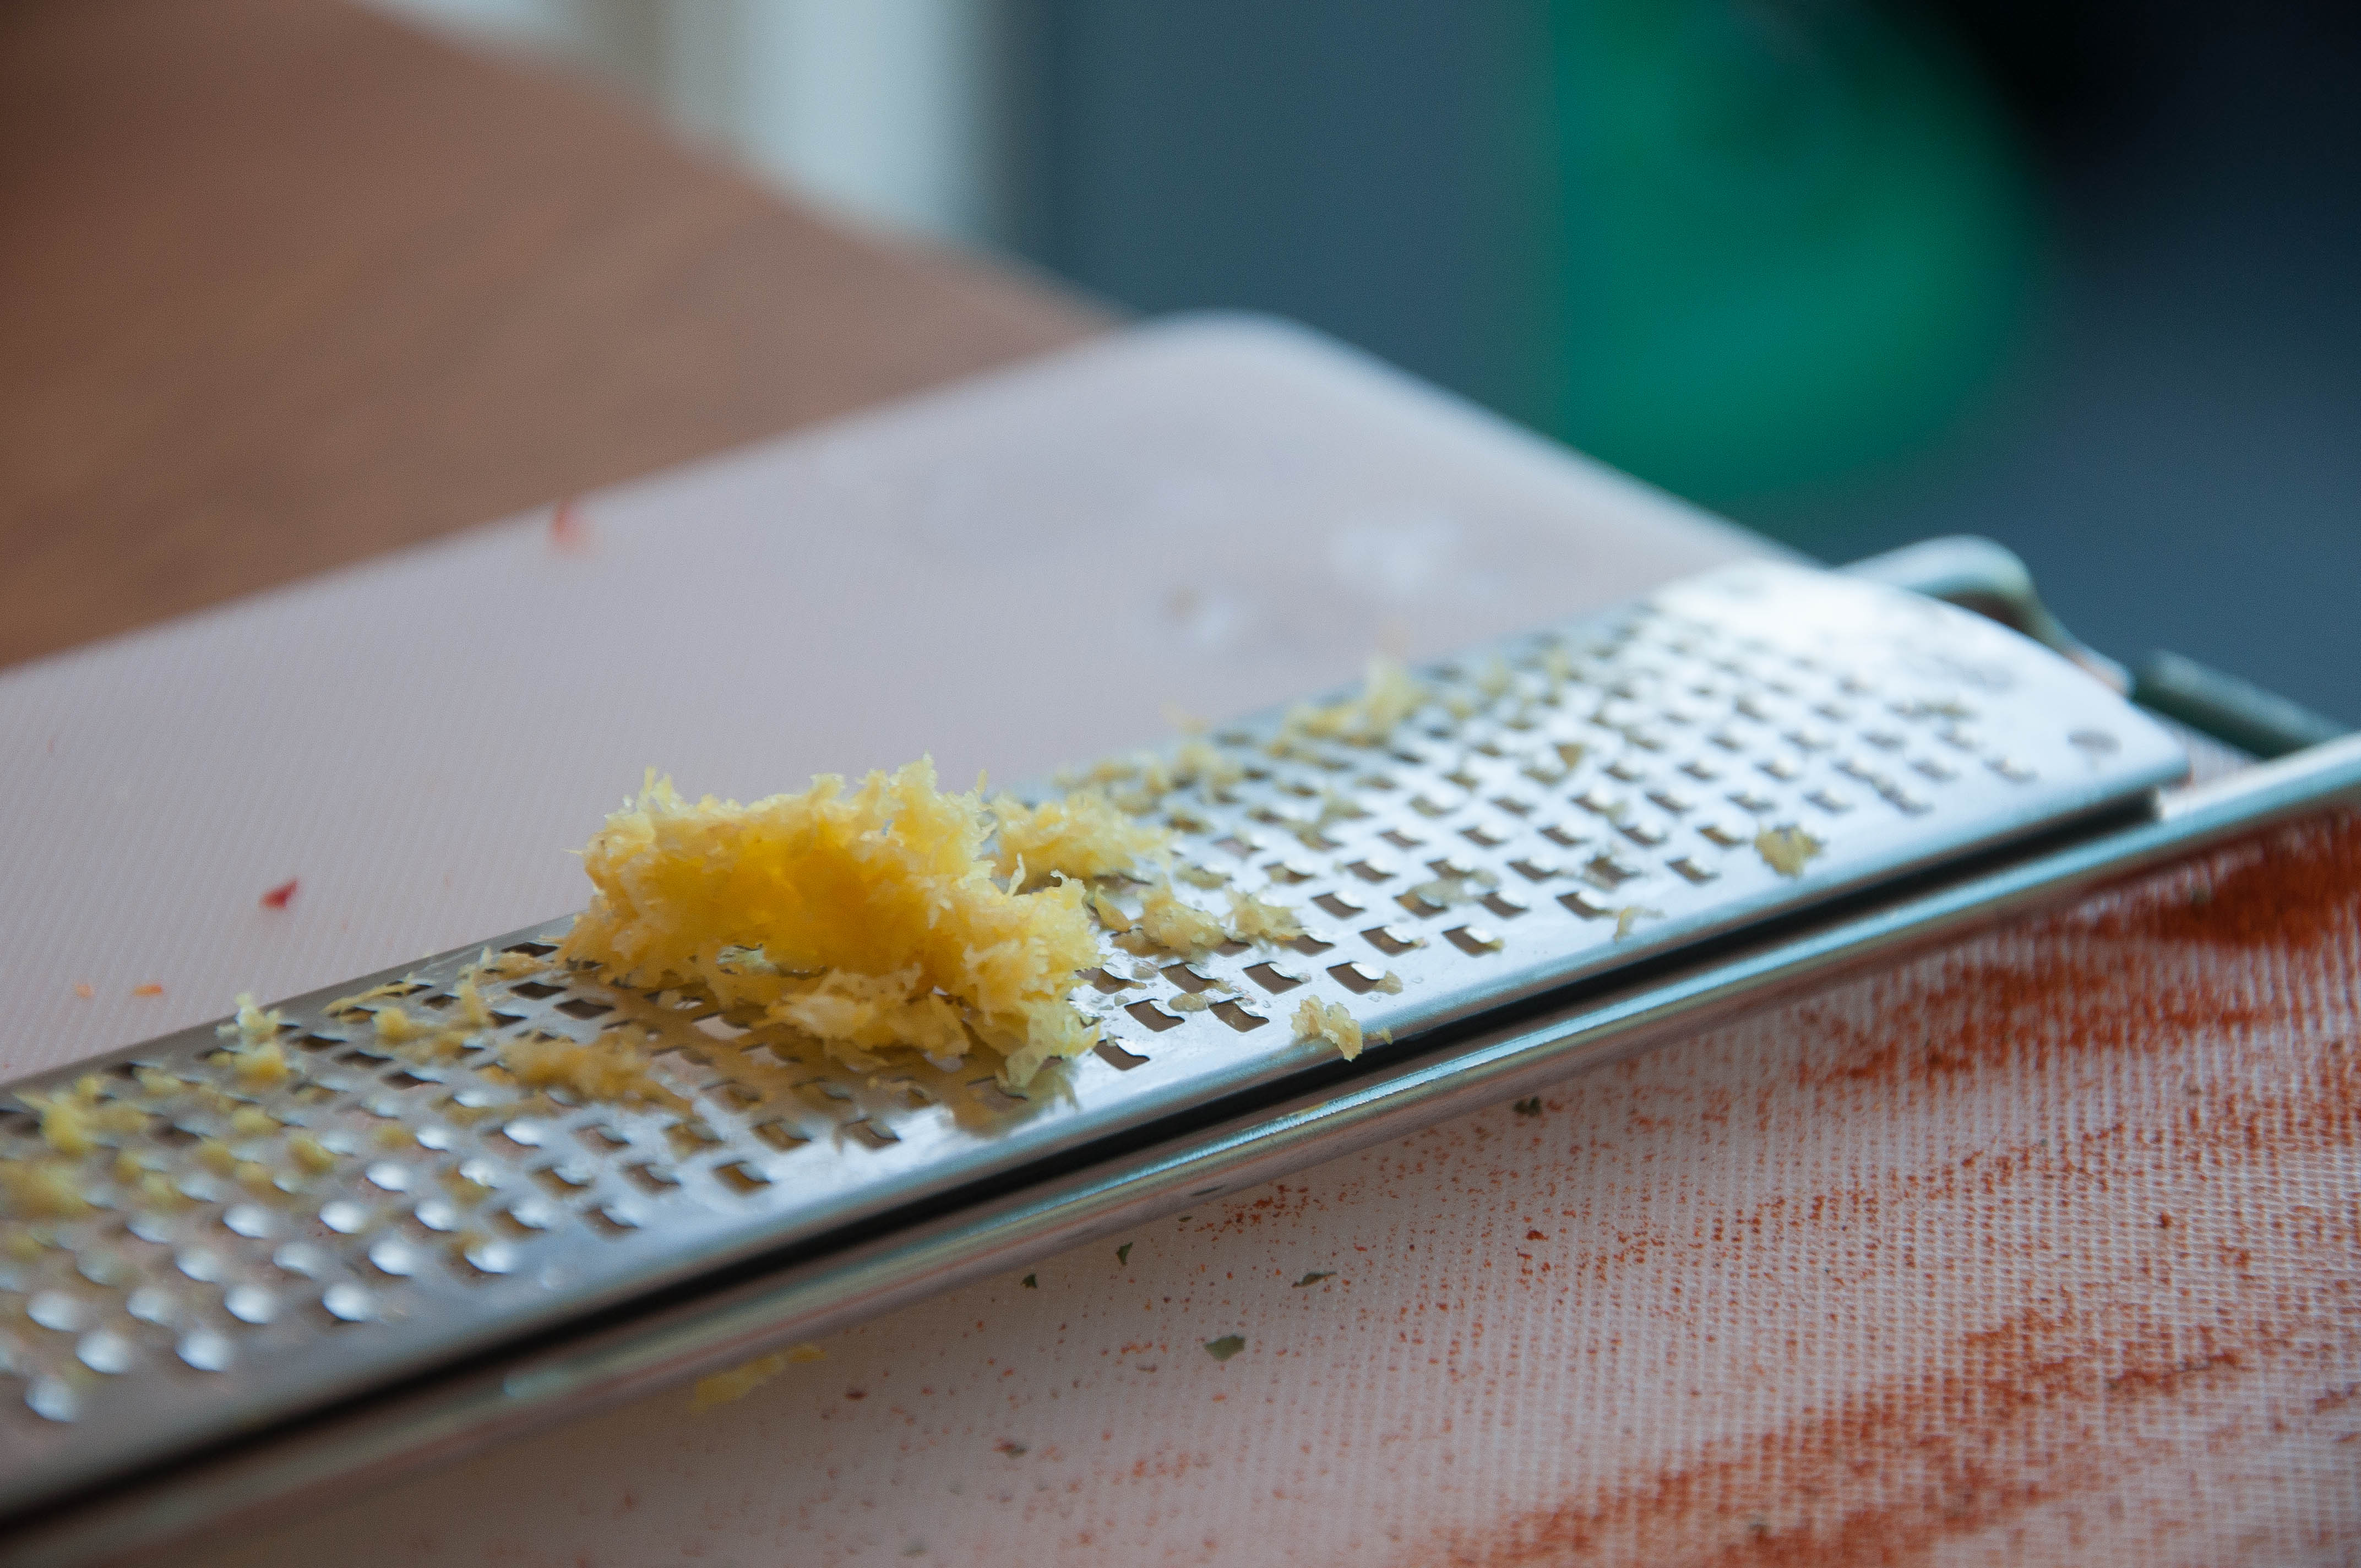
- 1 Tbsp. finely grated lemon zest
- 10 sprigs lemon thyme
- 2 tsp. light brown sugar
For the chicken
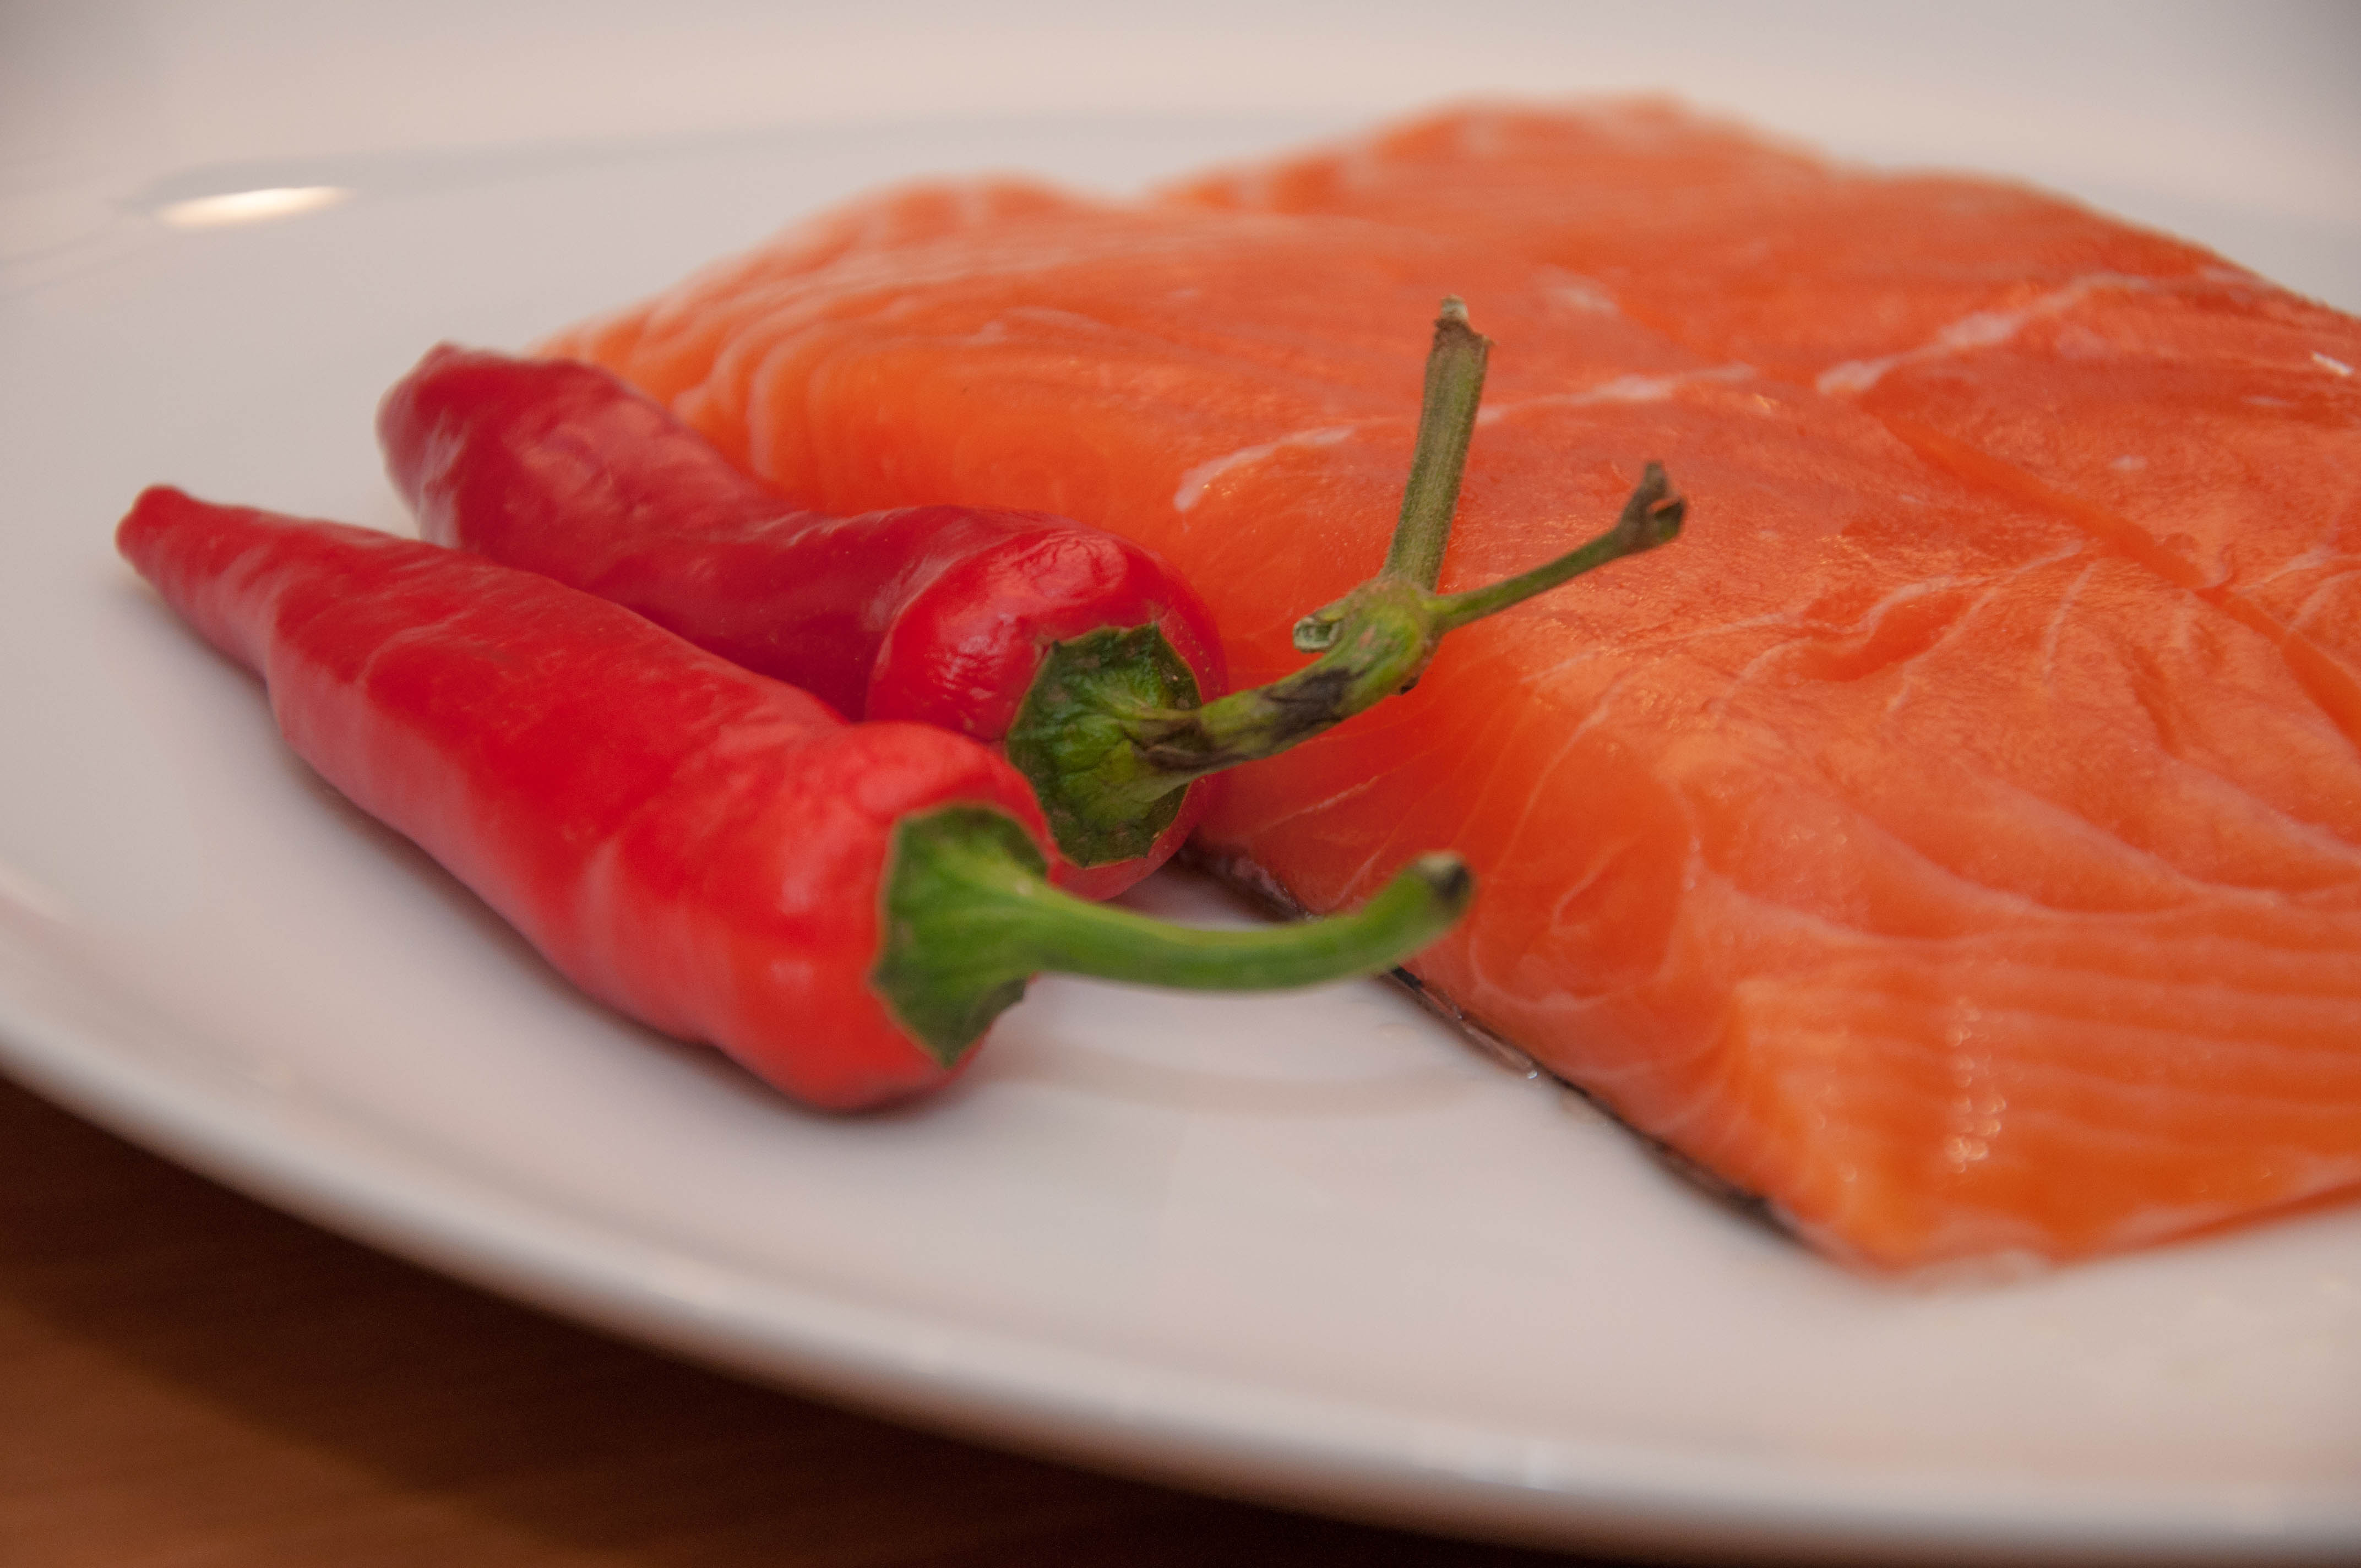
- 2kg/4½lb whole free range/organic chicken
- salt and freshly ground black pepper
- 150ml/5fl chicken stock
- 250 ml/5fl red wine
- 250ml/5fl Cider
- 3 red onions
For the peri peri sauce
- 4 garlic cloves
- 5 red chillies
- 2 Birds Eye Chilli
- 2 tbsp of tomato puree
- 2cm/1in piece of ginger, grated
- 50ml/2fl oz vegetable oil
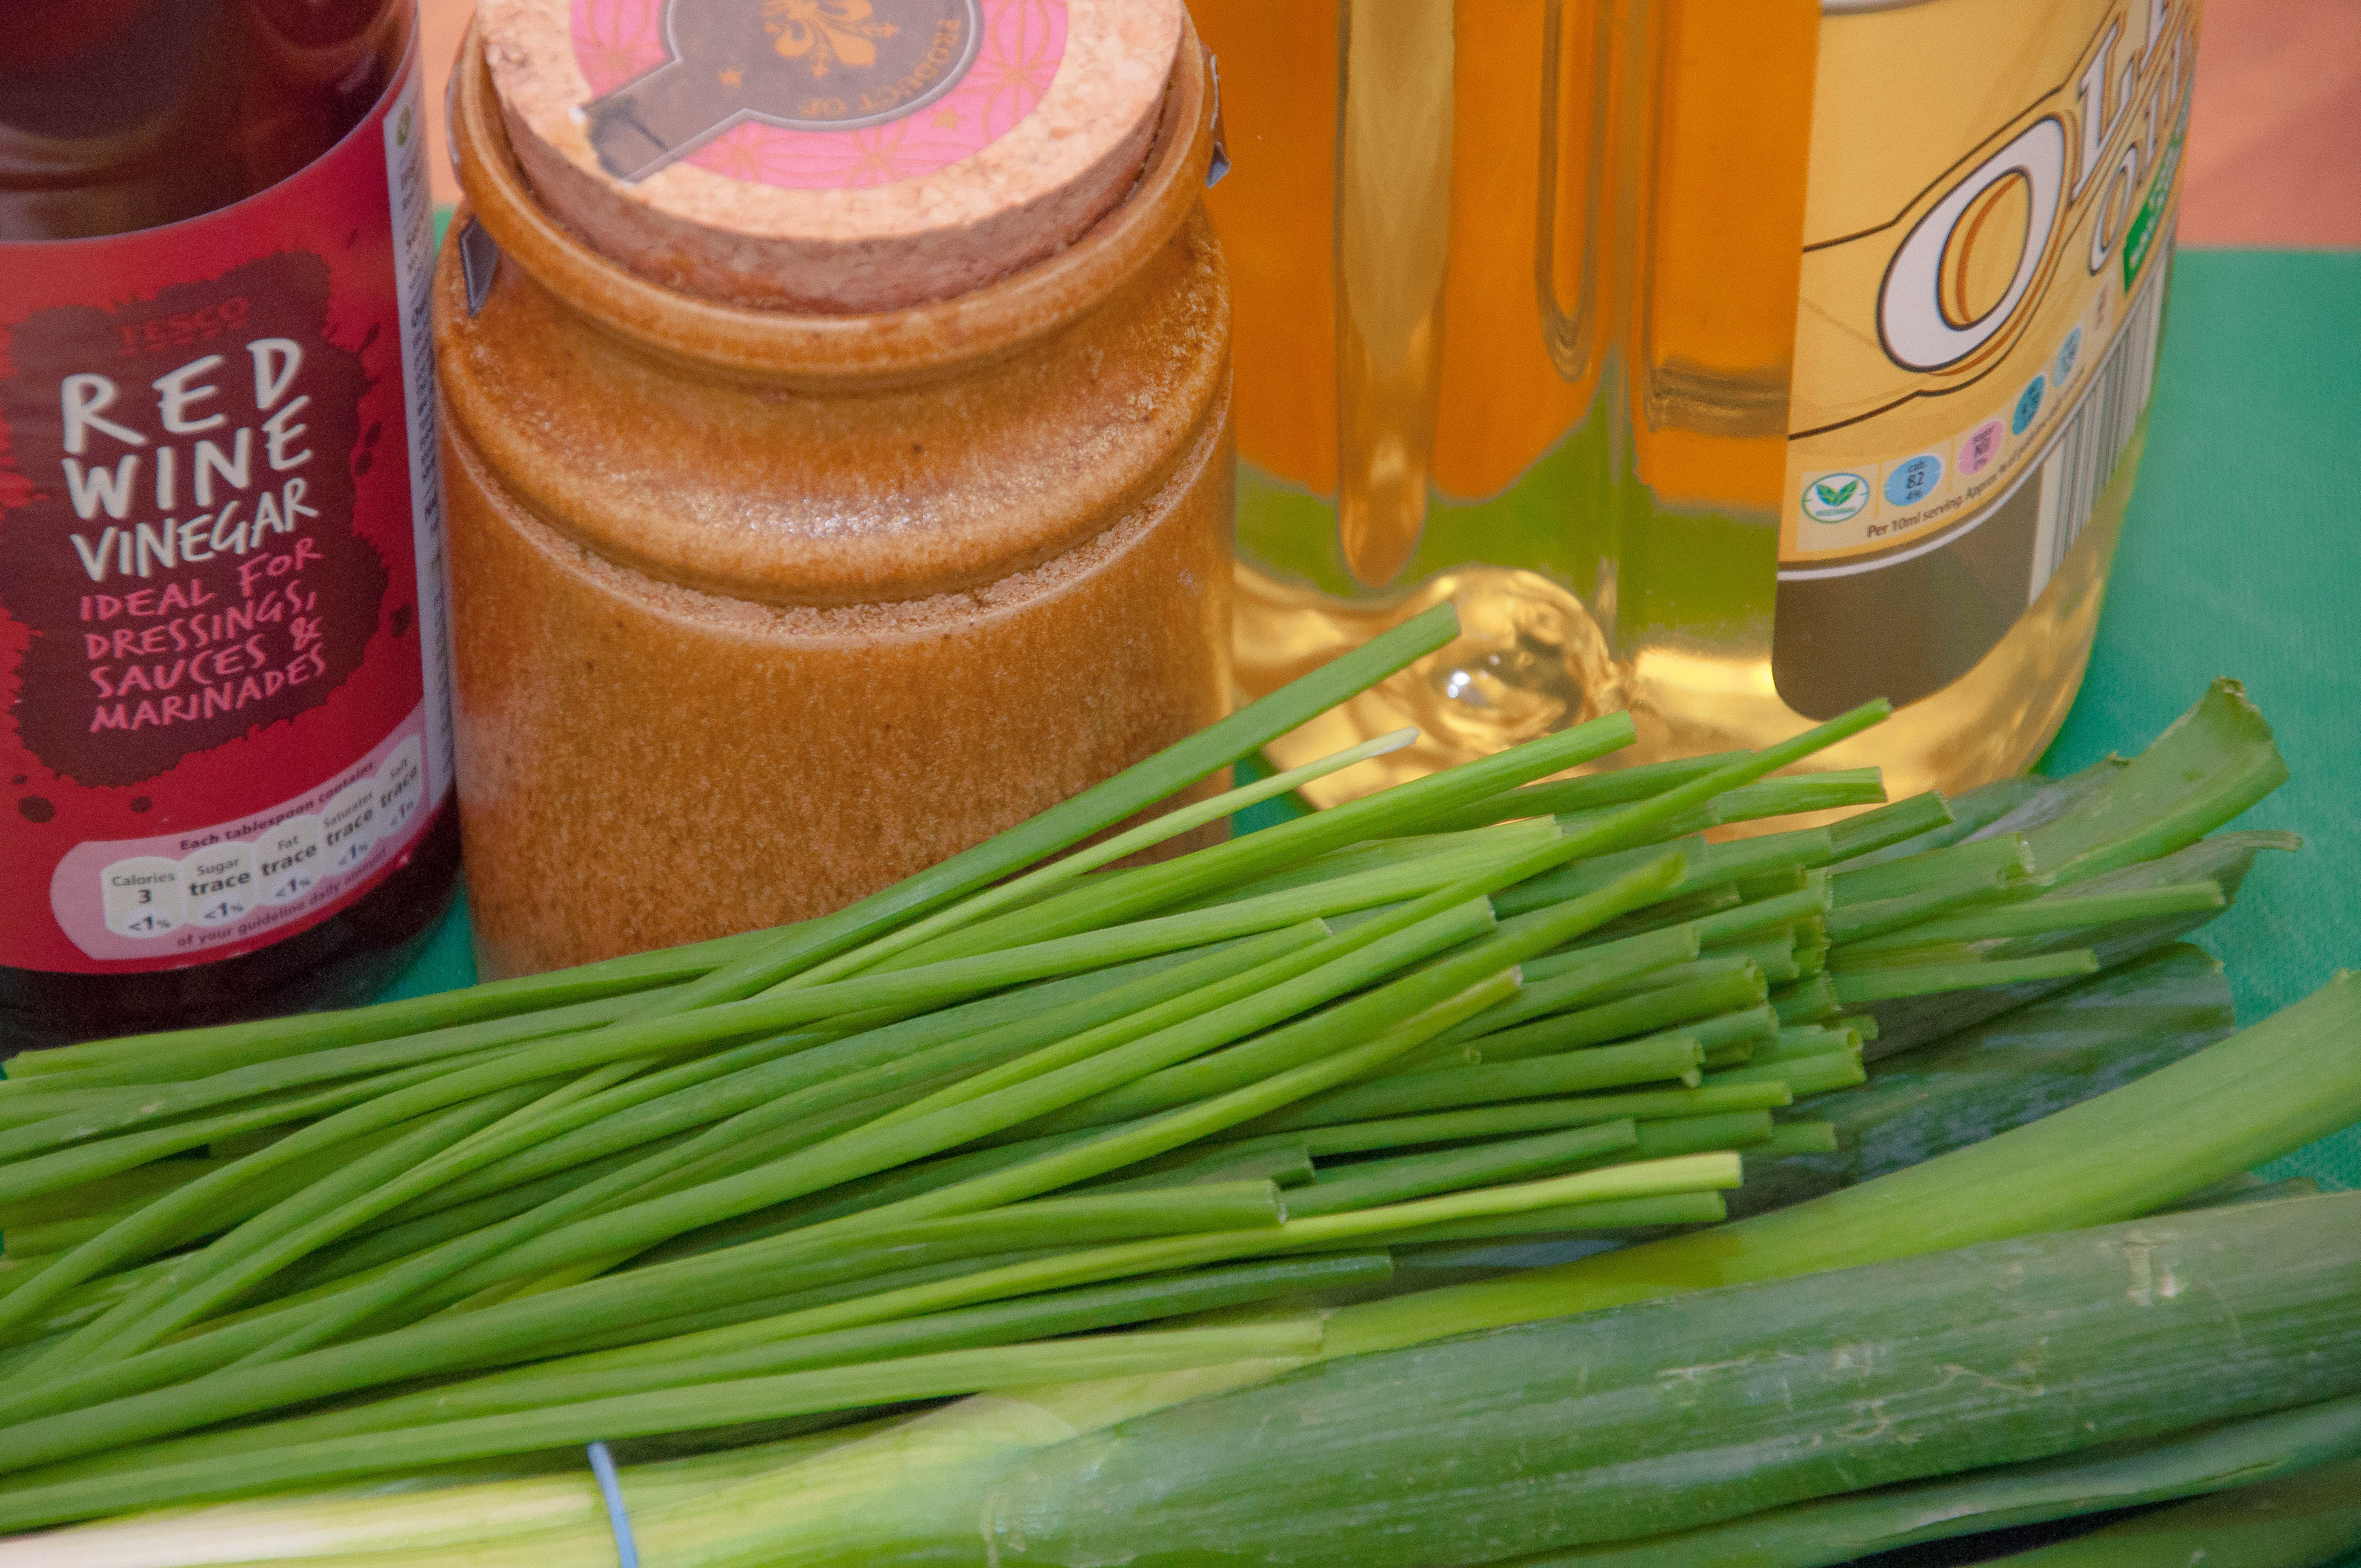
- 25ml/1 fl oz white or red wine vinegar
- 250ml/5fl Cider
- 3 tbsp soy sauce
- 1-2 tbsp hot Tabasco
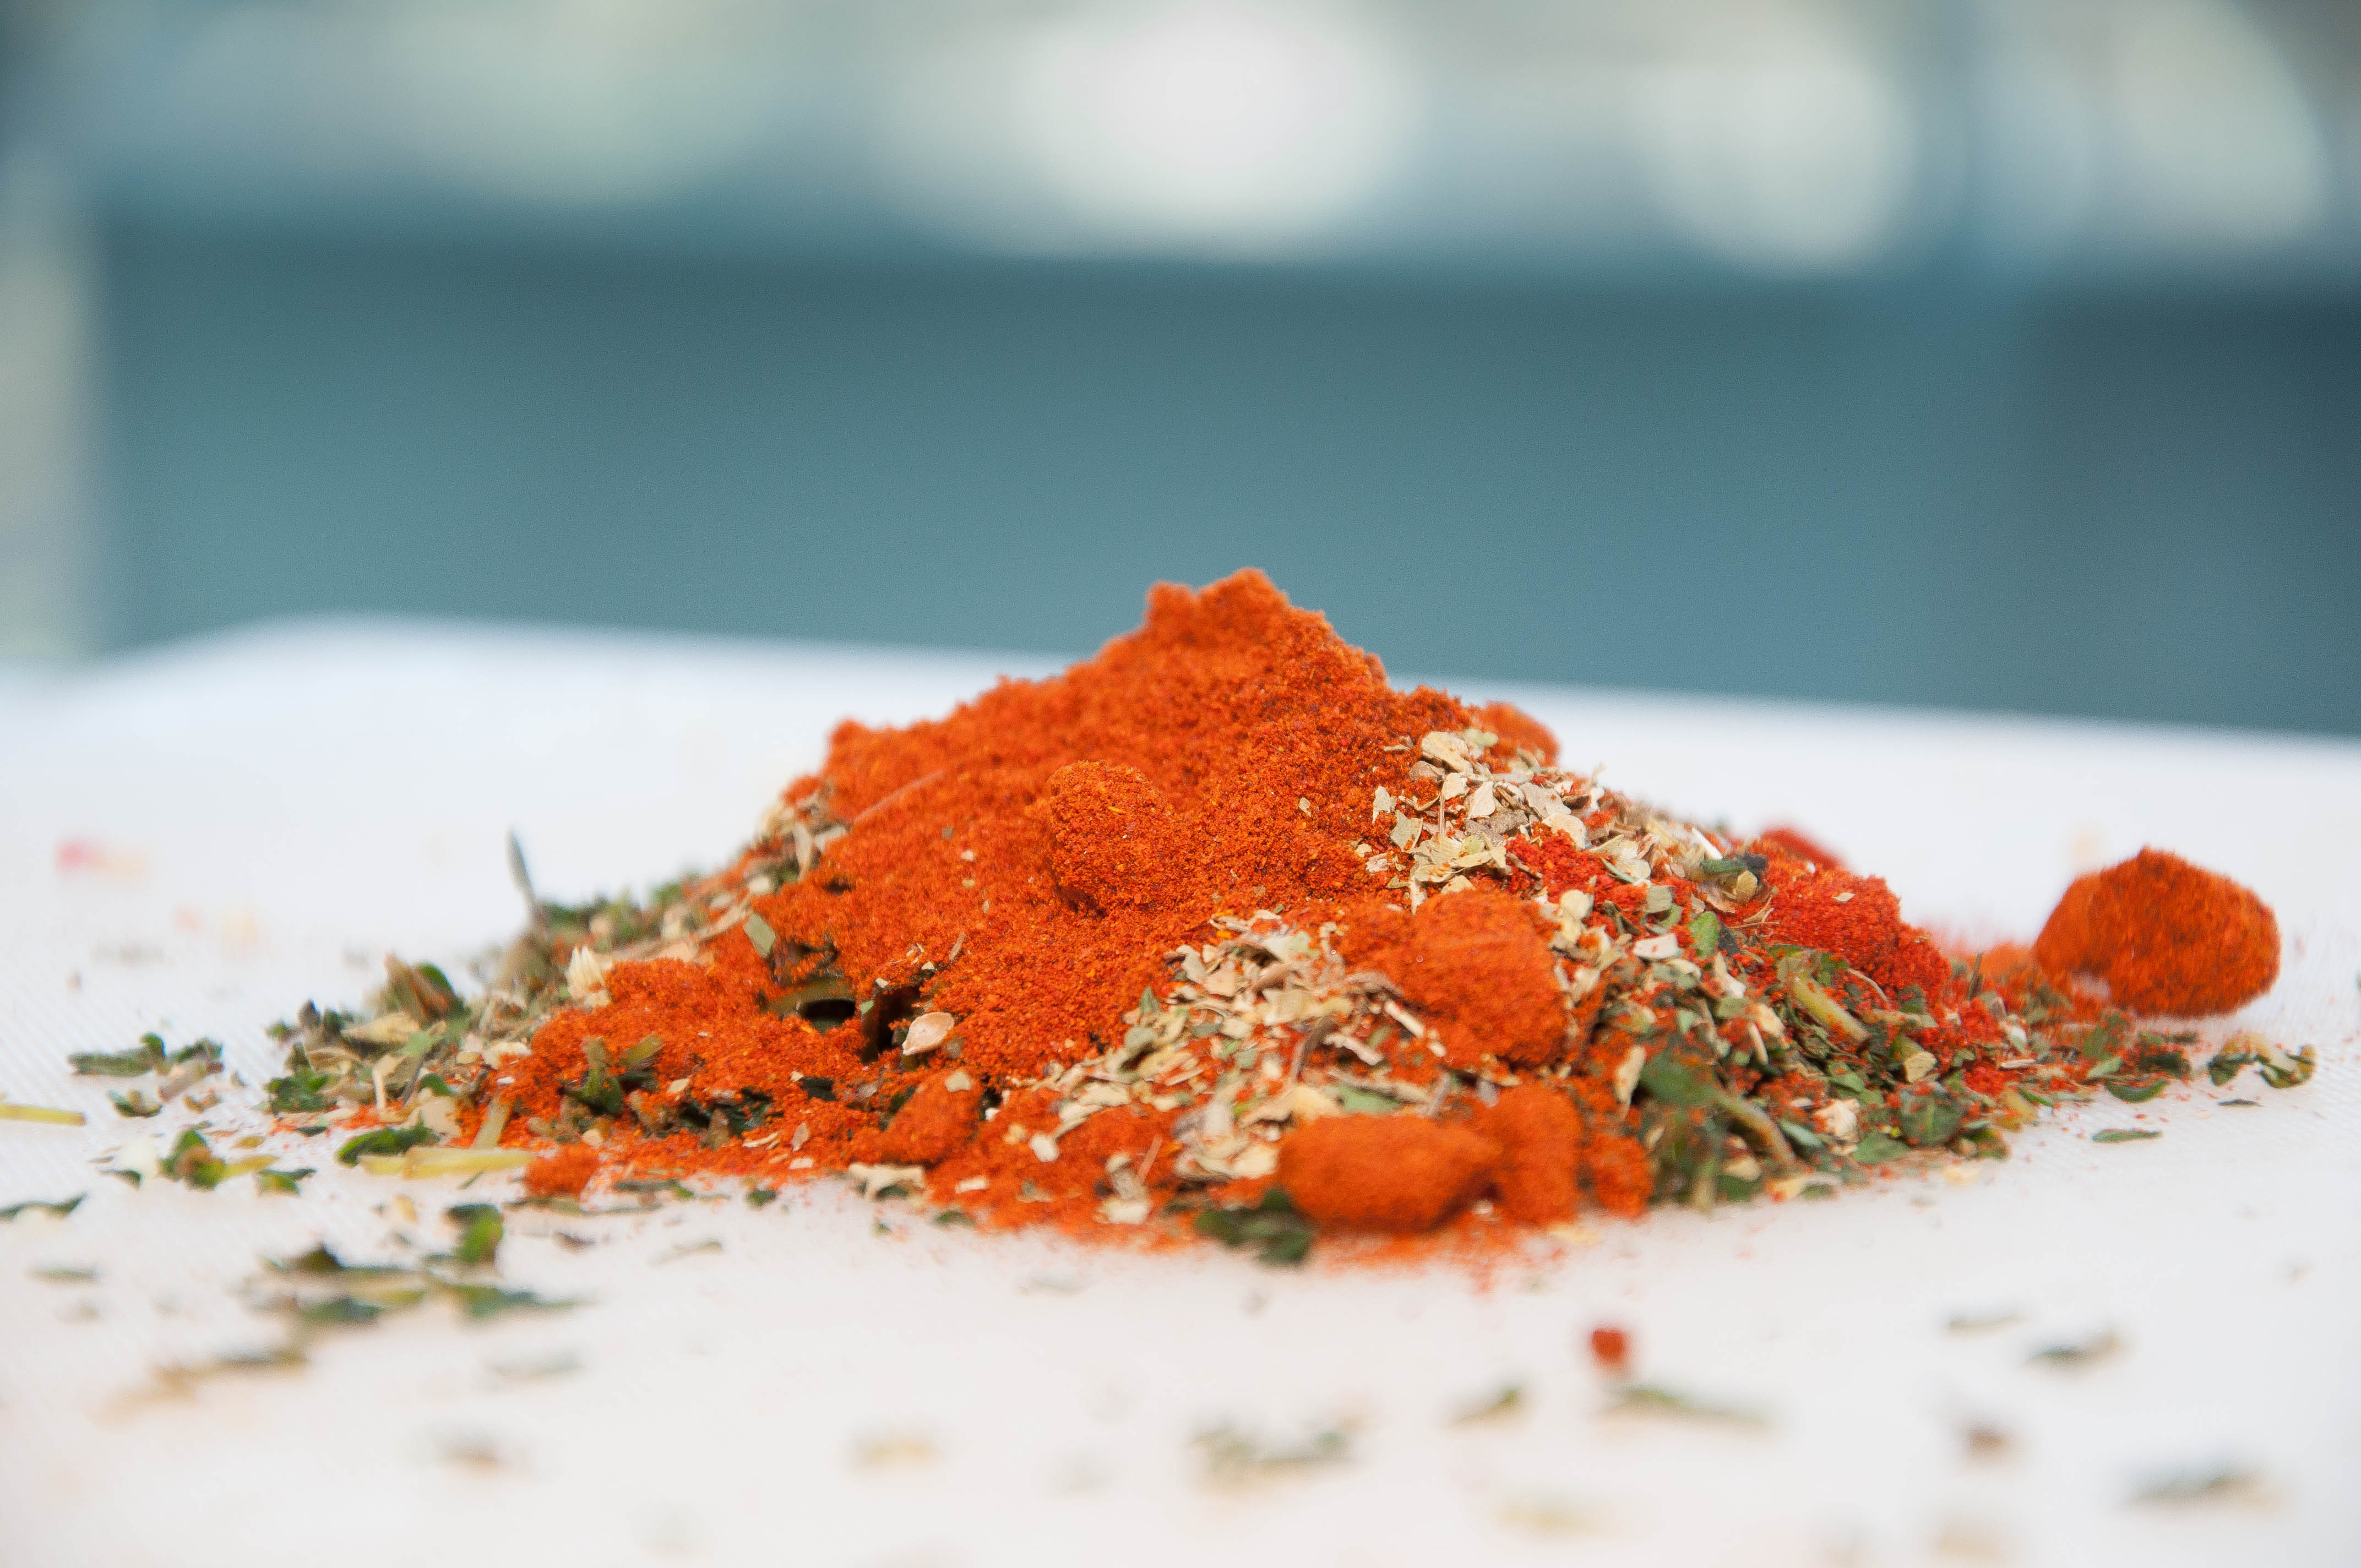
- 2 tbsp smoked paprika
- 1 tbsp chilli powder
- 3 tsp dried oregano
- 1 tbsp chopped lemon thyme
- 1 tsp caster sugar
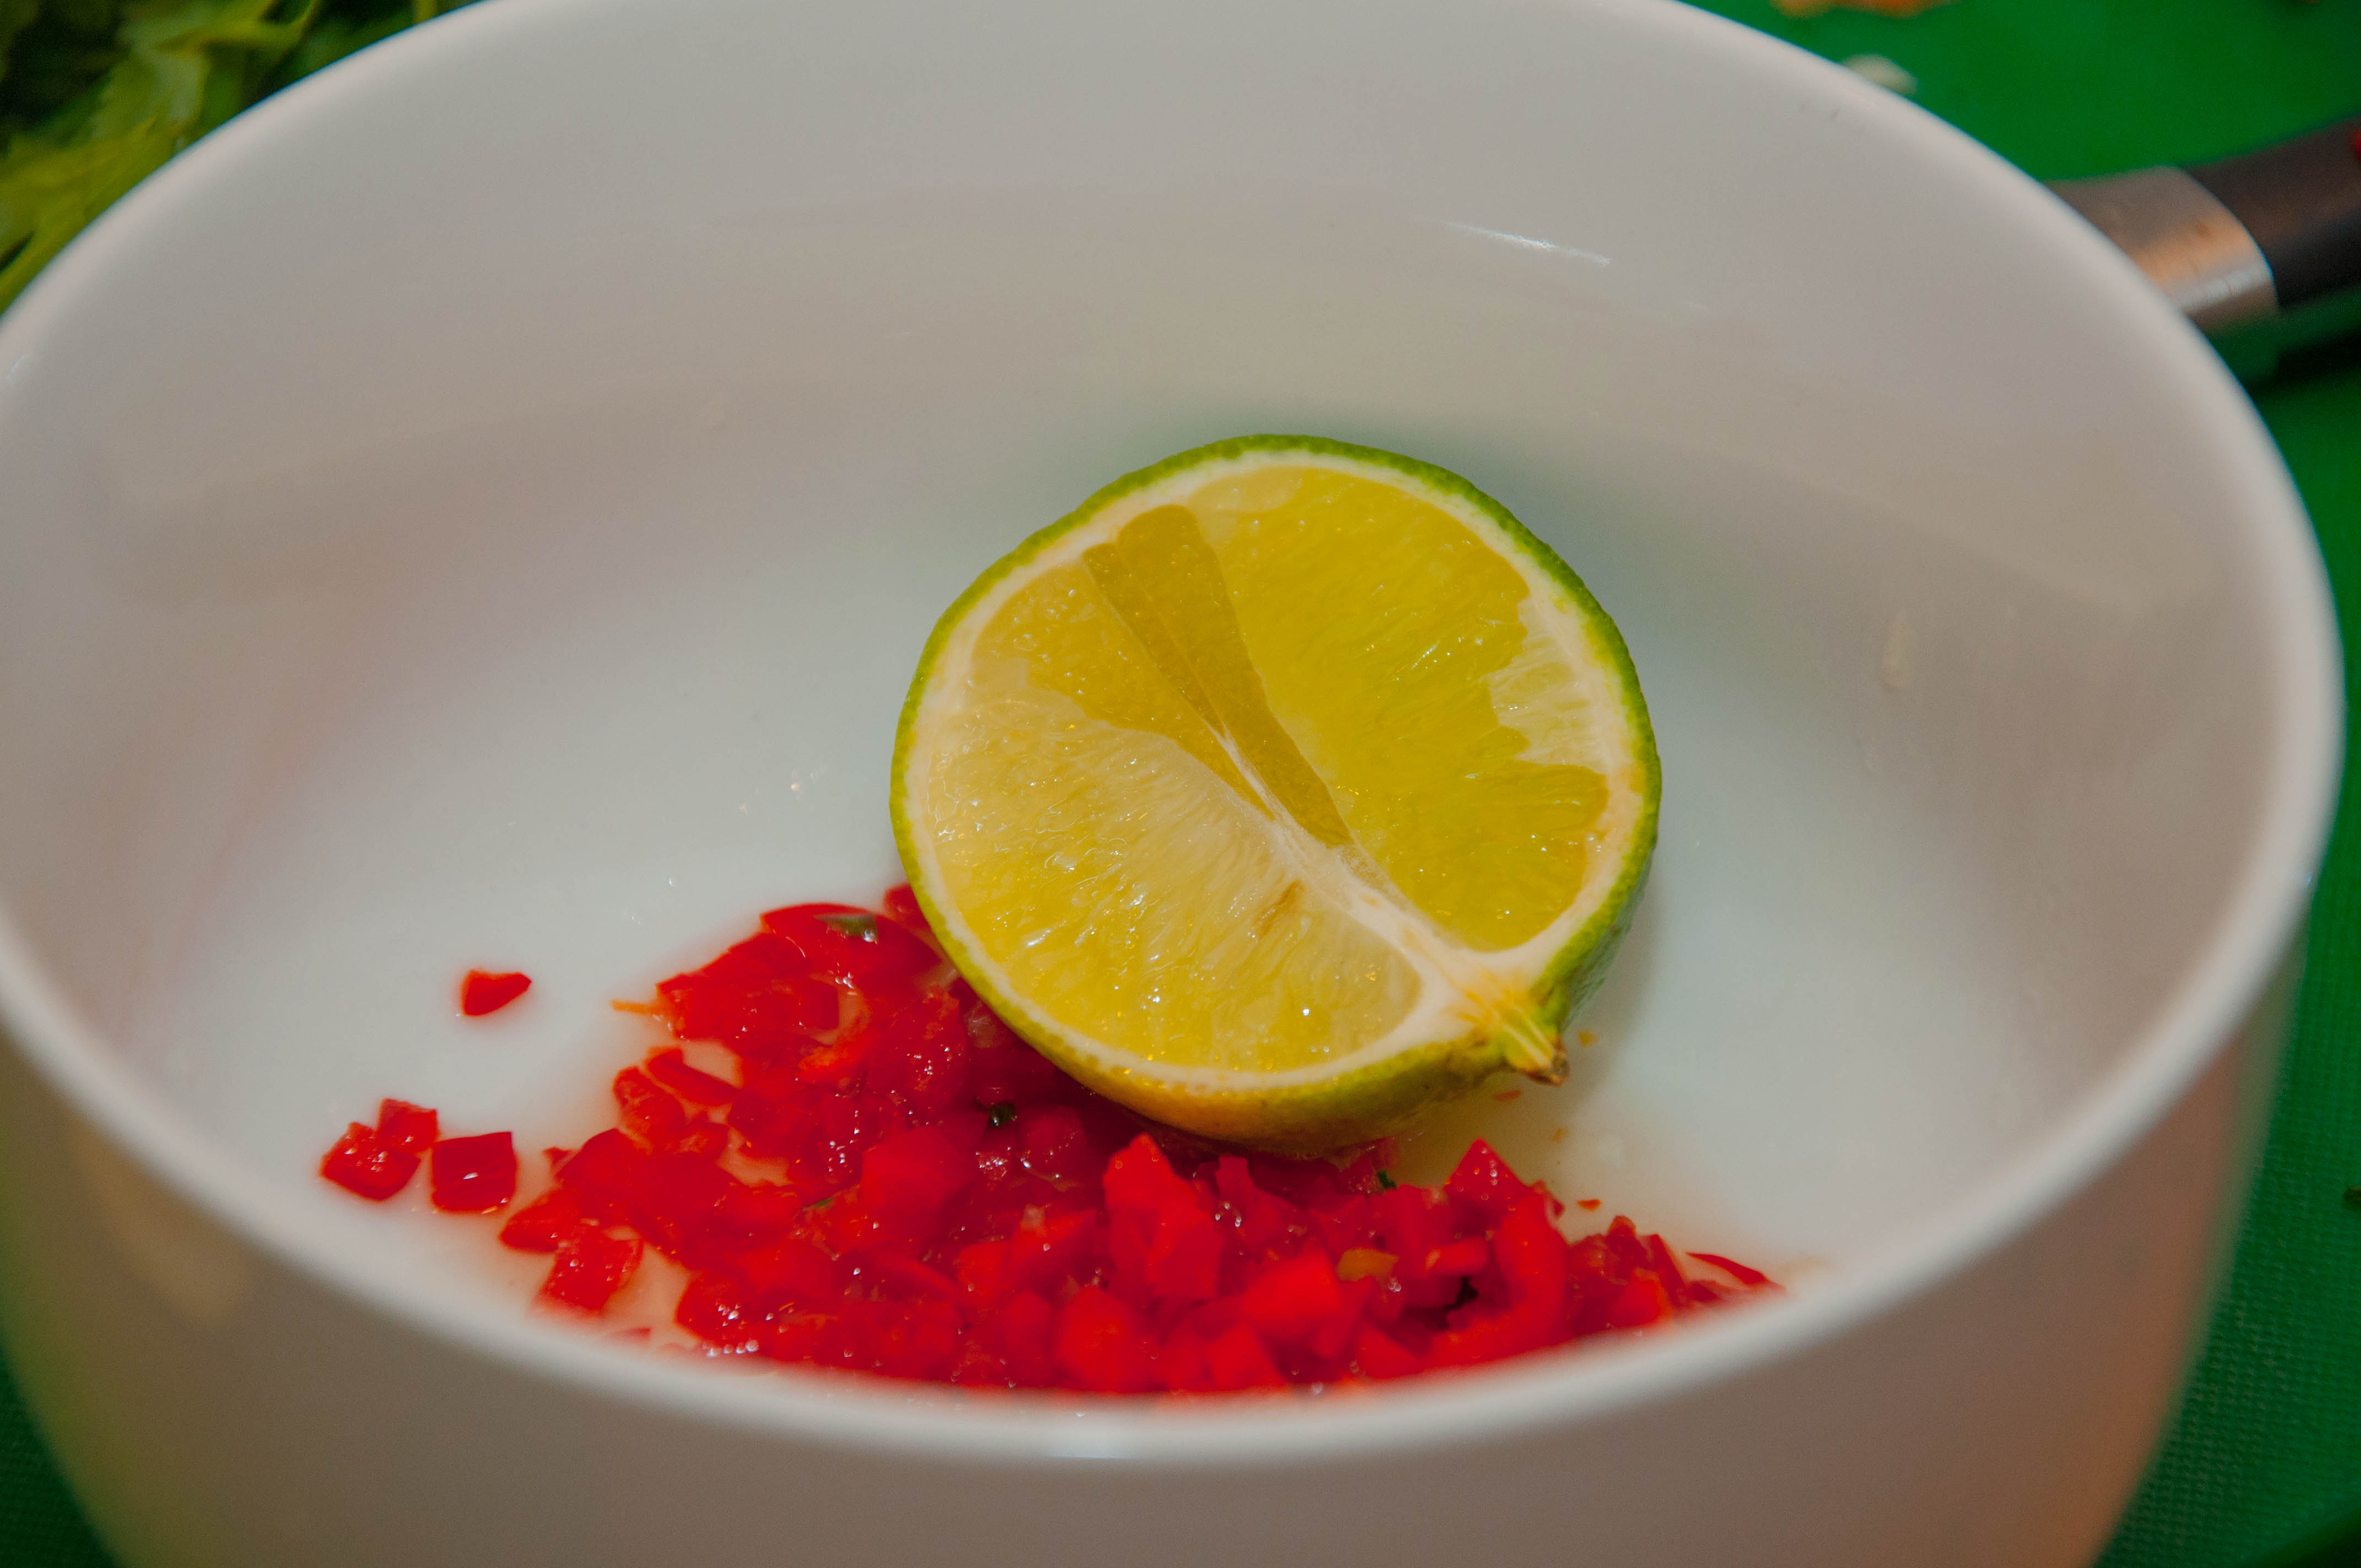
- 1 lime, zest and juice
For the spicy rice
- 300g of cooked rice
- 1 green pepper
- 1 red pepper
- 1 brown onion
- 3 sticks celery
- ½ bunch spring onions
- a large handful of sugar snap peas
- 3 tbsp tomato puree
- 1 tbsp smoked paprika
- 1 garlic glove


Preparation method:
- Rub chicken with garlic, oregano, rosemary, salt, sugar, lemon zest, and pepper. Place in a resealable plastic bag. Add thyme, seal bag, and chill at least 12 hours and up to a full day.
- To make the piri-piri sauce, preheat the oven to 180C/350F/Gas 4. Place the chillies on a roasting tray and roast them for 10 minutes.
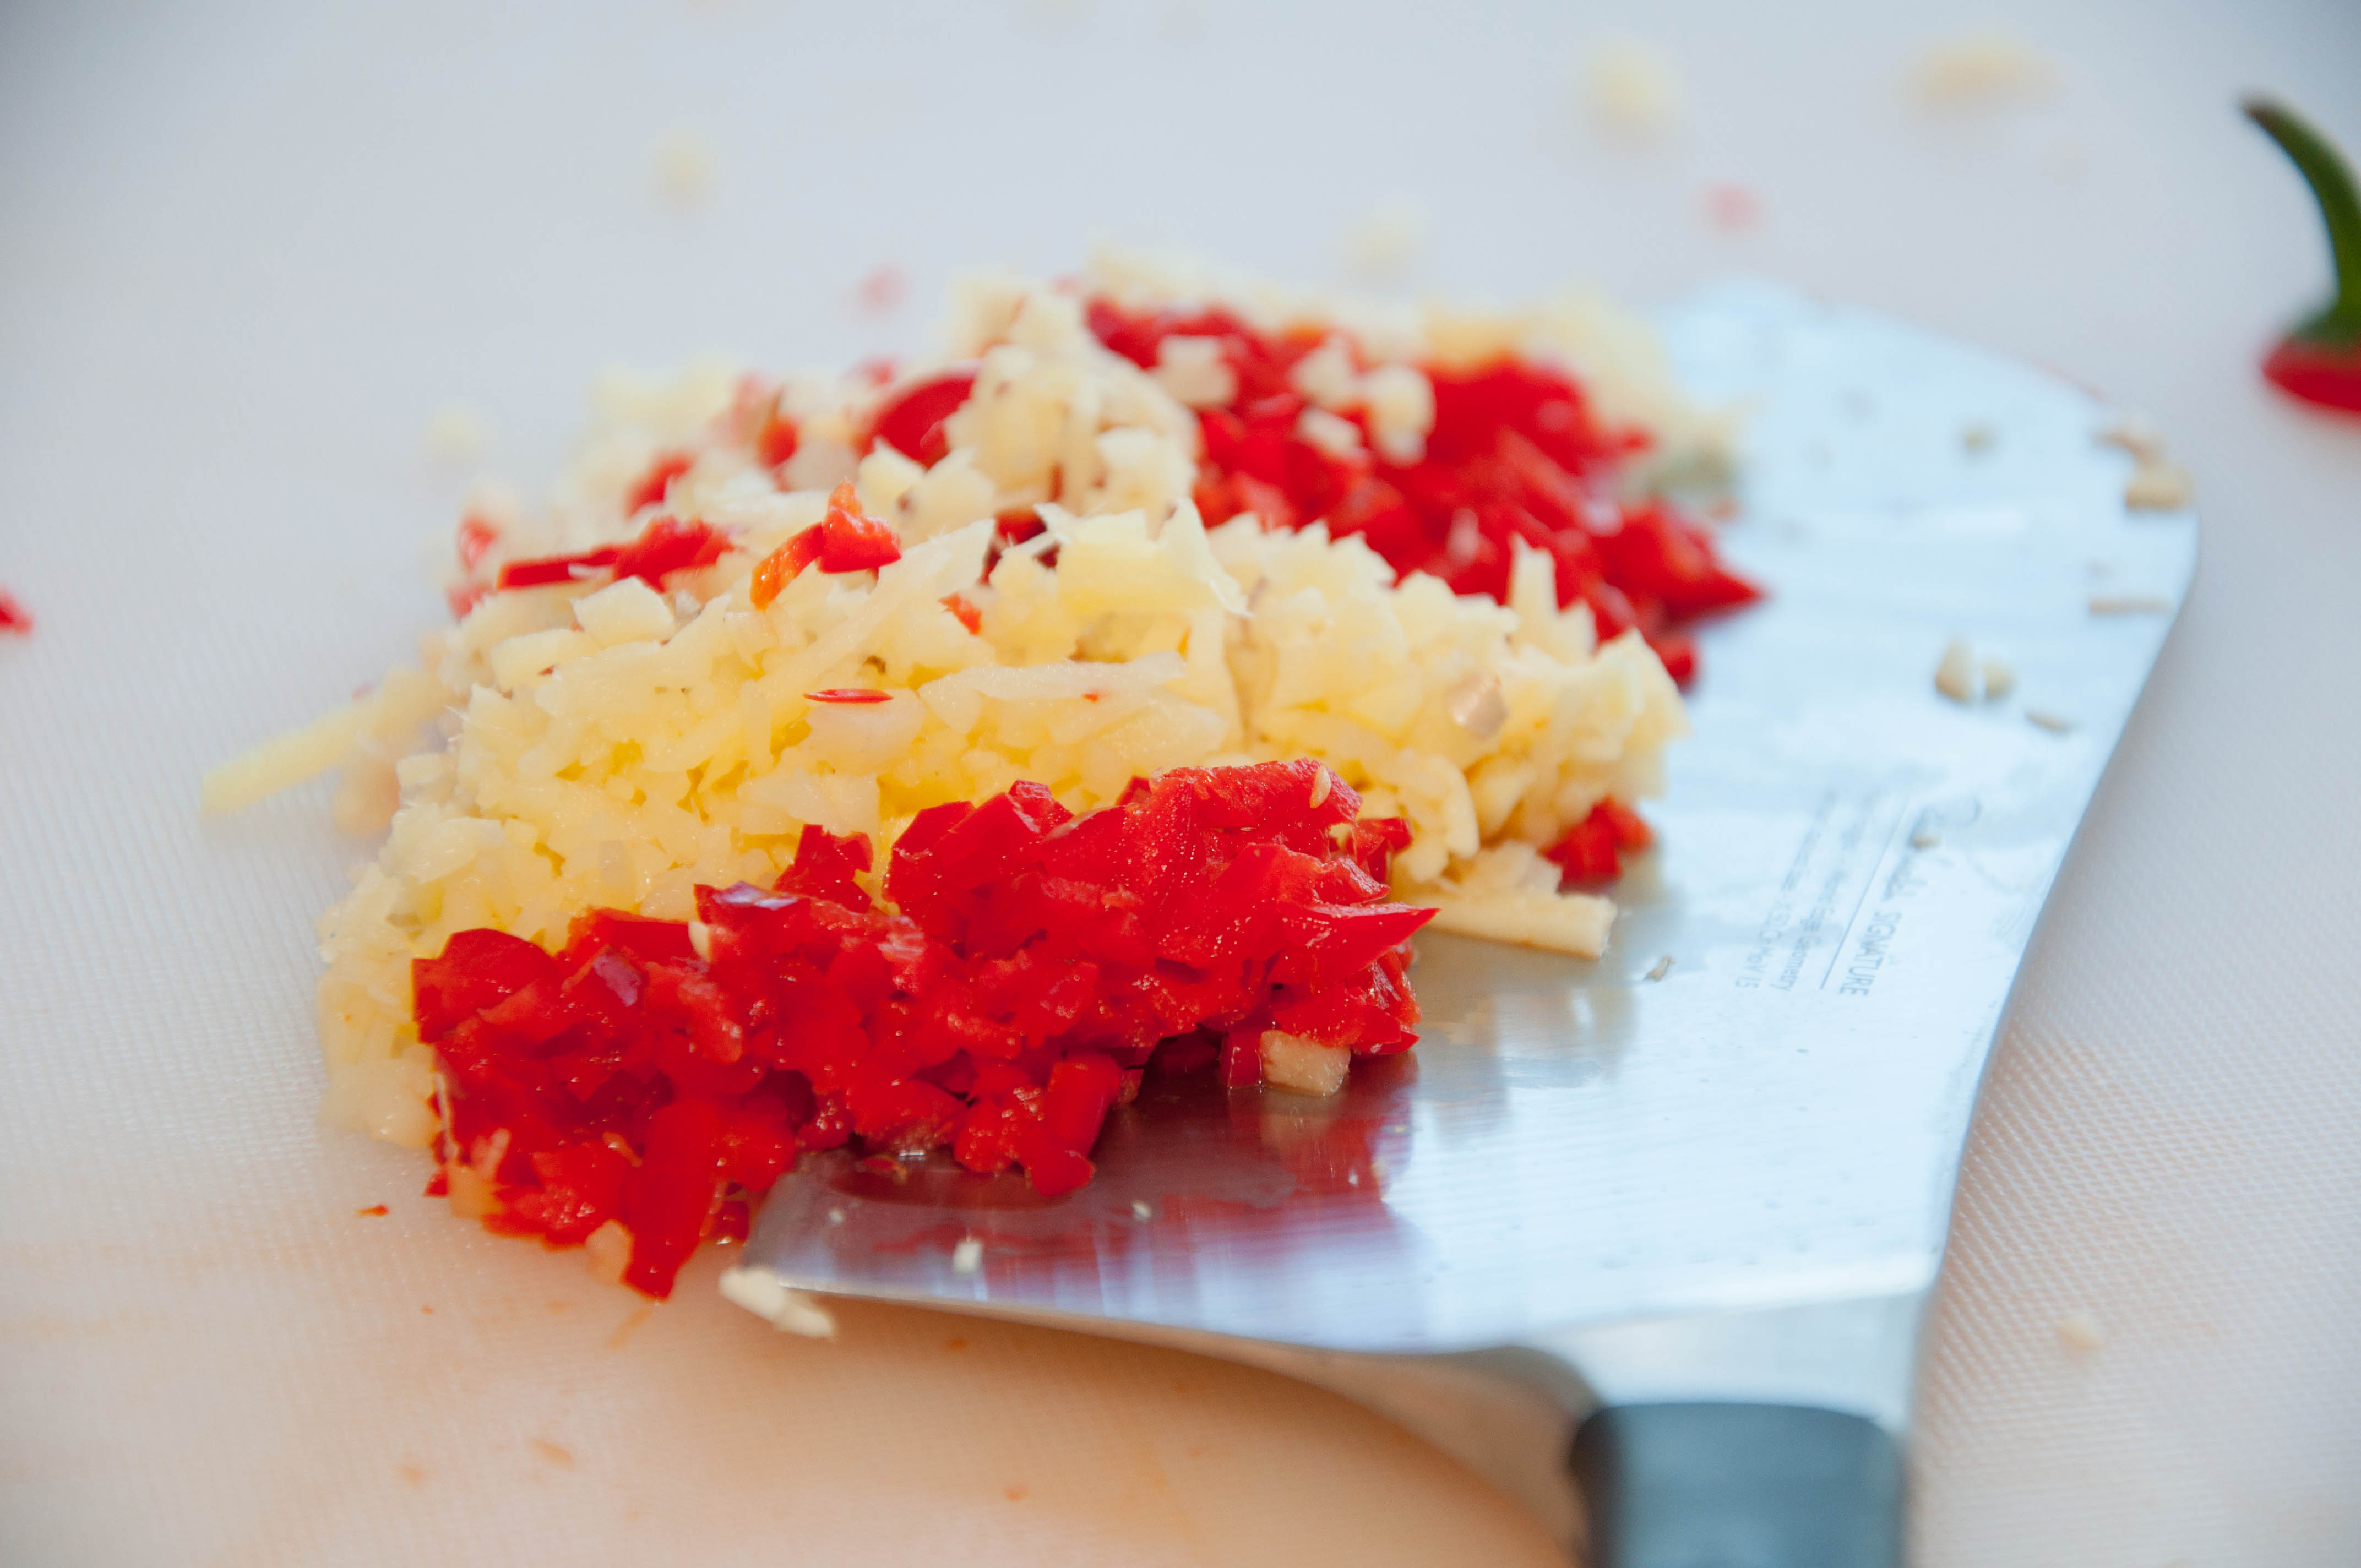
- Cool and finely chop the chillies. Heat some oil in a large pan. Place the rest of the ingredients for the sauce in the saucepan, and simmer for 5 minutes.
- Allow the mixture to COOL. Very important – unless you’re a fan of E.coli and salmonella bacteria
- You can use a large mortar and pestle or a blender to turn the mixture into a more paste like consistency, though its not vital. I didn’t.
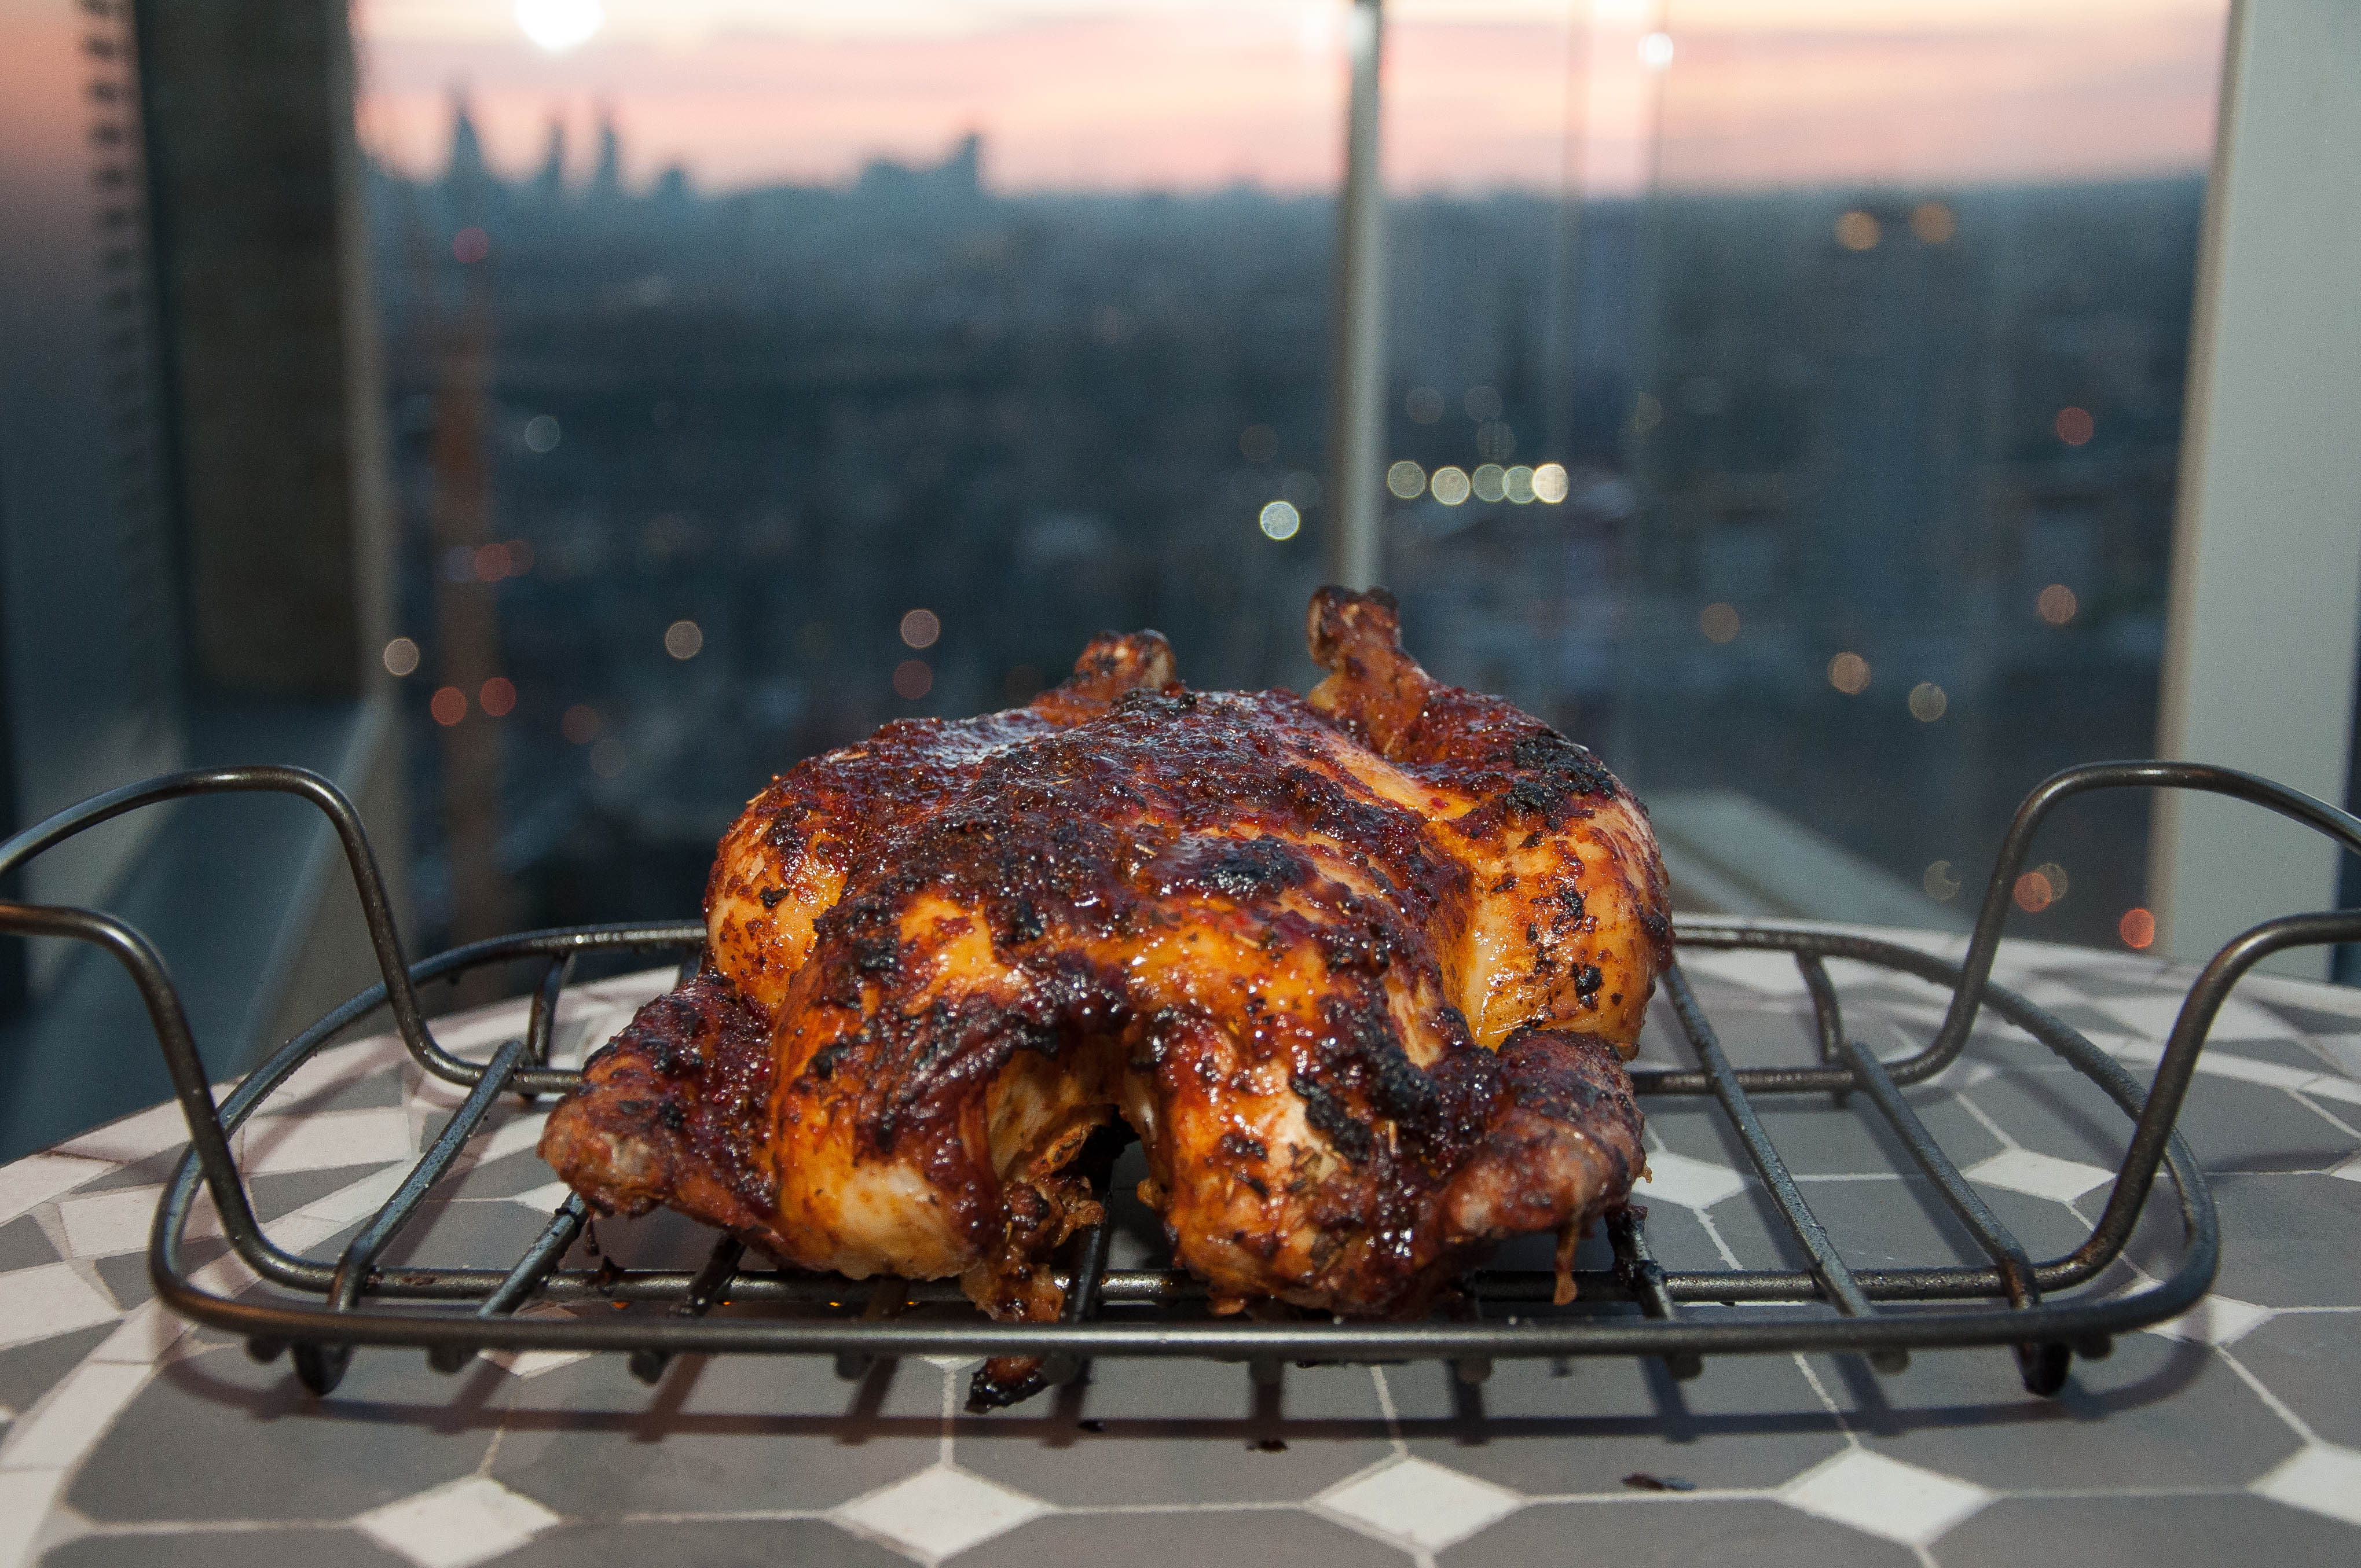
- Spatchcock the chicken – remove the chicken’s backbone, then break the breast, whilst flattening out the chicken. Spatchcocking the chicken allows it to roast quicker in the oven, at a high temp, and crisp up the skin better. If you’re unsure how to spatchcock a chicken, just use one of the many tutorials available on the web. Add half the piri-piri sauce, spreading it evenly over the chicken. Seal with cling film and marinate in the refrigerator for 2-4 hours.
- Preheat the oven to 200C/390F/Gas 6, AND preheat a large griddle or sauce pan on the hob.
- Season the marinated chicken, and cook it on the pan for 2-3 minutes on each side, until the skin is golden brown.
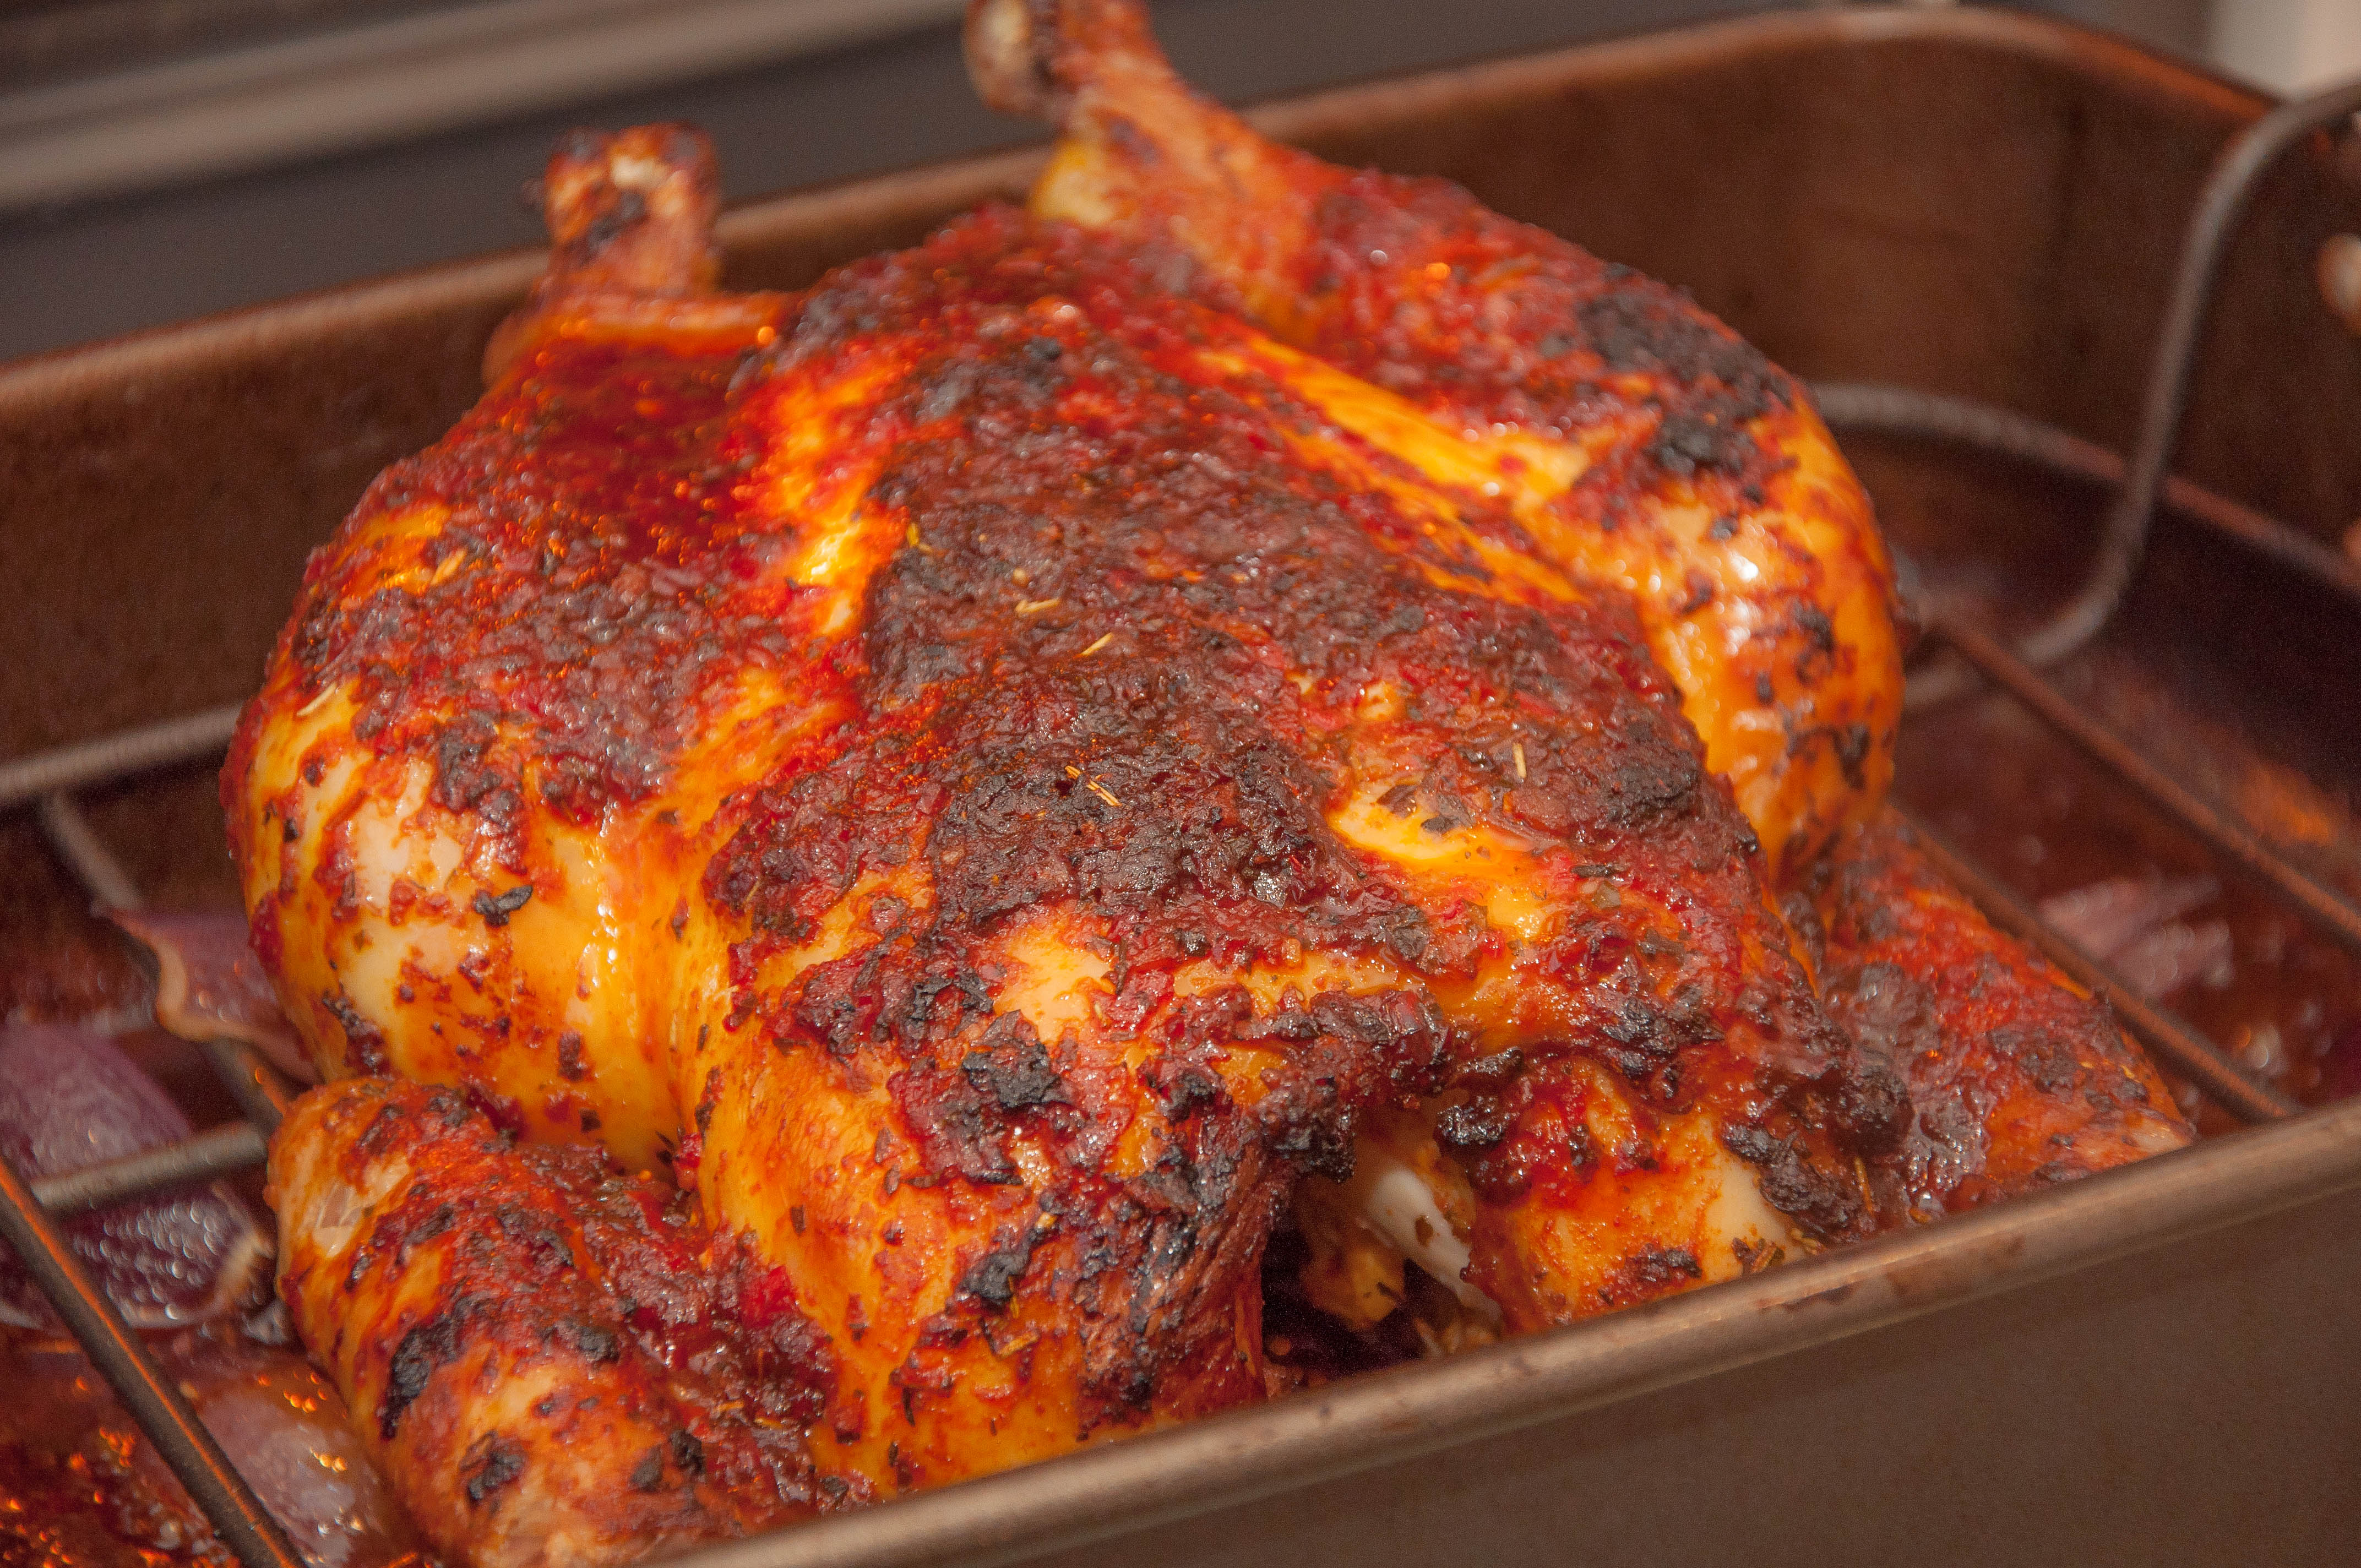
- Transfer the browned chicken to a roasting tray with a rack. Pour the cider and red wine into the bottom of the roasting tray. Peel and quarter the red onions, then scatter in the roasting tray. Cover in foil and roast in the oven for 20 minutes.
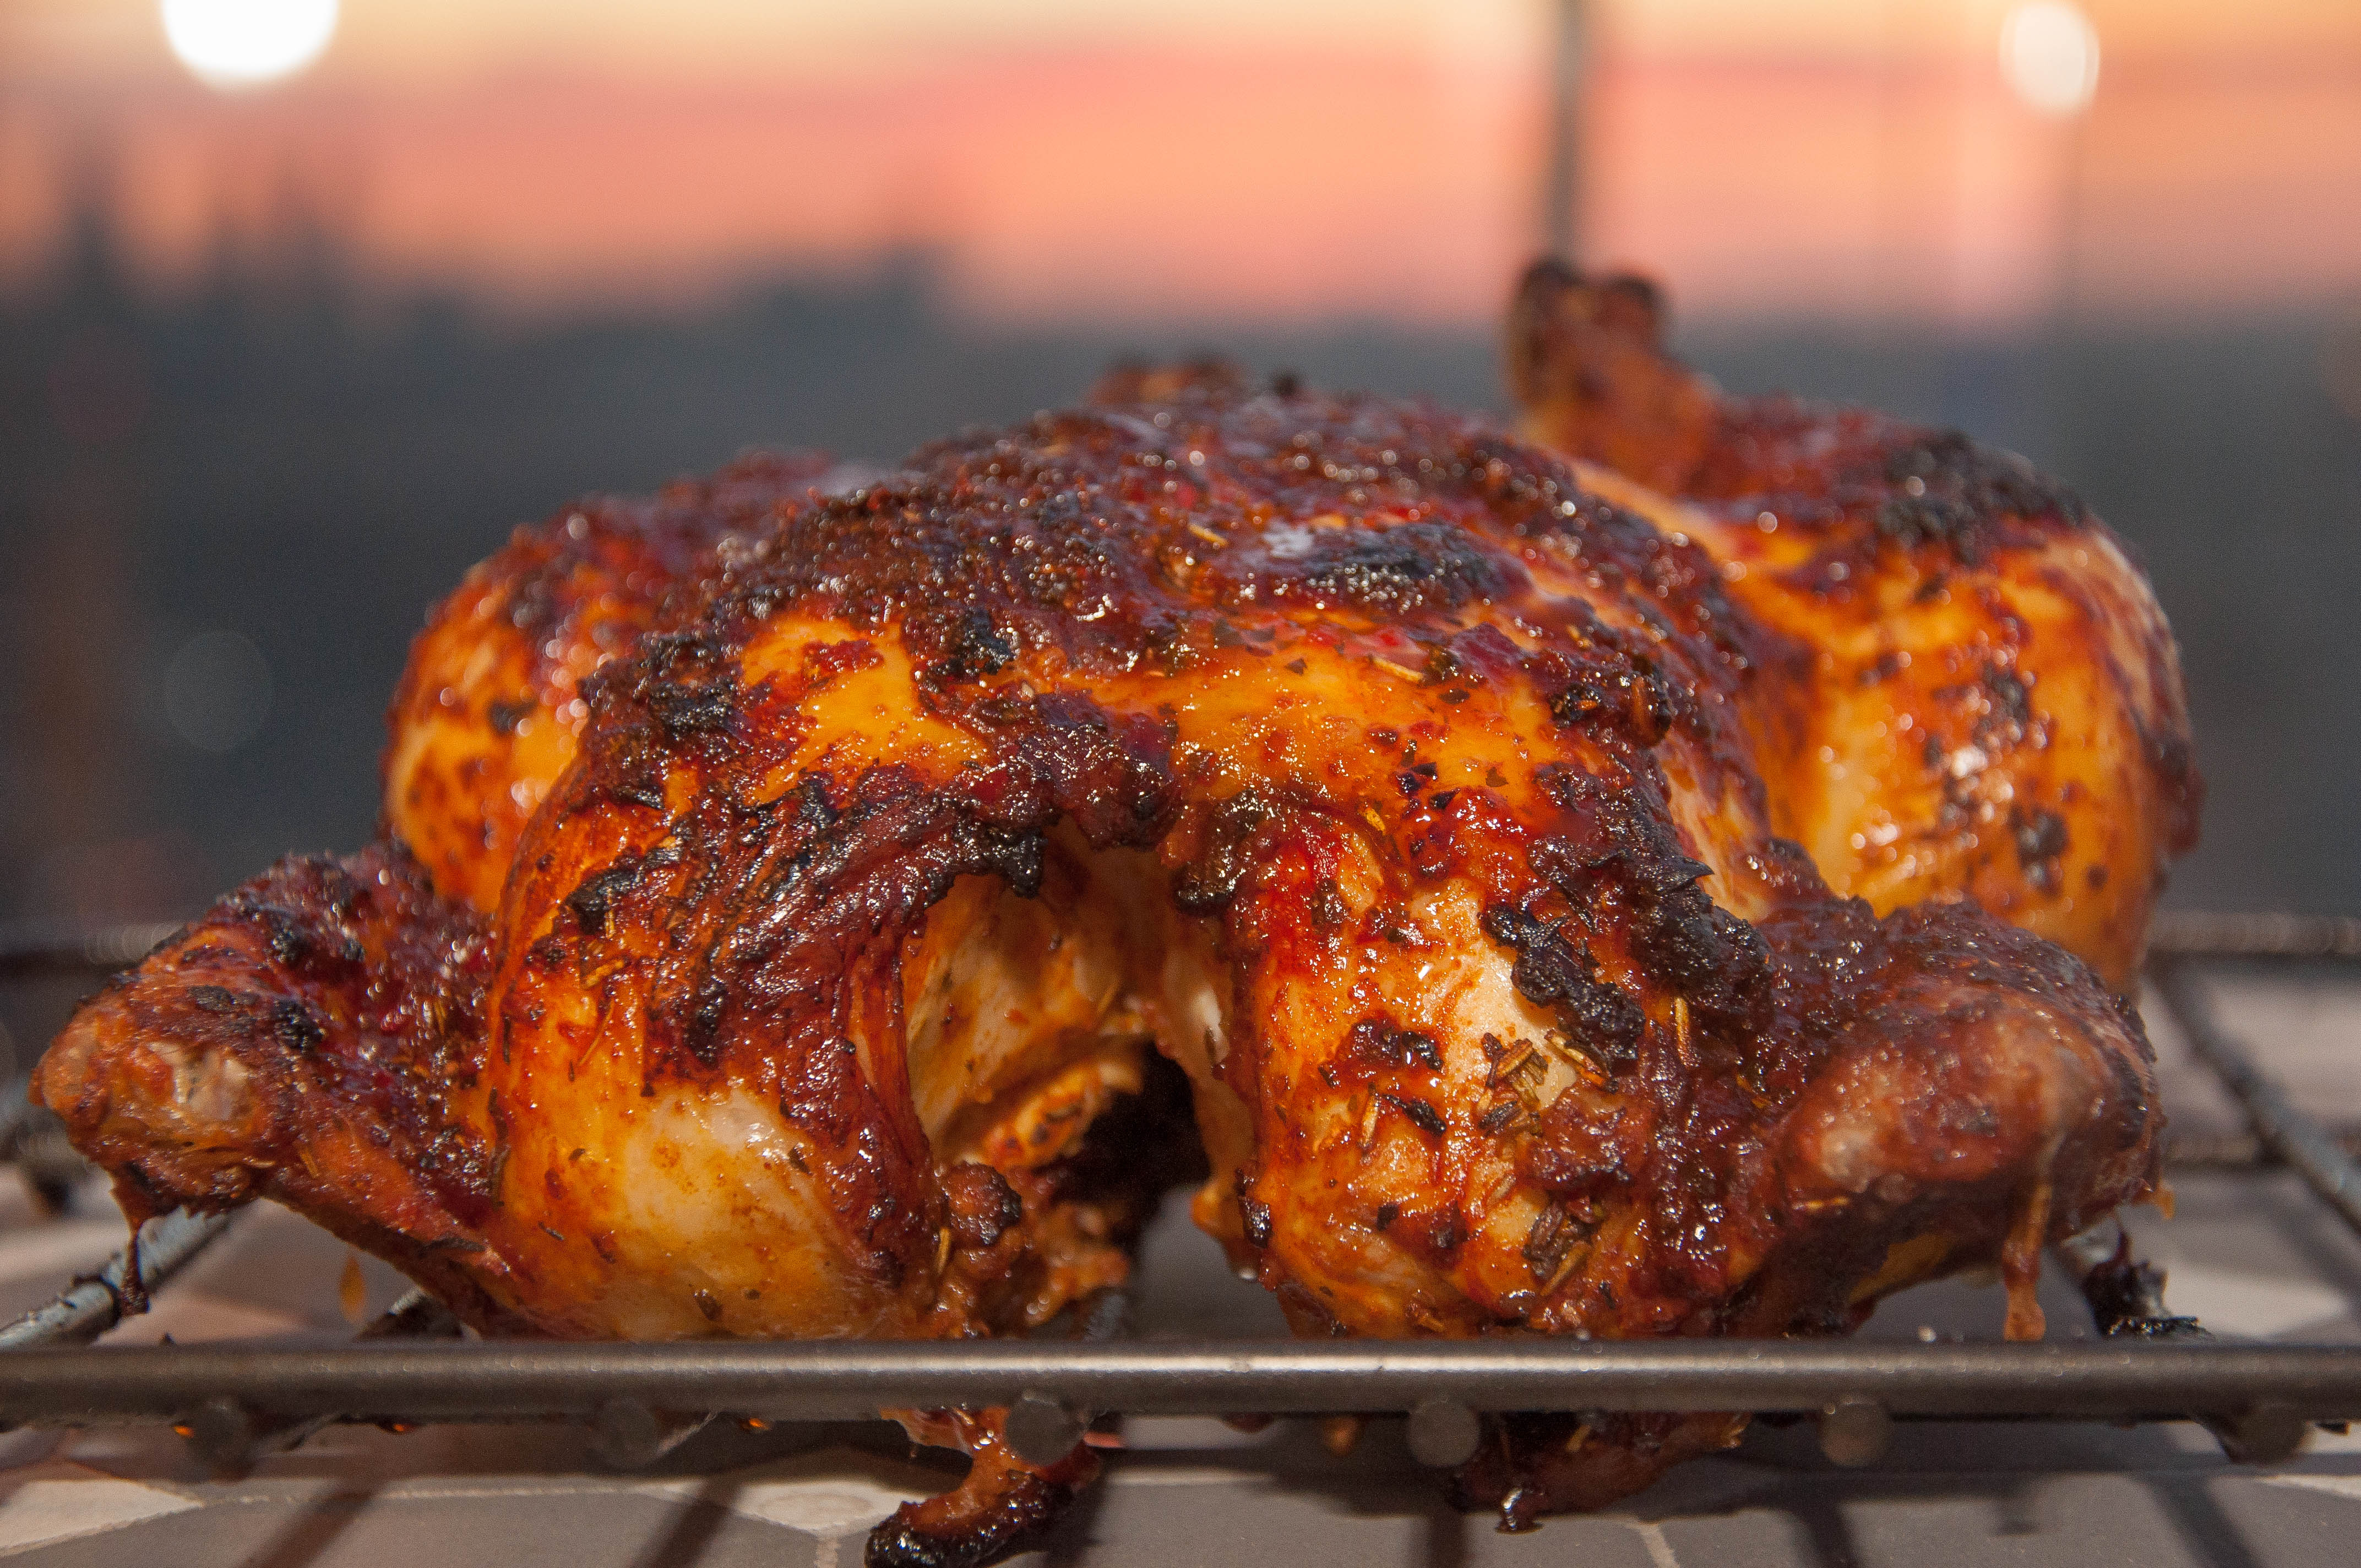
- After twenty minutes remove foil, scatter a tbsp of caster sugar over the top of the chicken and increase temp to 250 for around 10 minutes to crisp up the skin, until an instant-read thermometer inserted into the thickest part of thigh registers 165°F / 72C° and the juices run clear.
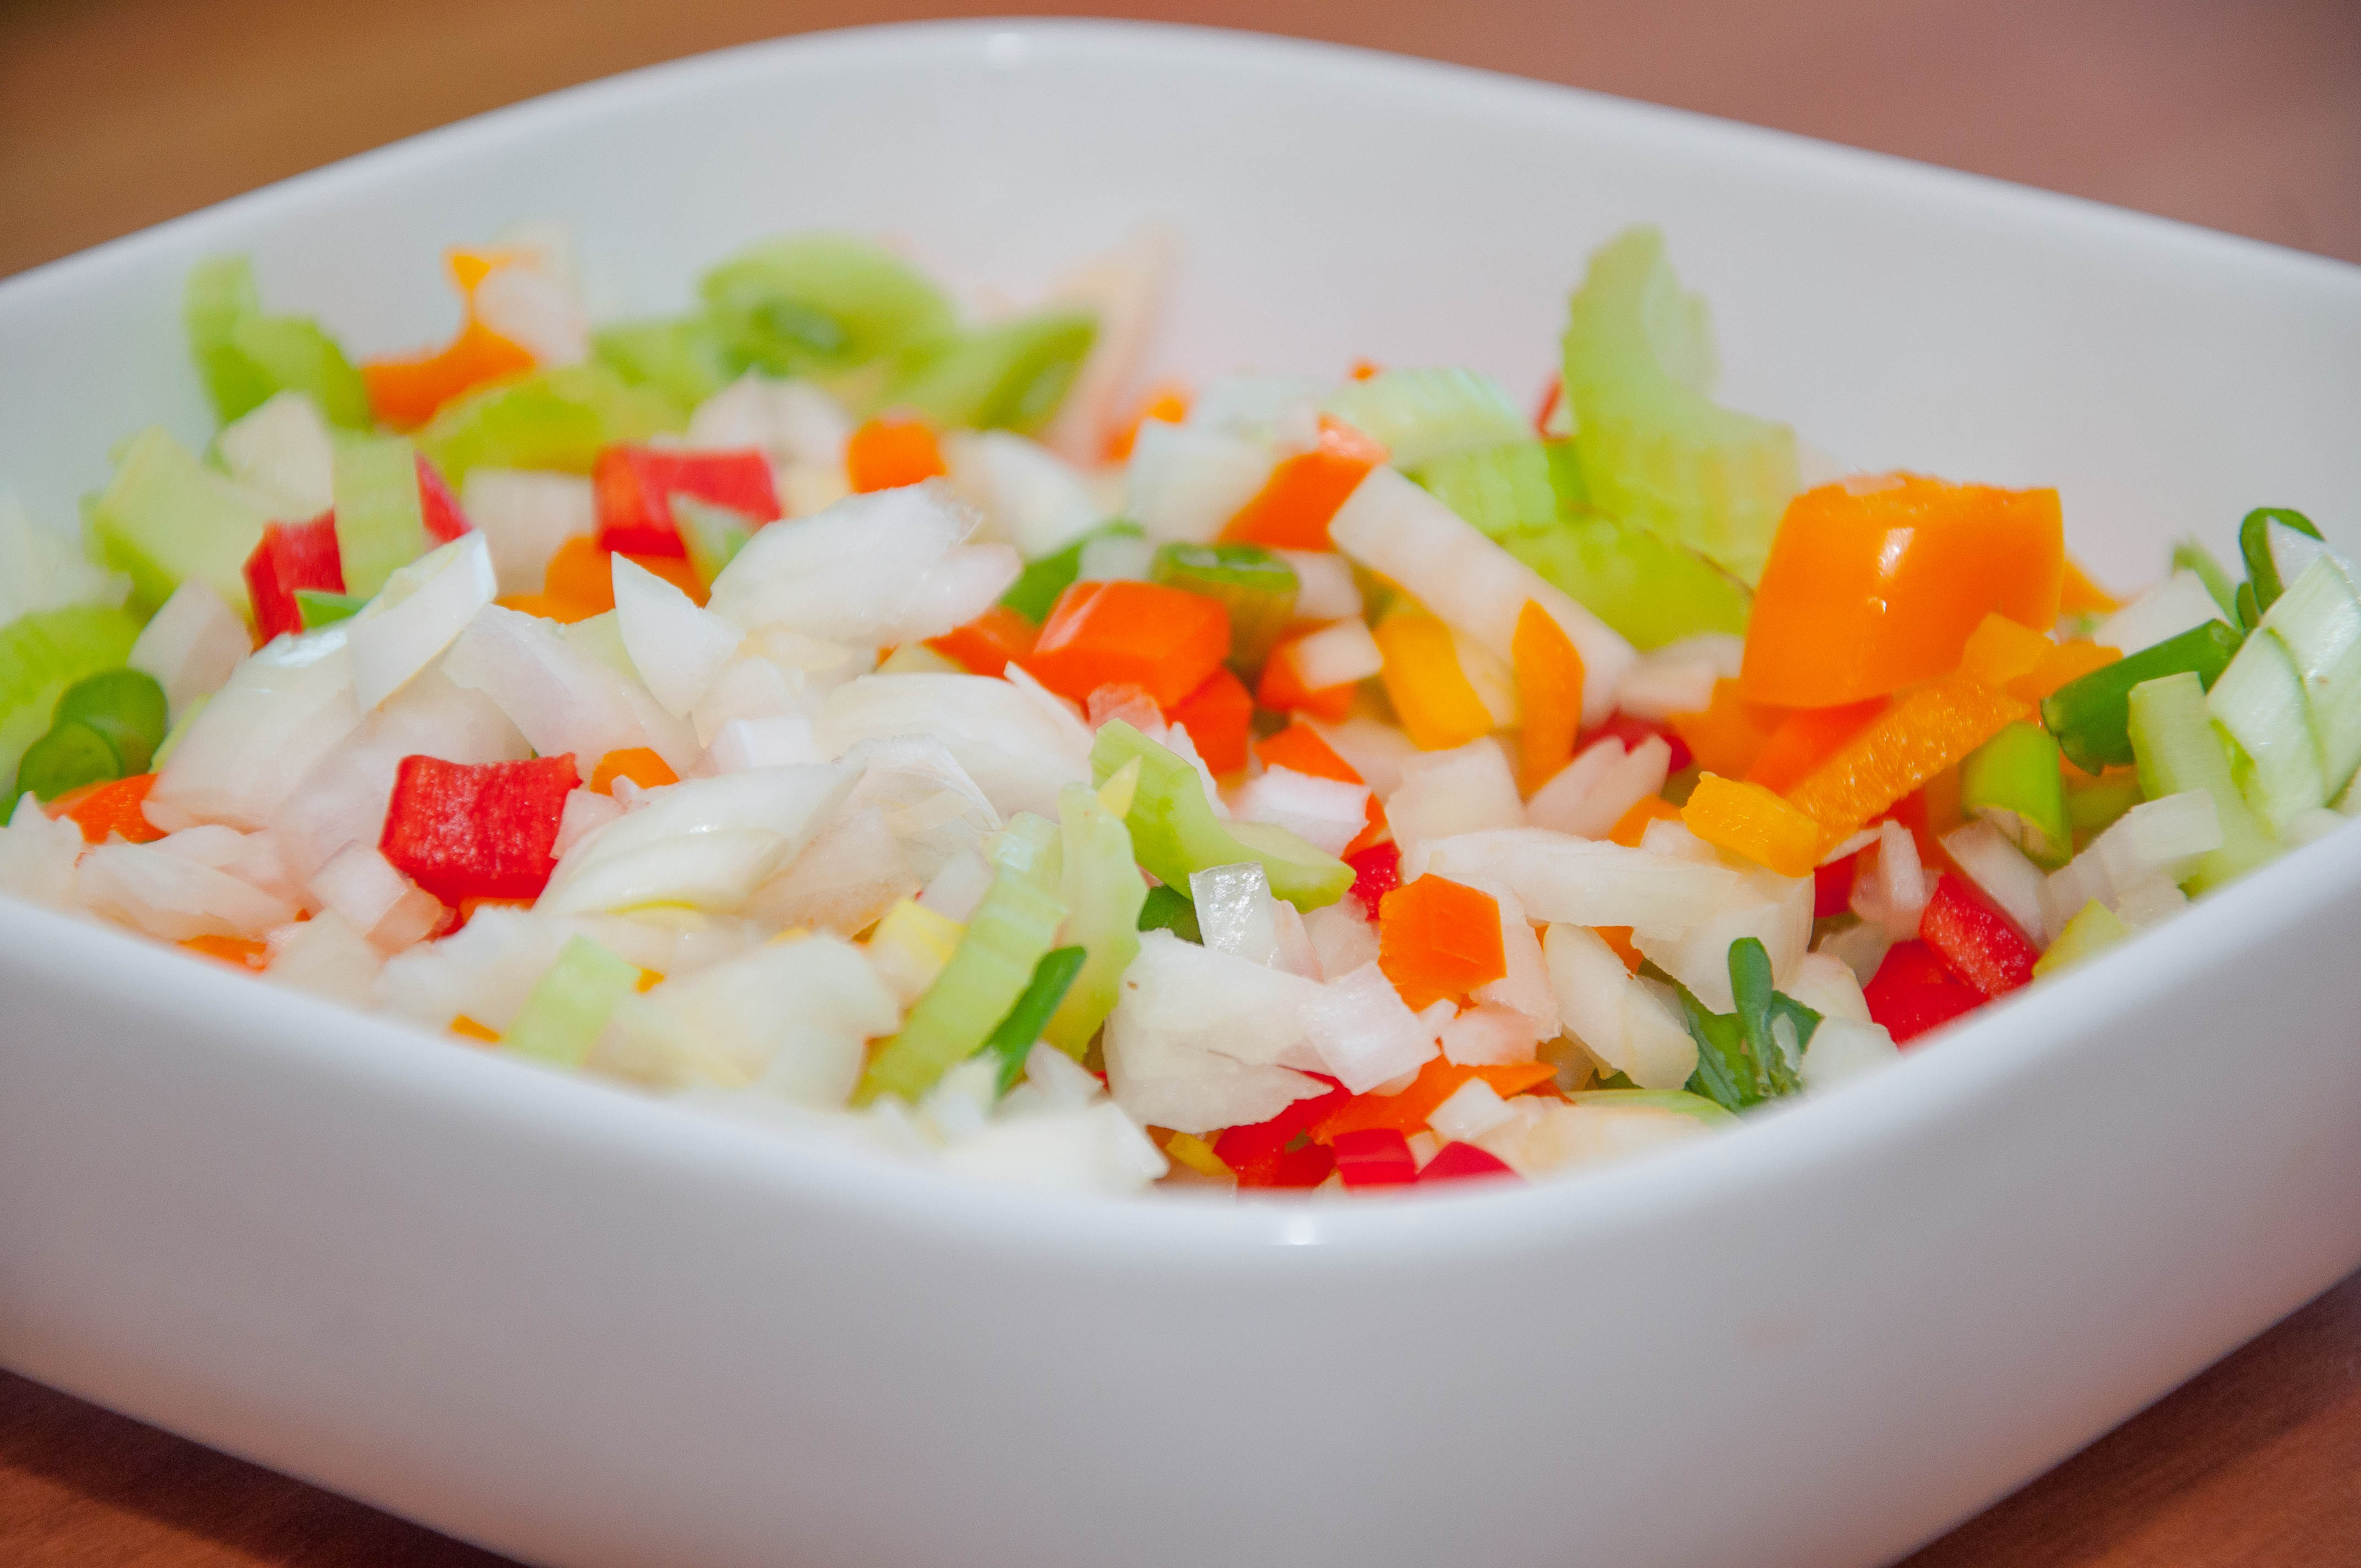
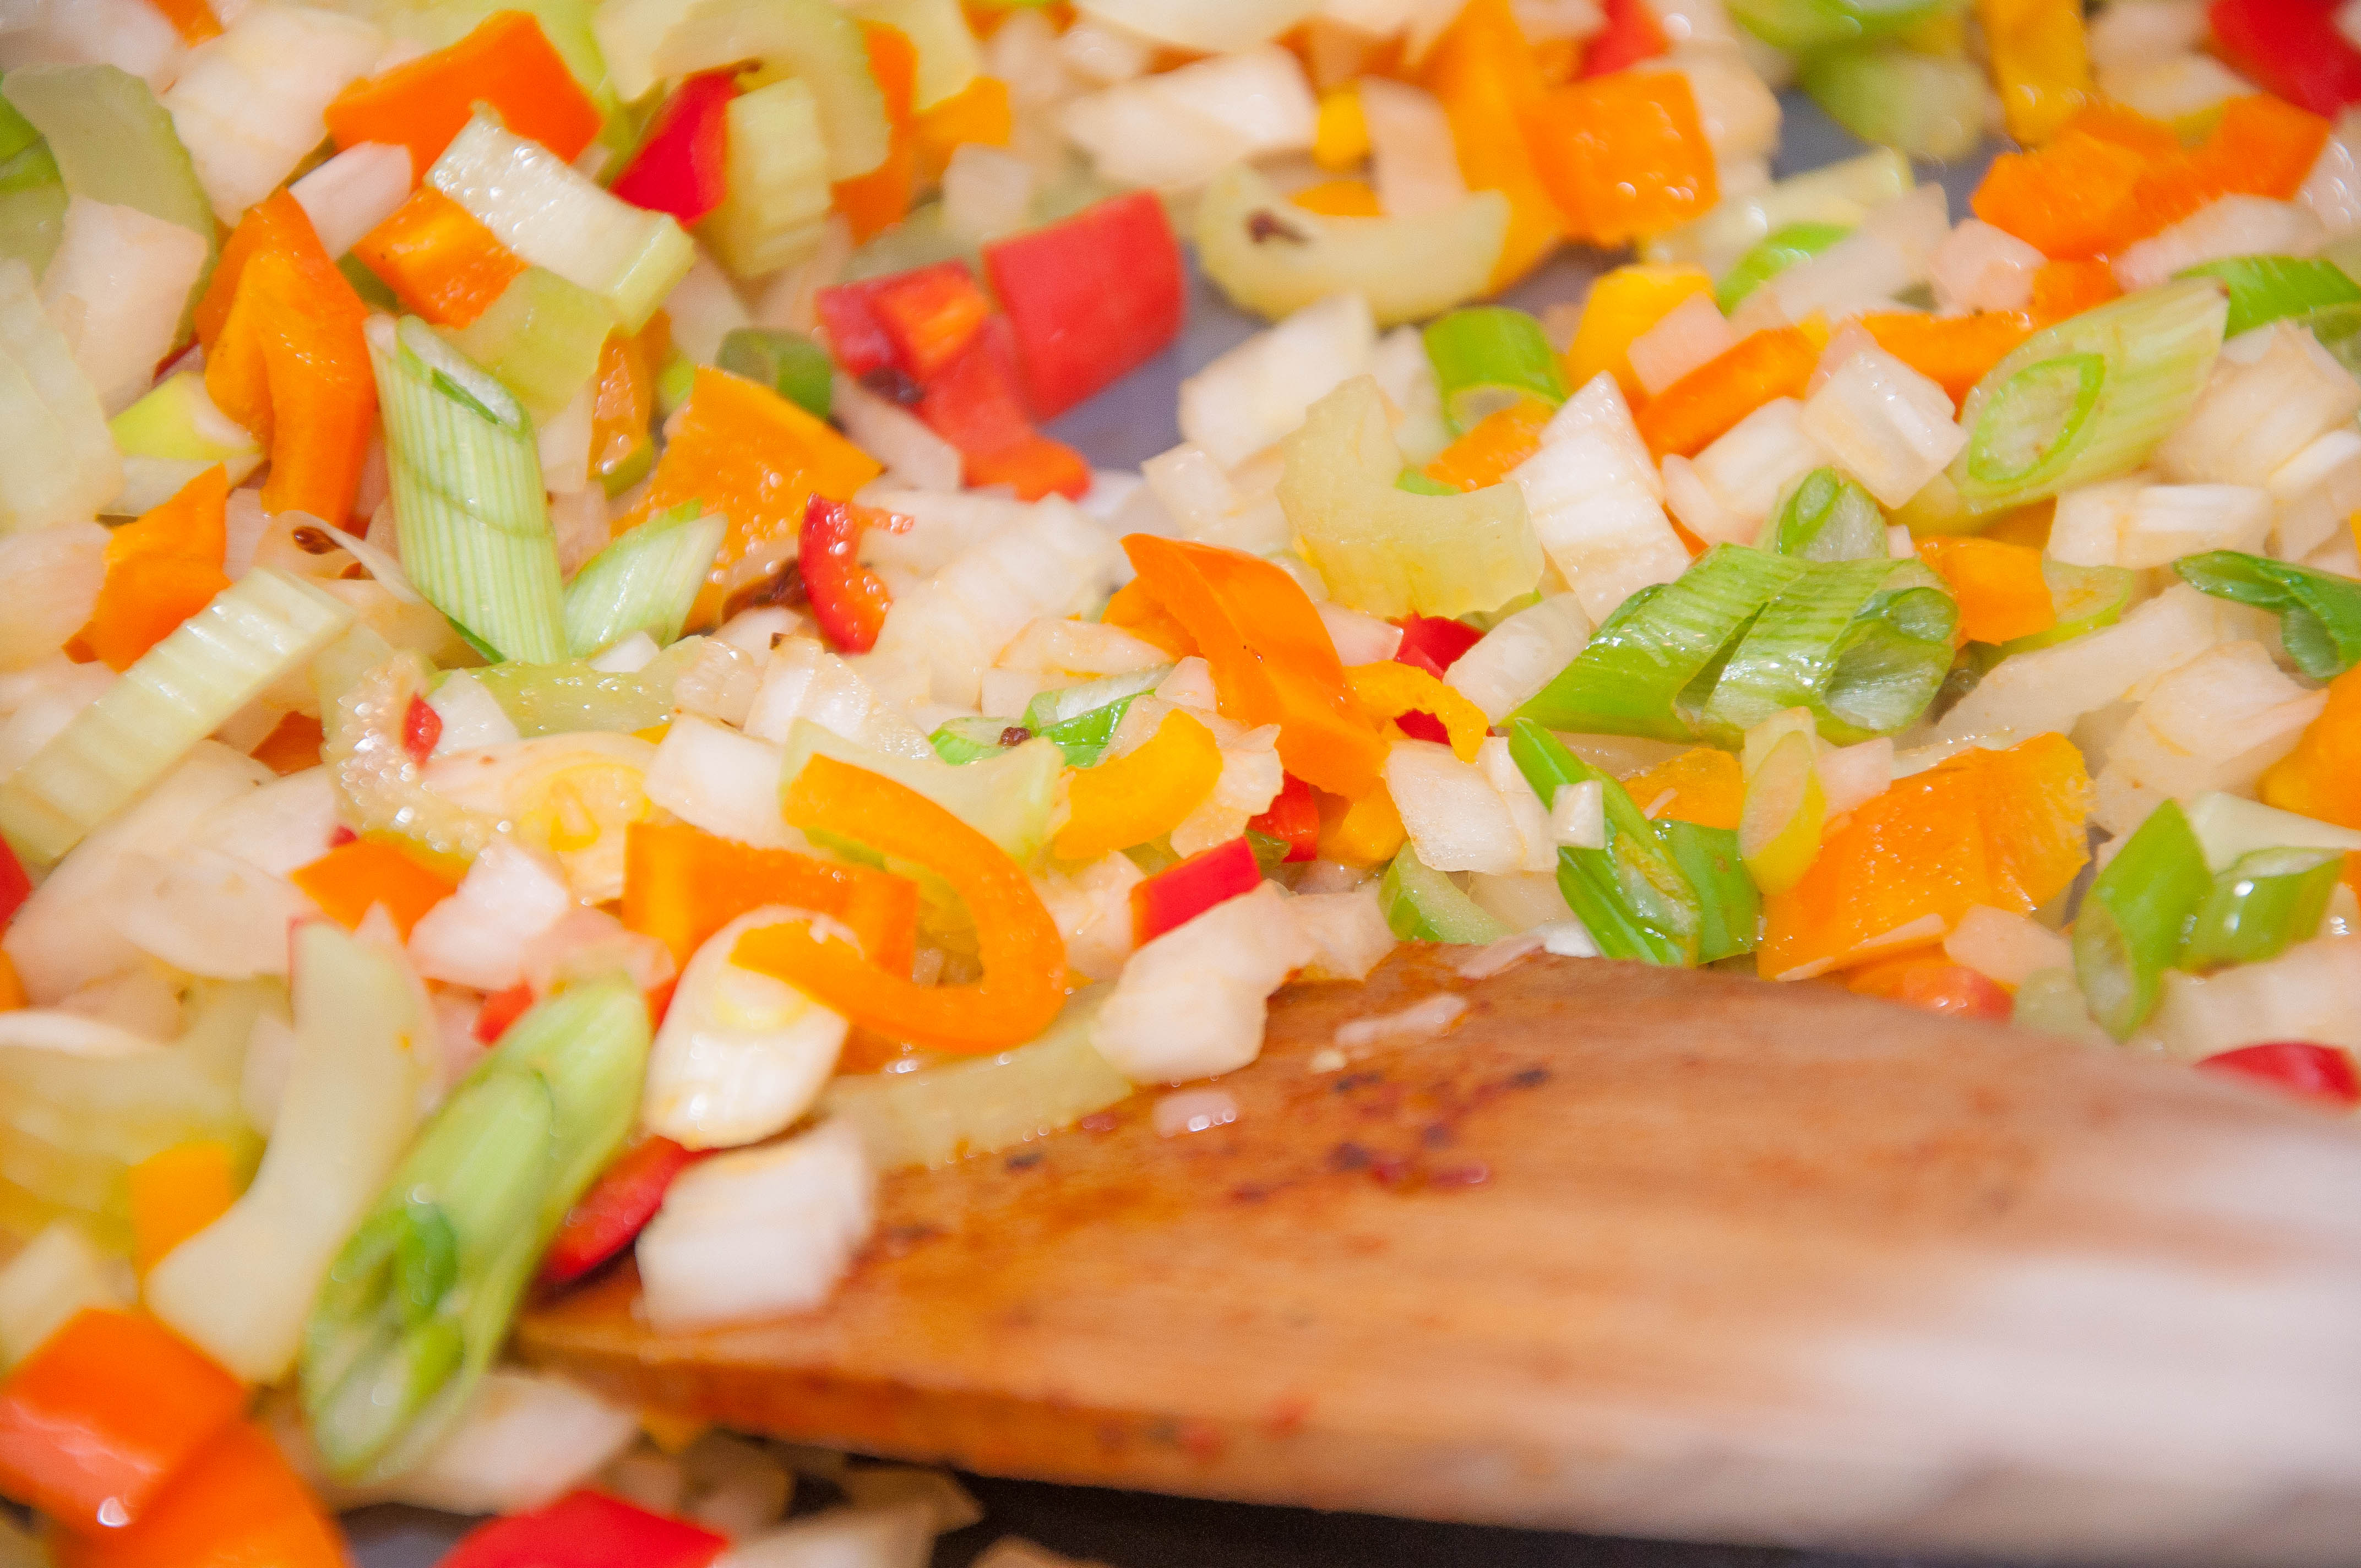
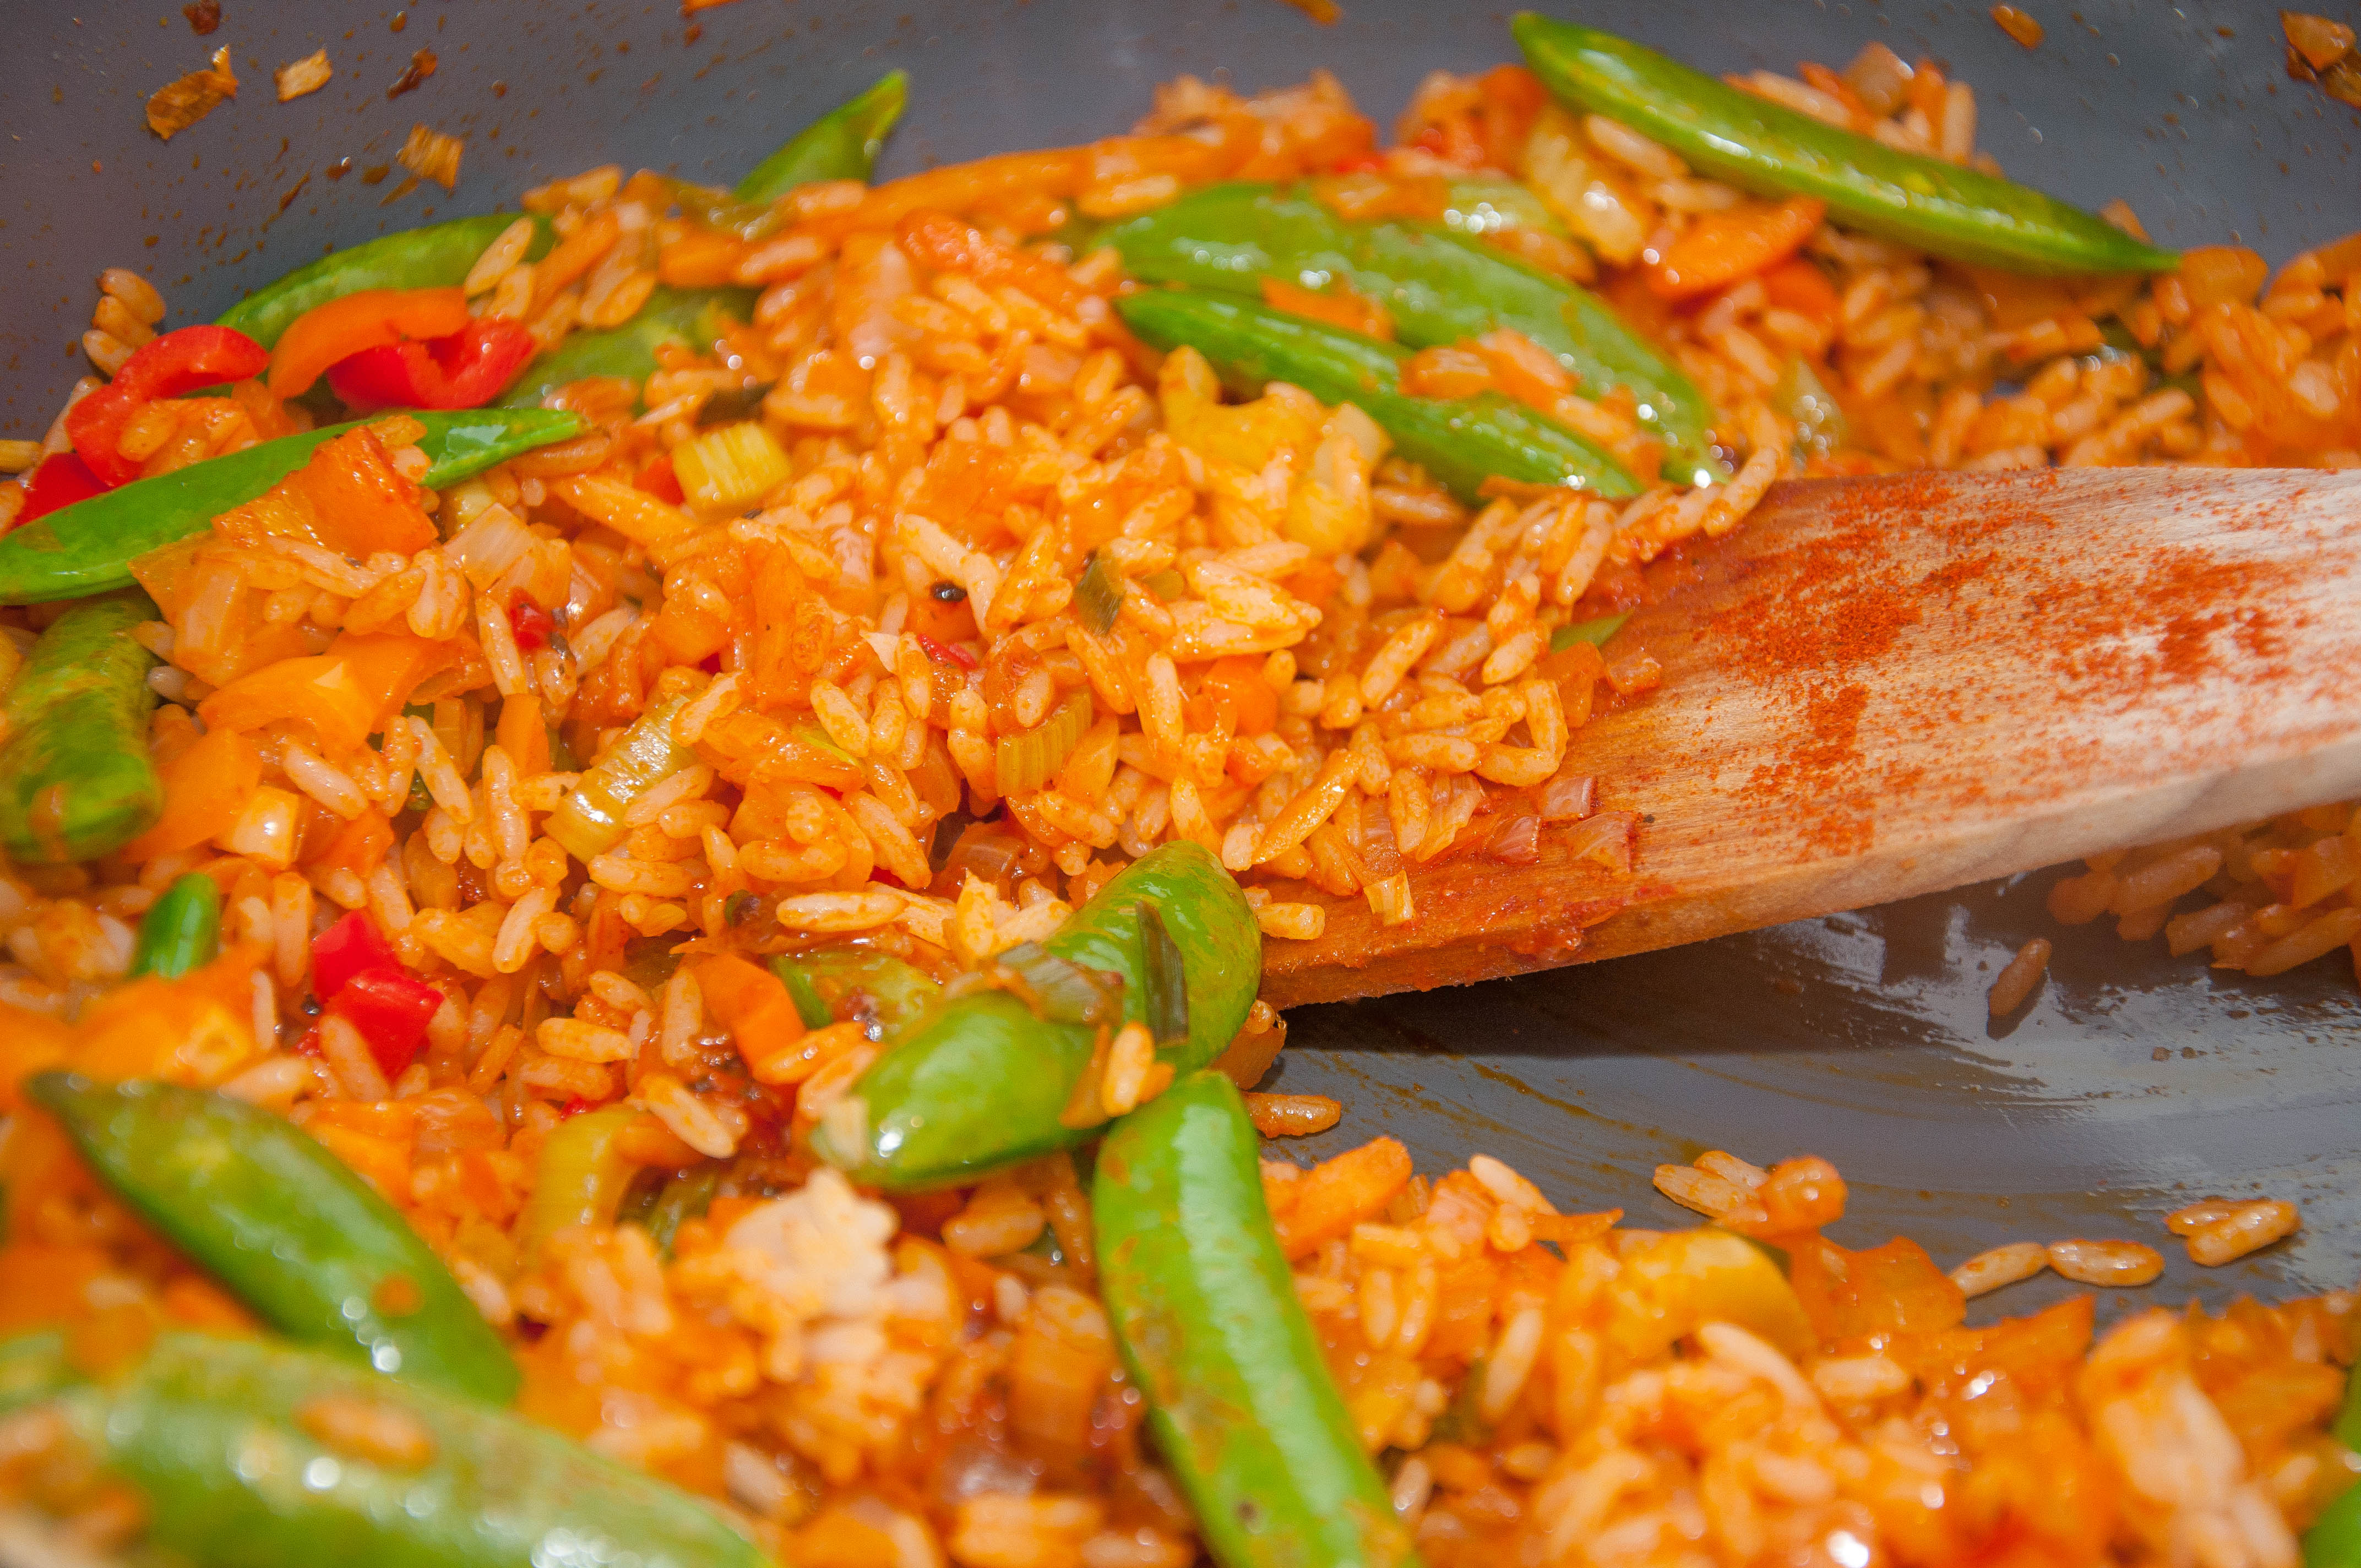
- For the rice – heat a little oil in a large frying pan. Fry the onions until browned. Cook the peppers, celery and white parts of the spring onions for 5 mins. Finely slice and chop the garlic and ginger then add to the pan.
- Tip in the purée and paprika, stir, then add the cooked rice, breaking up with a wooden spoon so all the grains are coated well. Use a high heat and scrape any that sticks off the bottom so you get some soft and some crispy parts. Heat until piping hot. At the last moment add the sugar snap peas and cook everything, stirring regularly, for around 3 minutes.
- Scatter the green parts of the spring onion on top and set aside briefly.
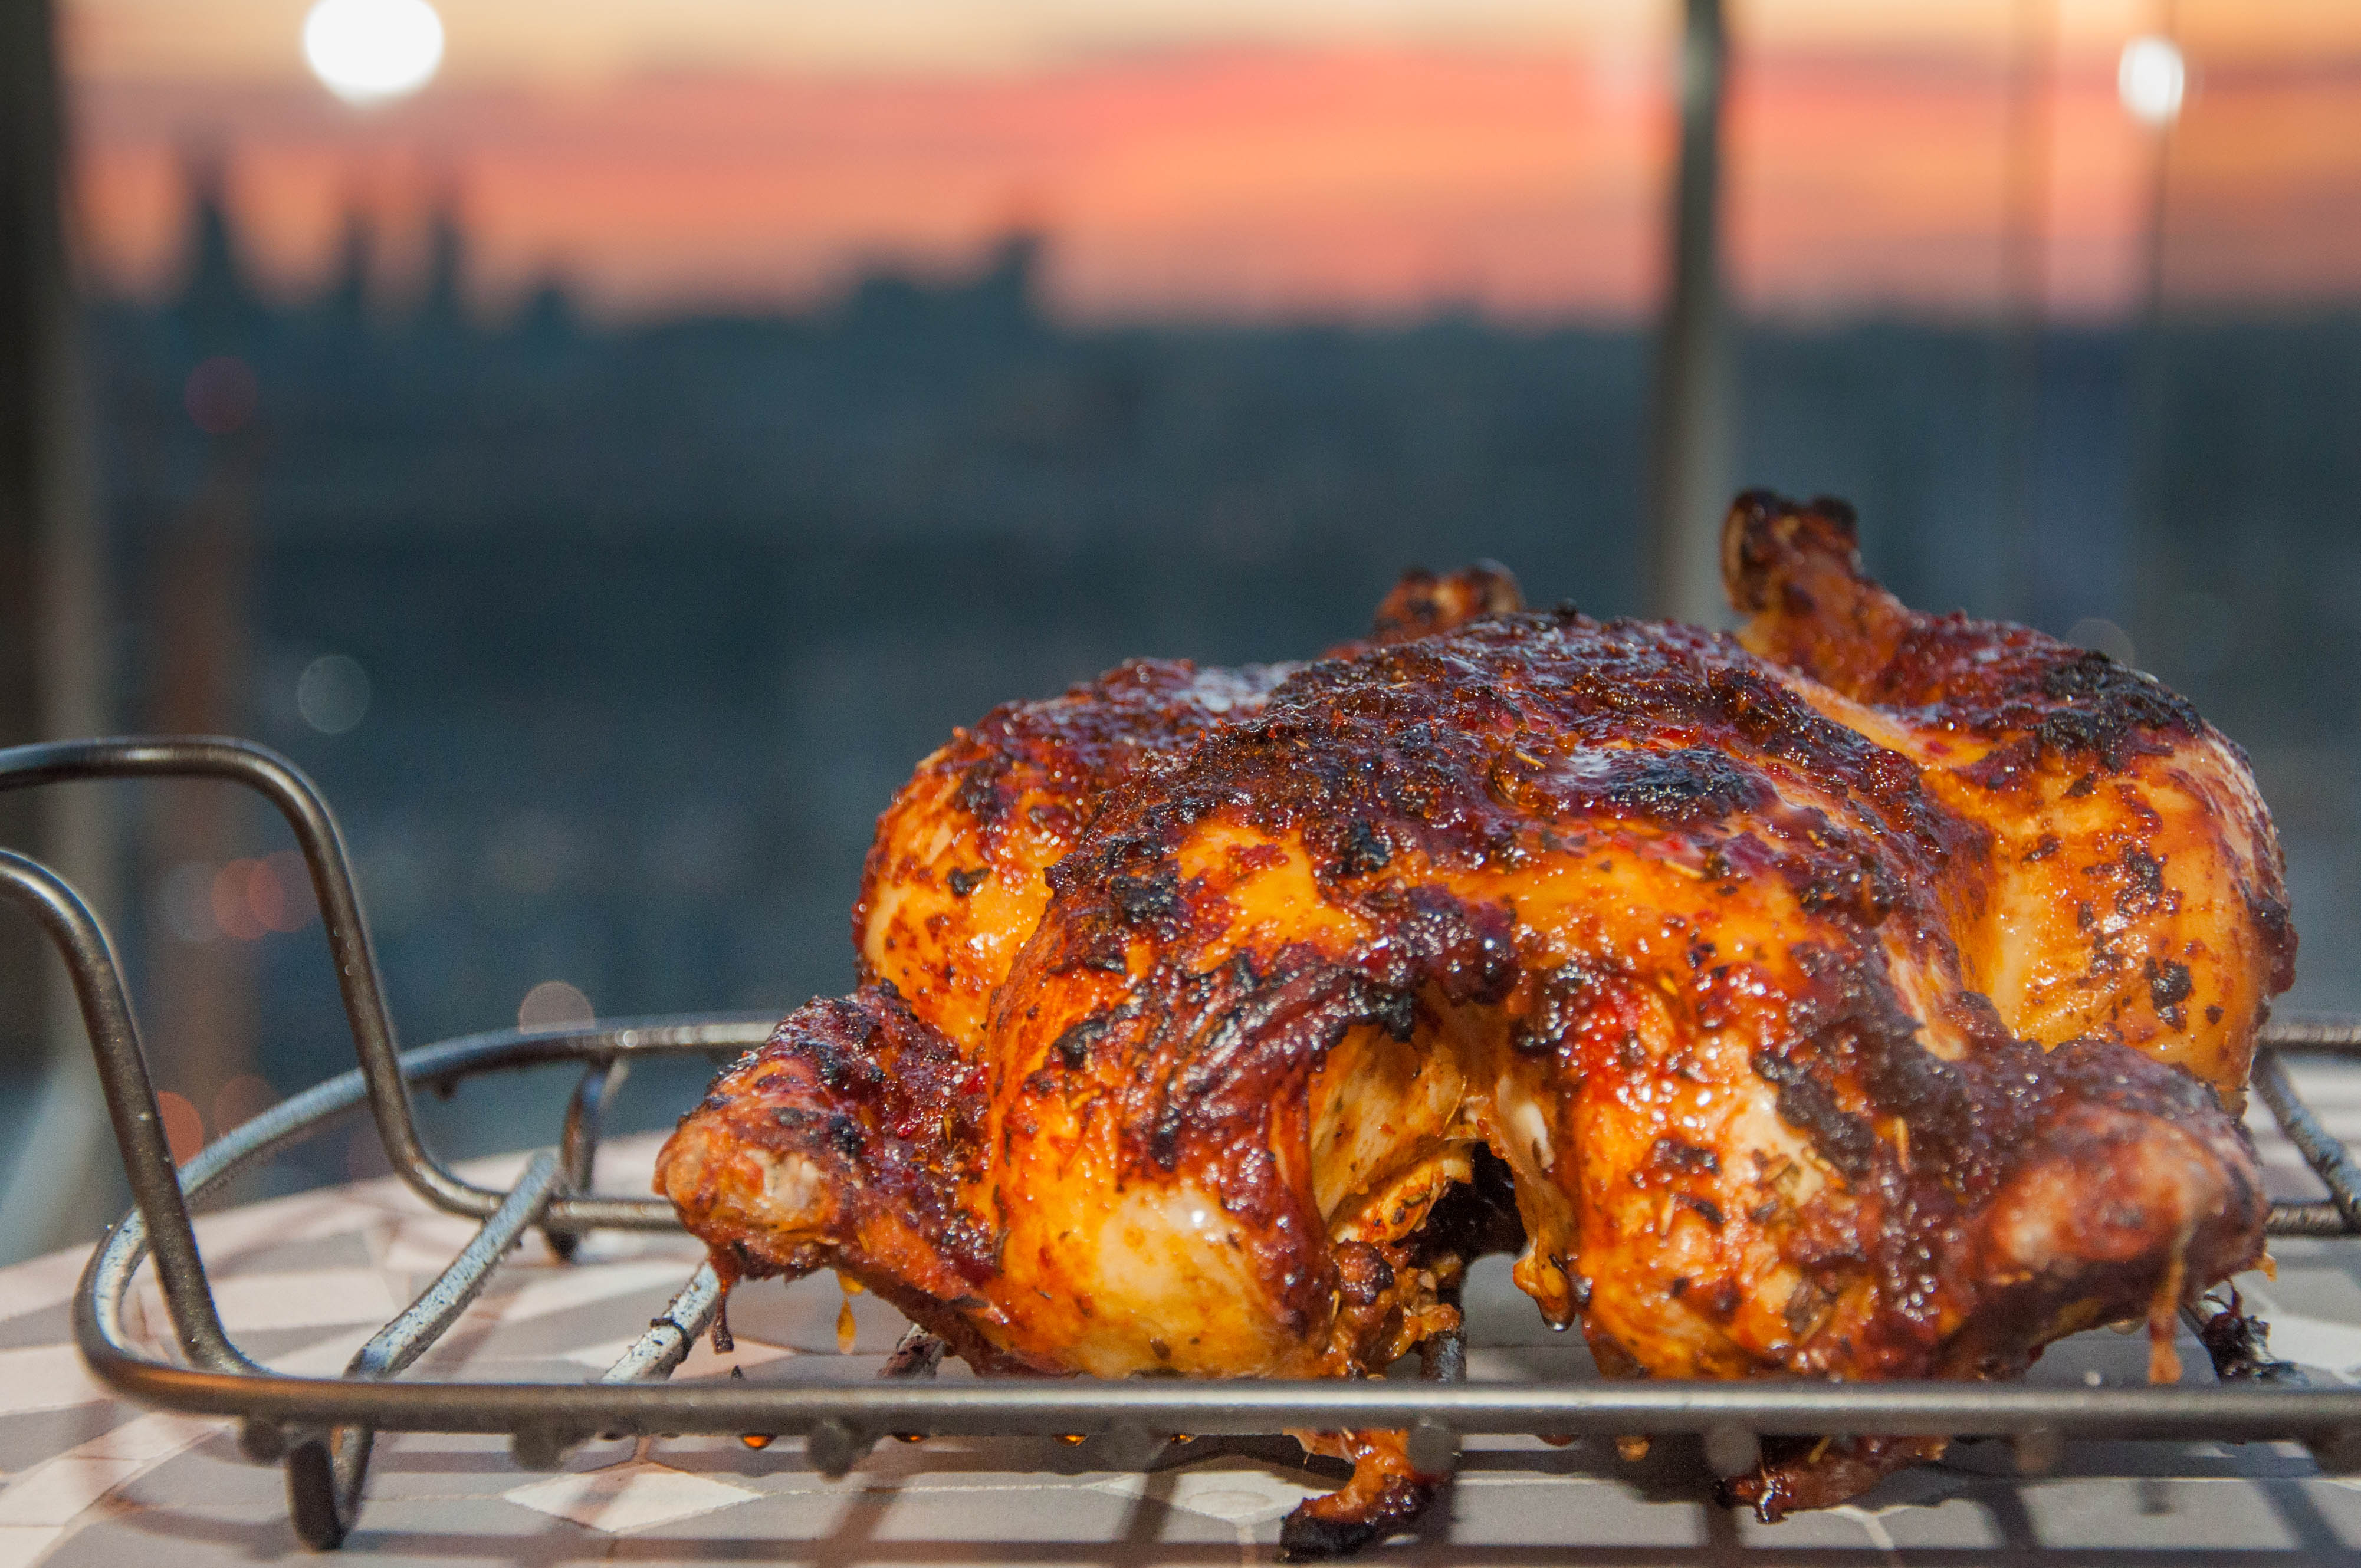
- Back to the chicken – Once cooked, carefully lift the chicken from the roasting tin onto a plate and cover it loosely with foil so it can rest and become juicier.
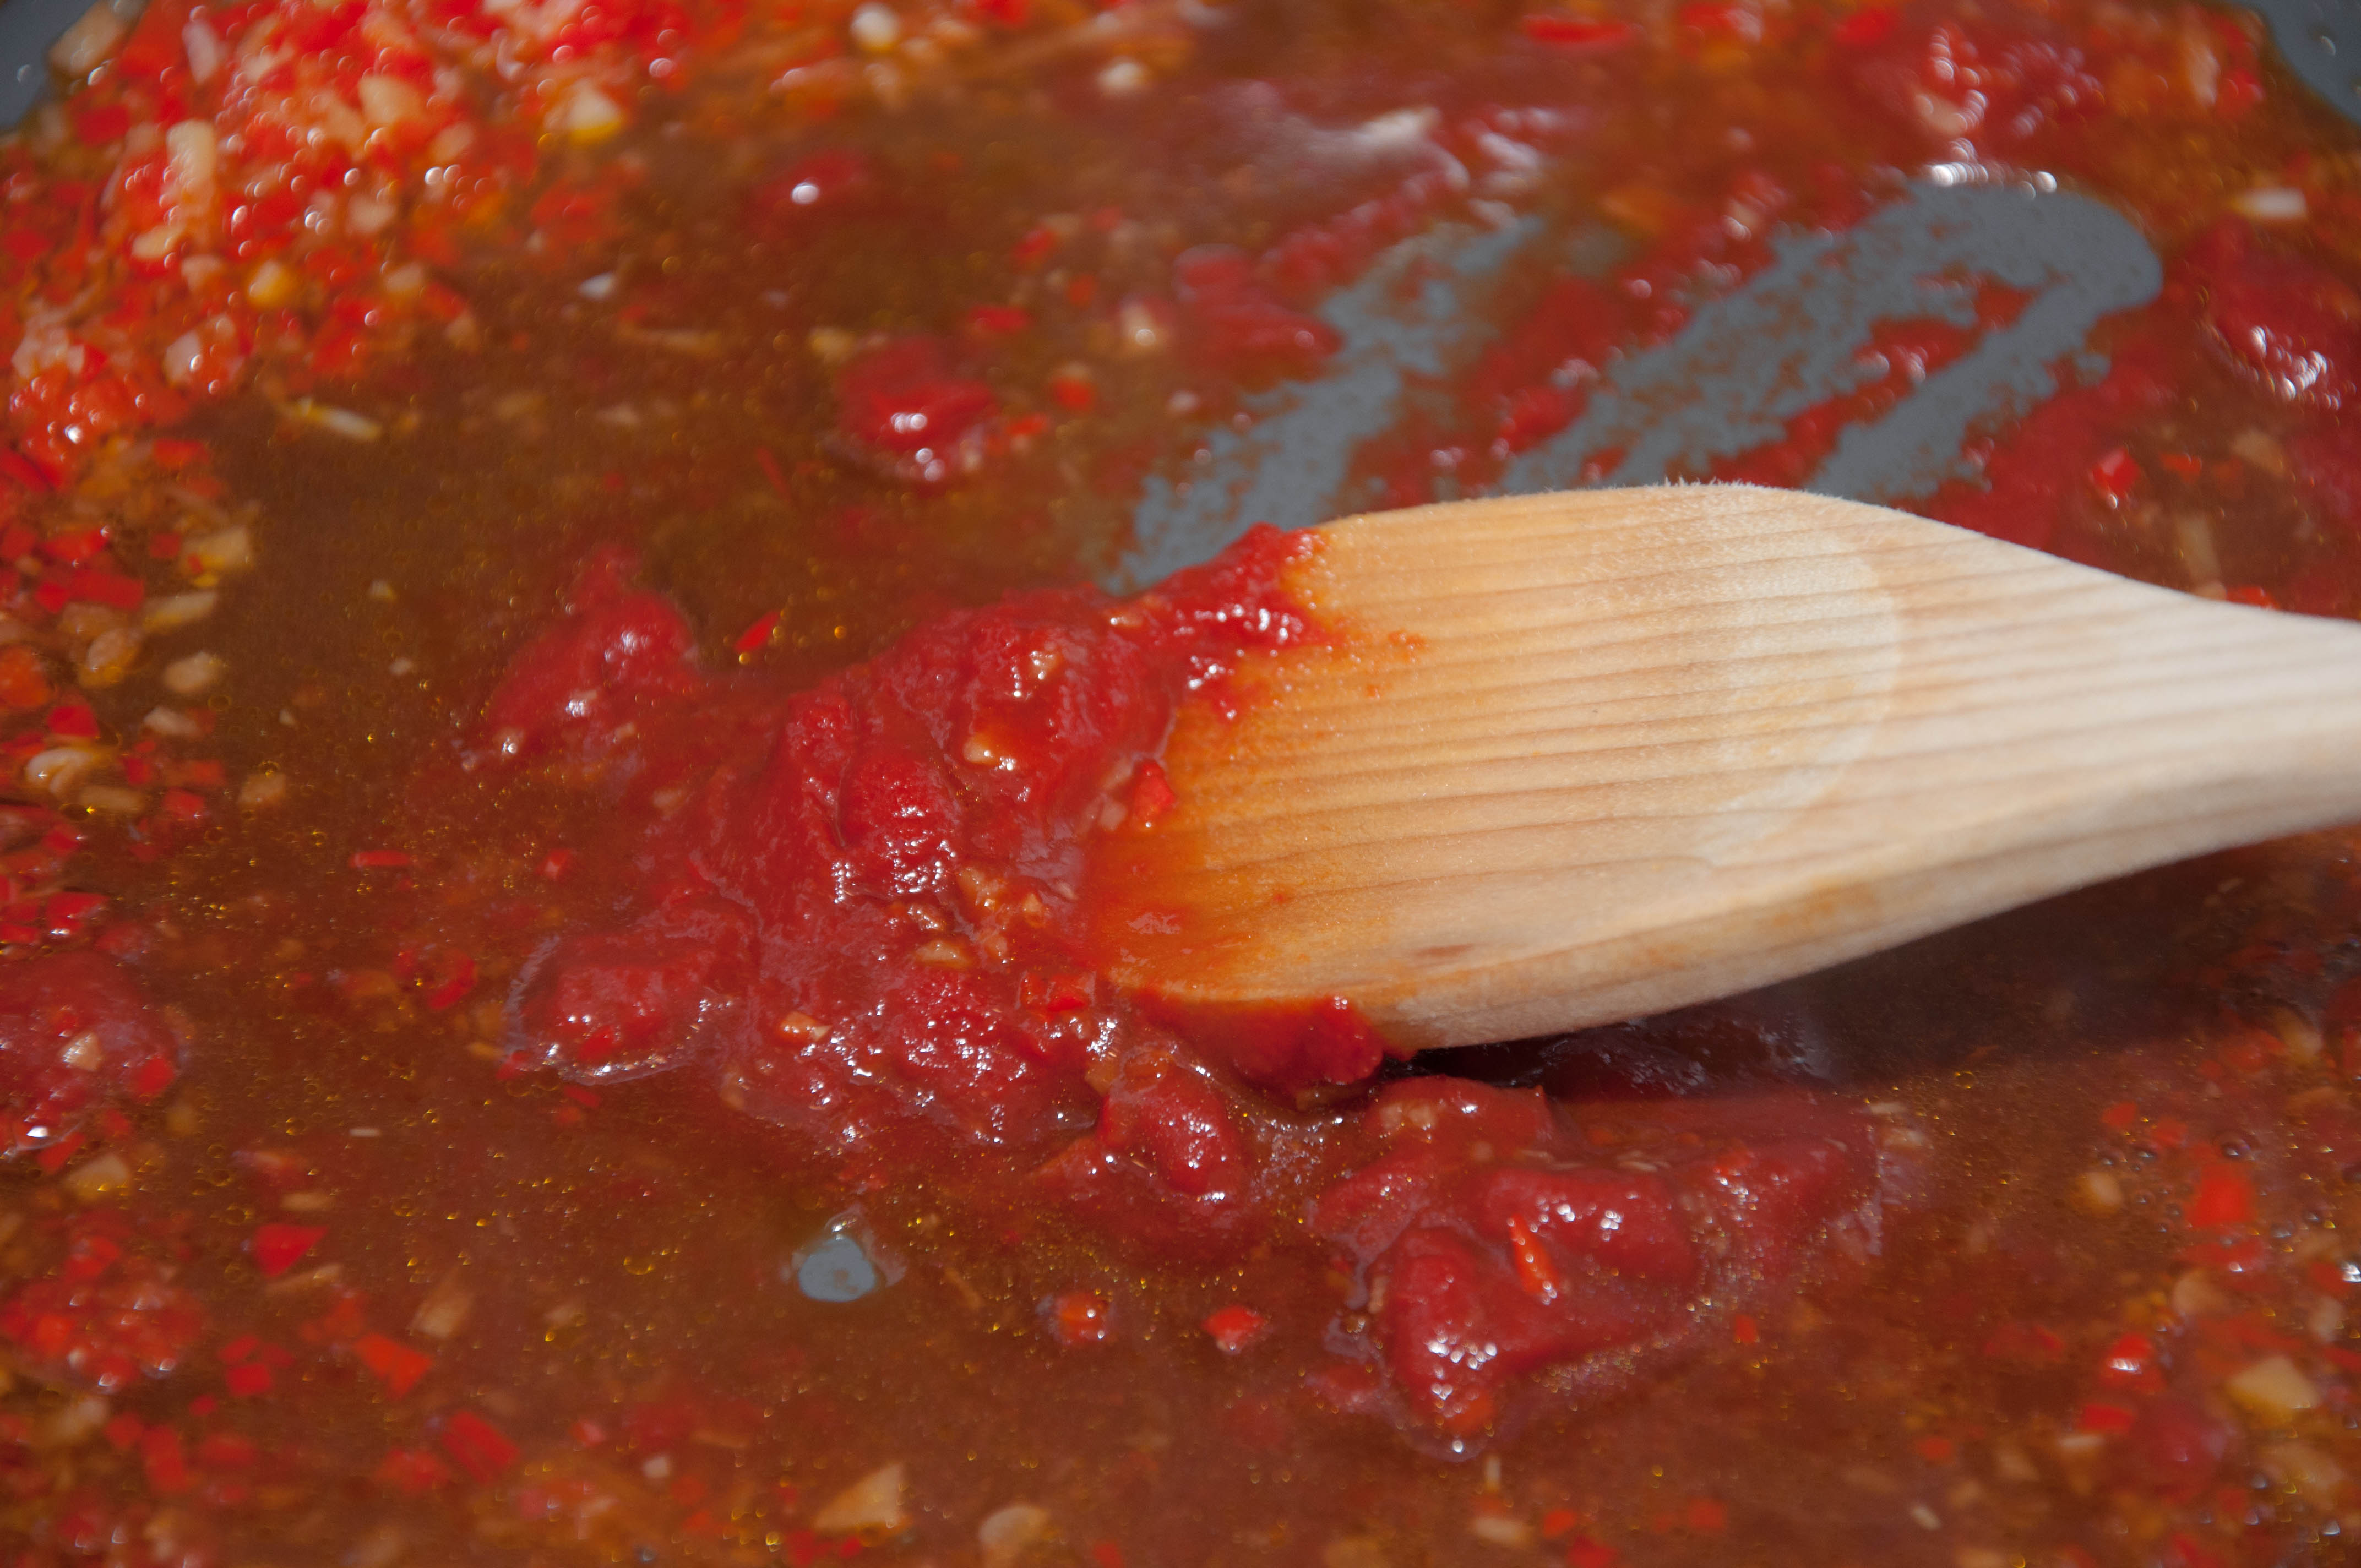
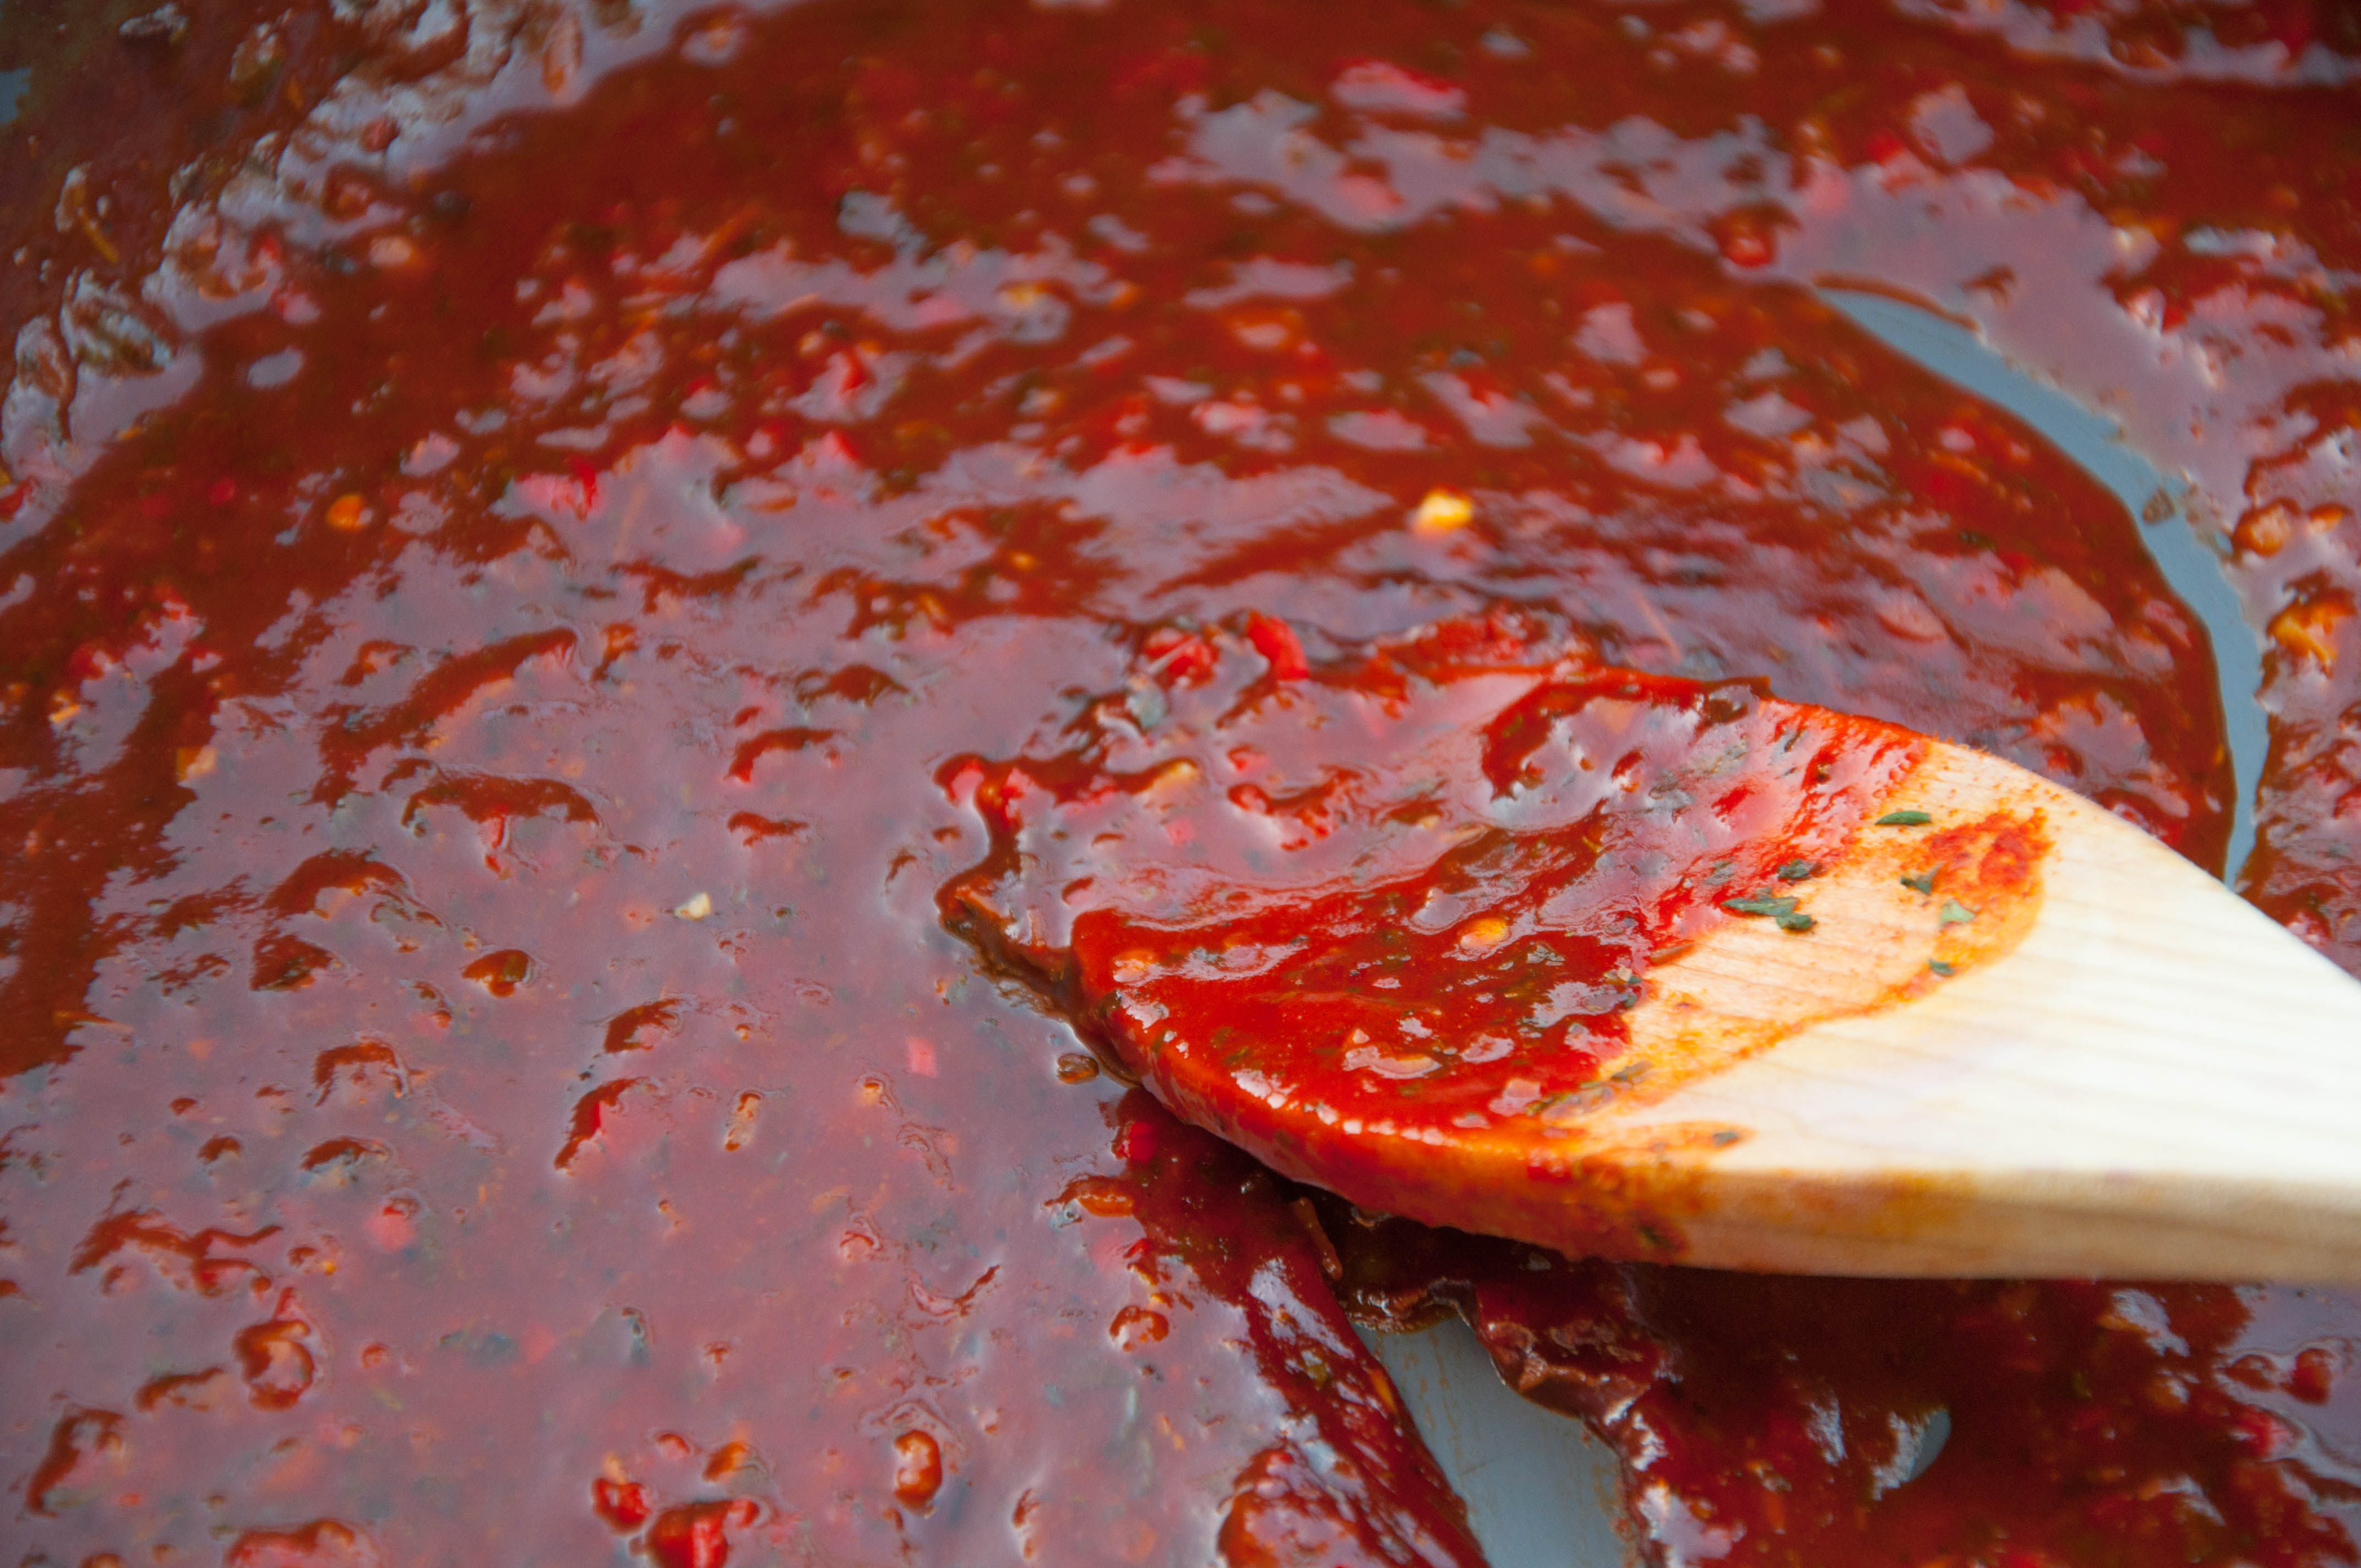
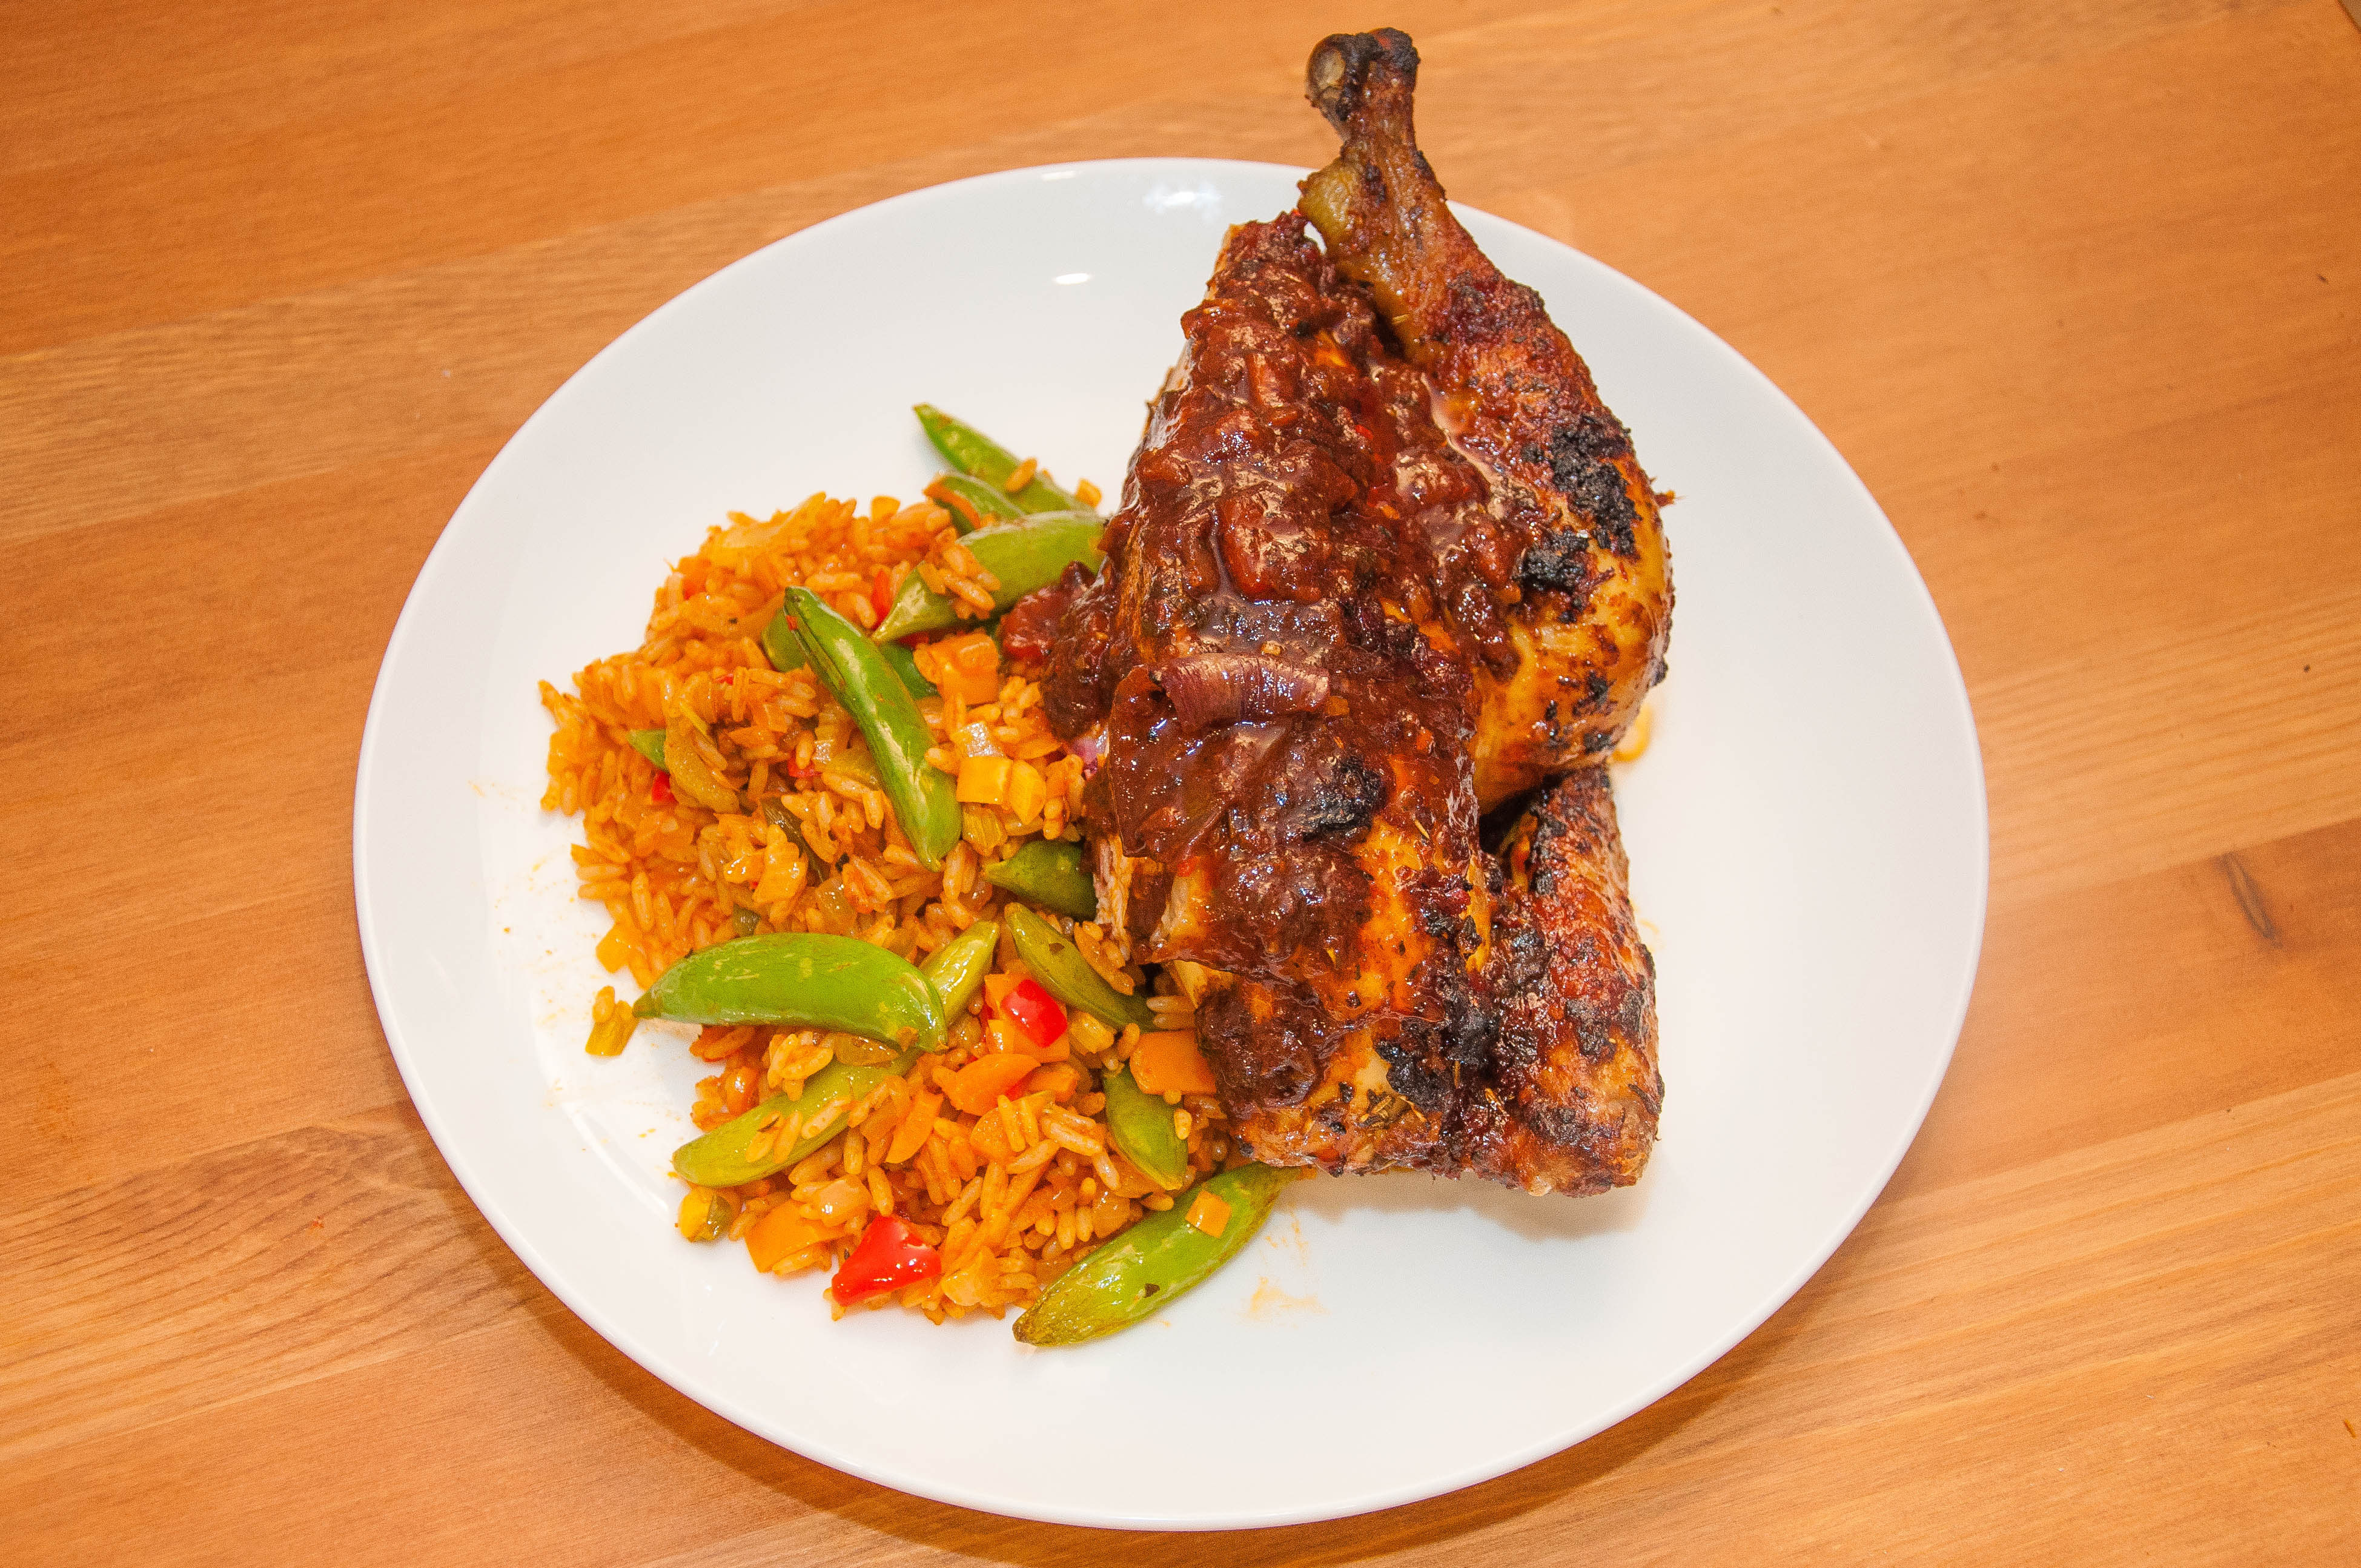
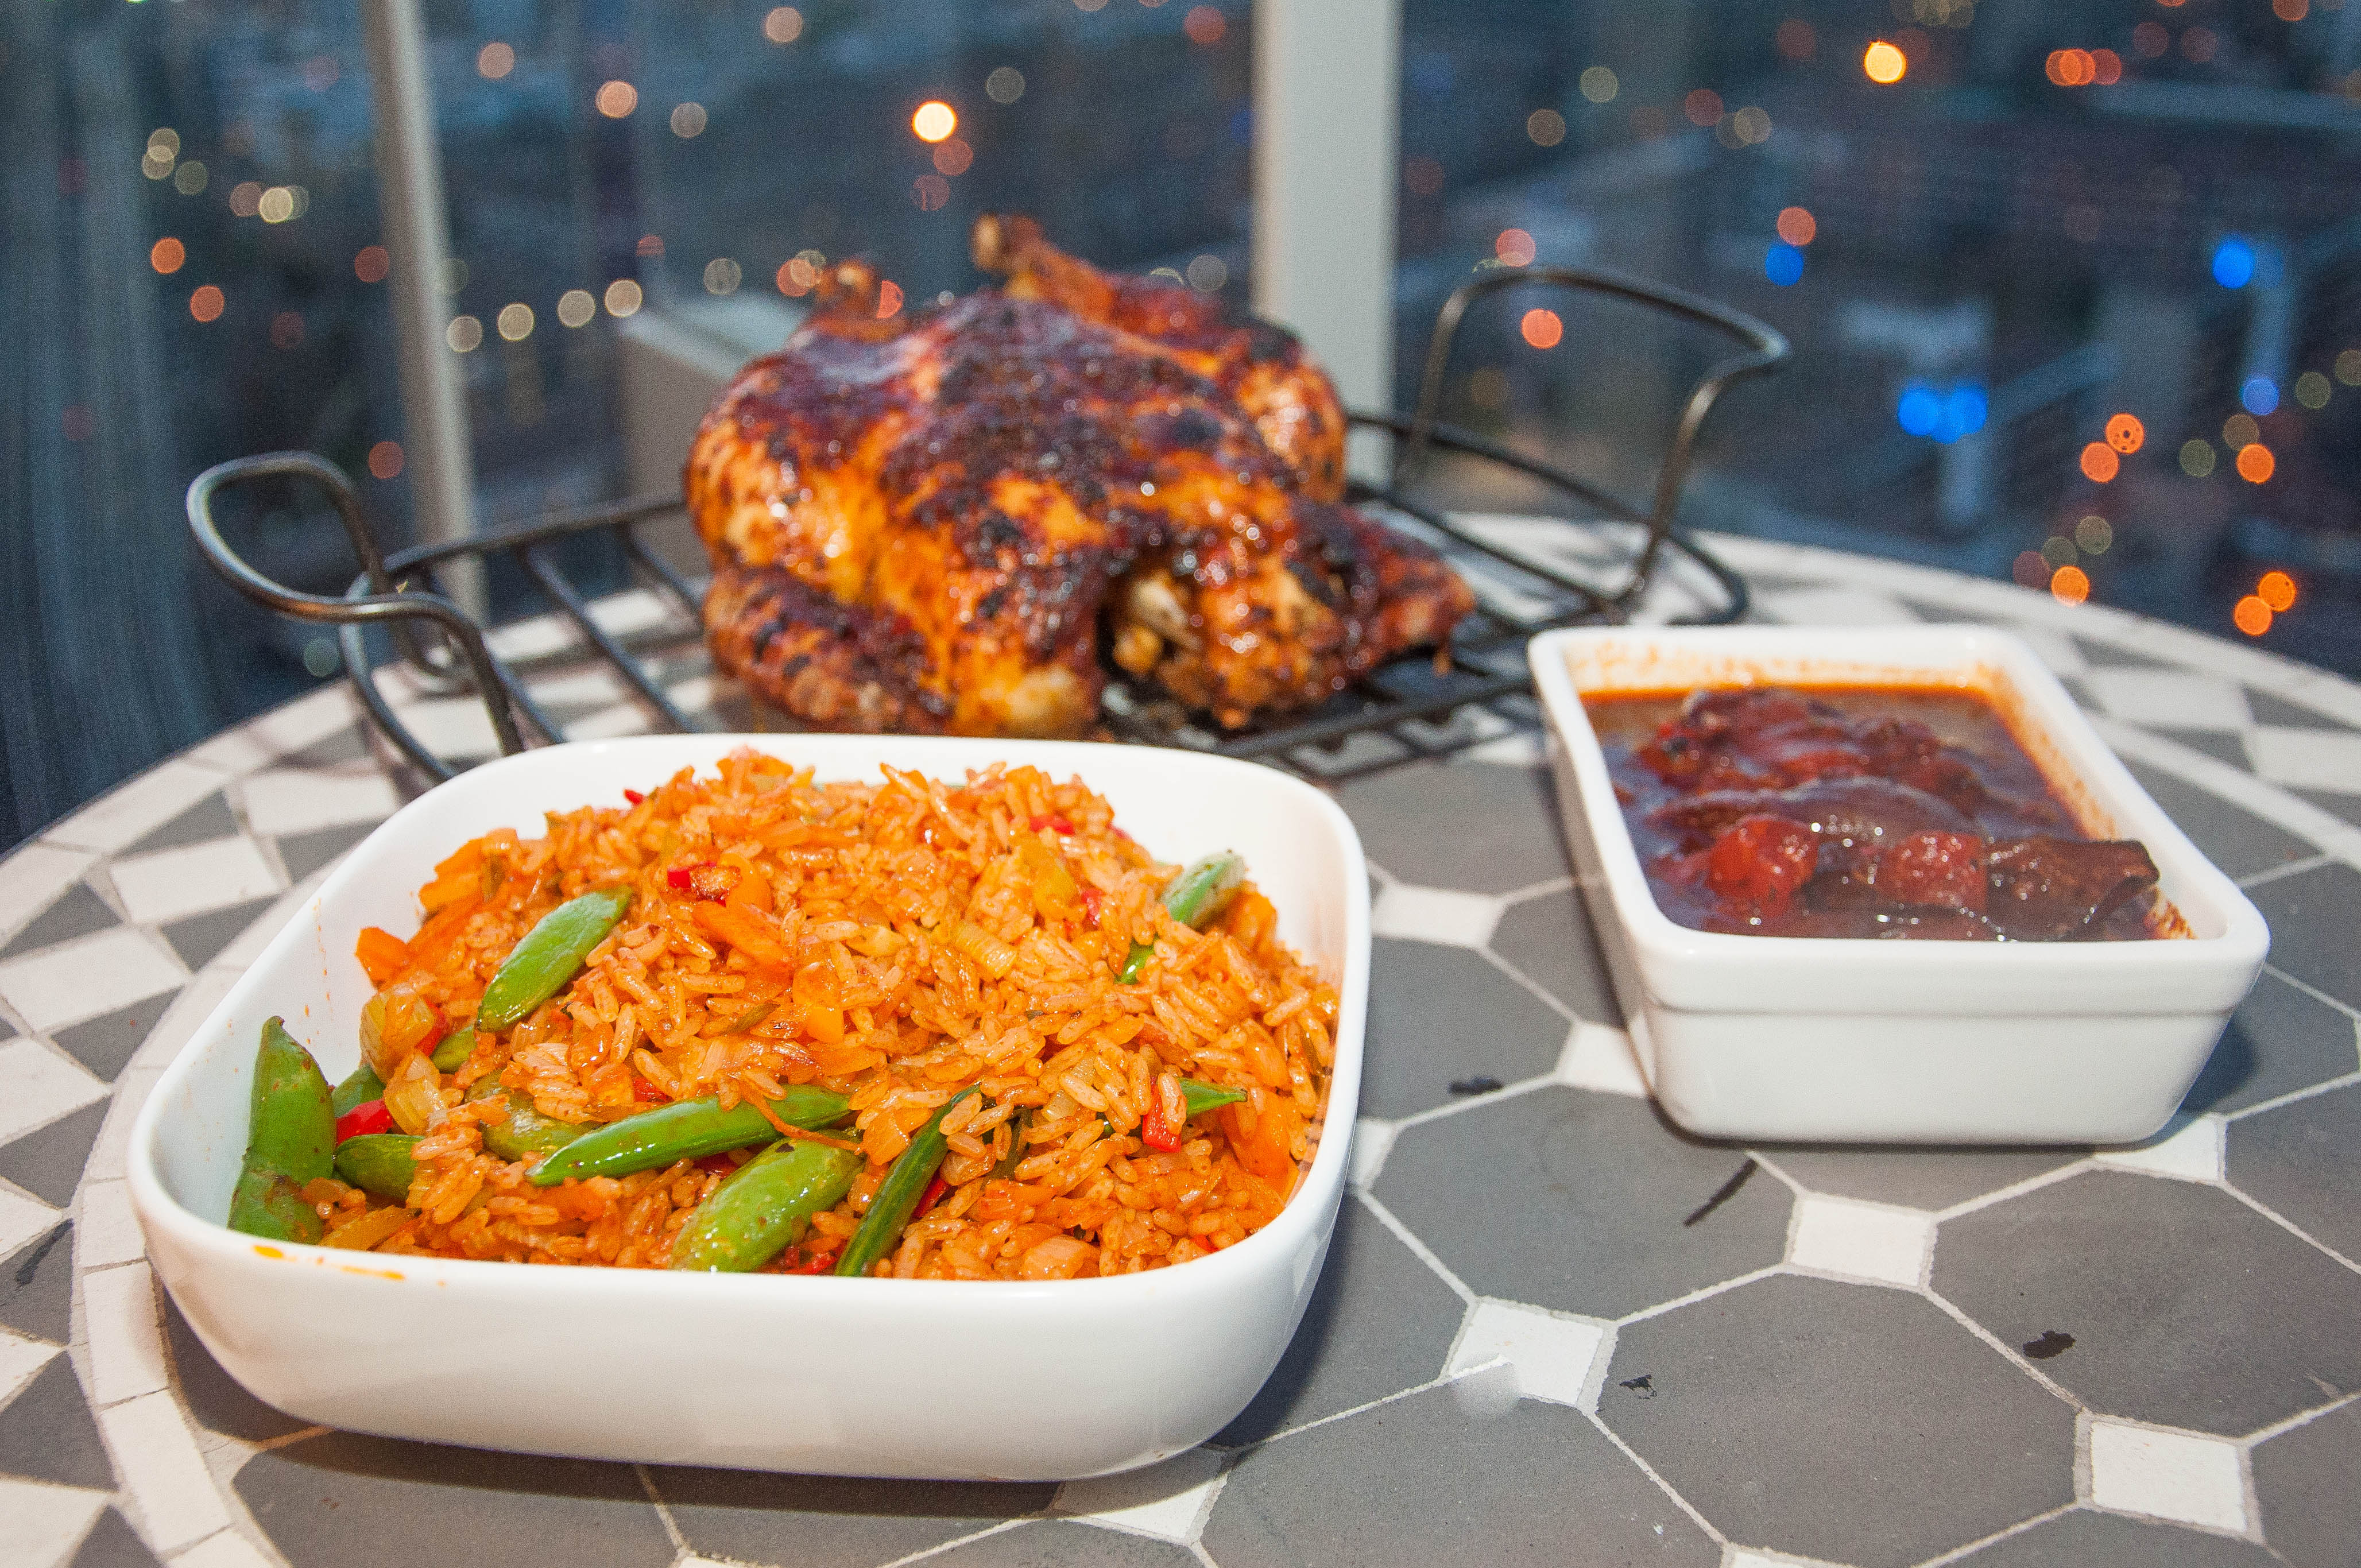
- Now to make some more Piri Piri sauce to serve with the chicken. Carefully pour the oil out from the roasting tin, leaving the juice and sticky bits behind. Put it on a medium heat and add the onions, the rest of the prepared sauce mixture, some chopped tomatoes and the cider, stock and red wine. Allow to simmer and reduce for a some minutes, scraping up all the sticky bits from the bottom.
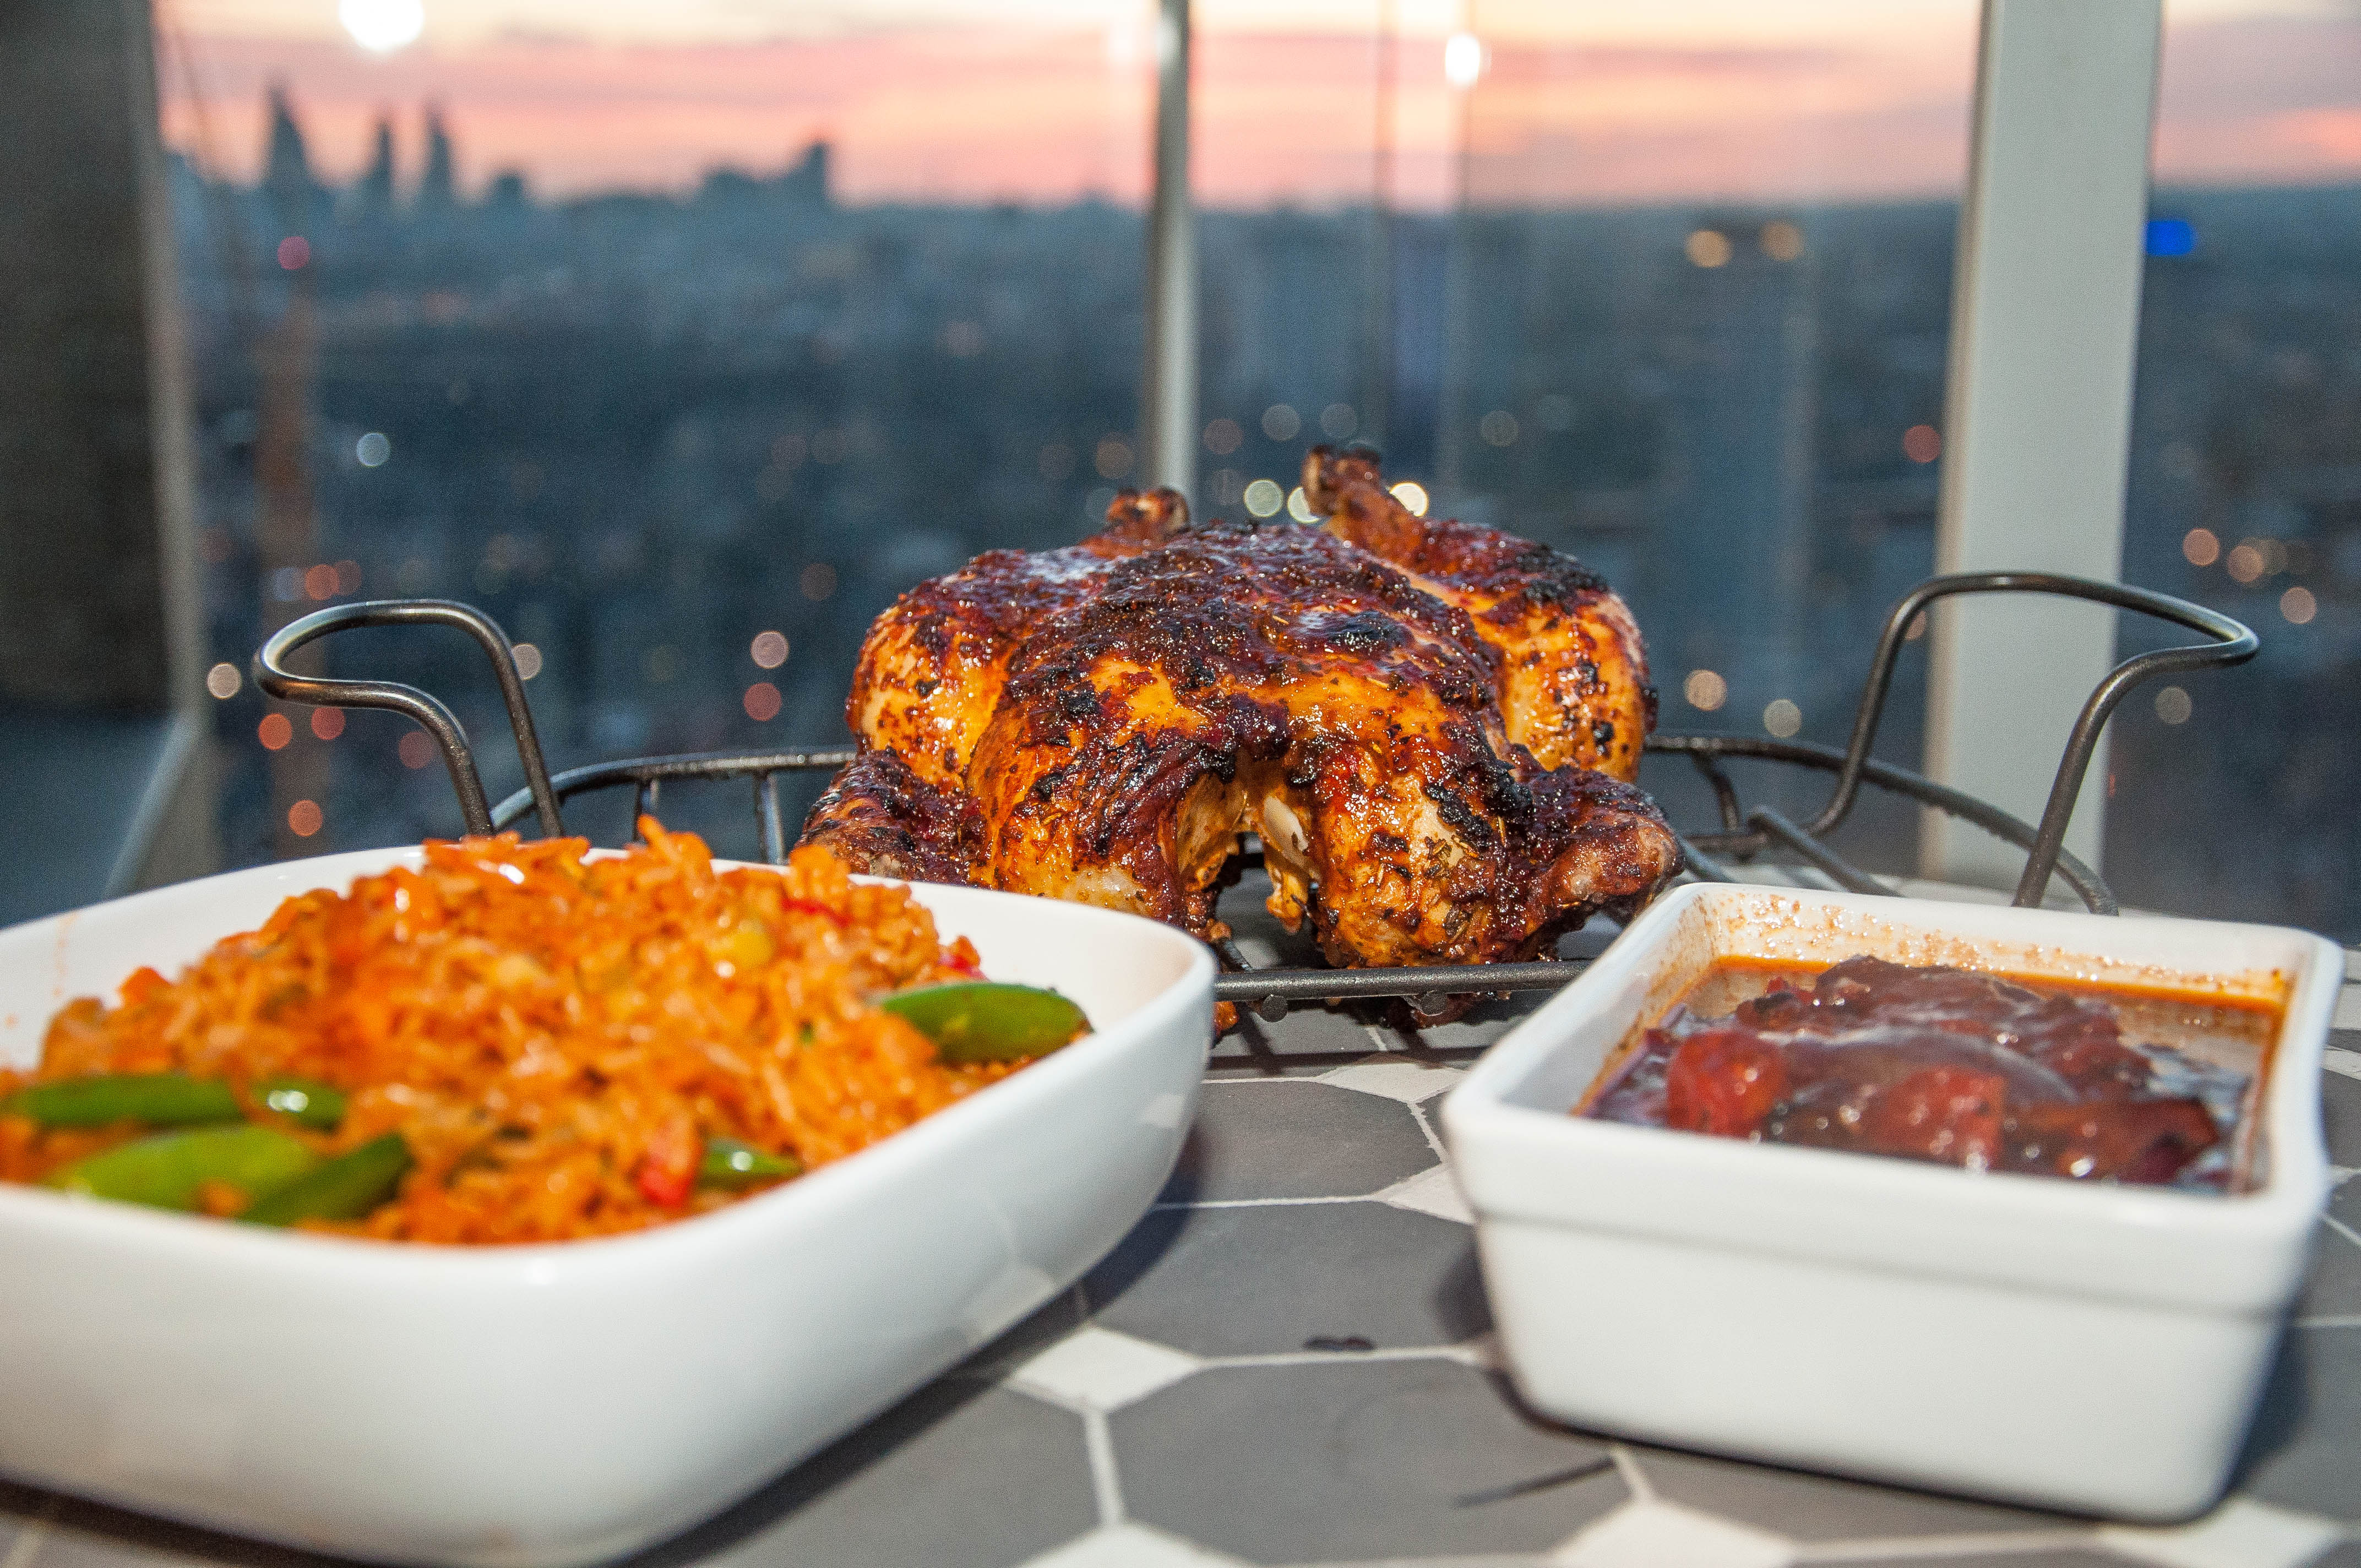
- Returning to the chicken, pour any juices on the plate into the sauce before carving the meat. Arrange on serving plates with the roasted Piri Piri sauce and a helping of the spicy rice.
MUSIC I COOKED TO: