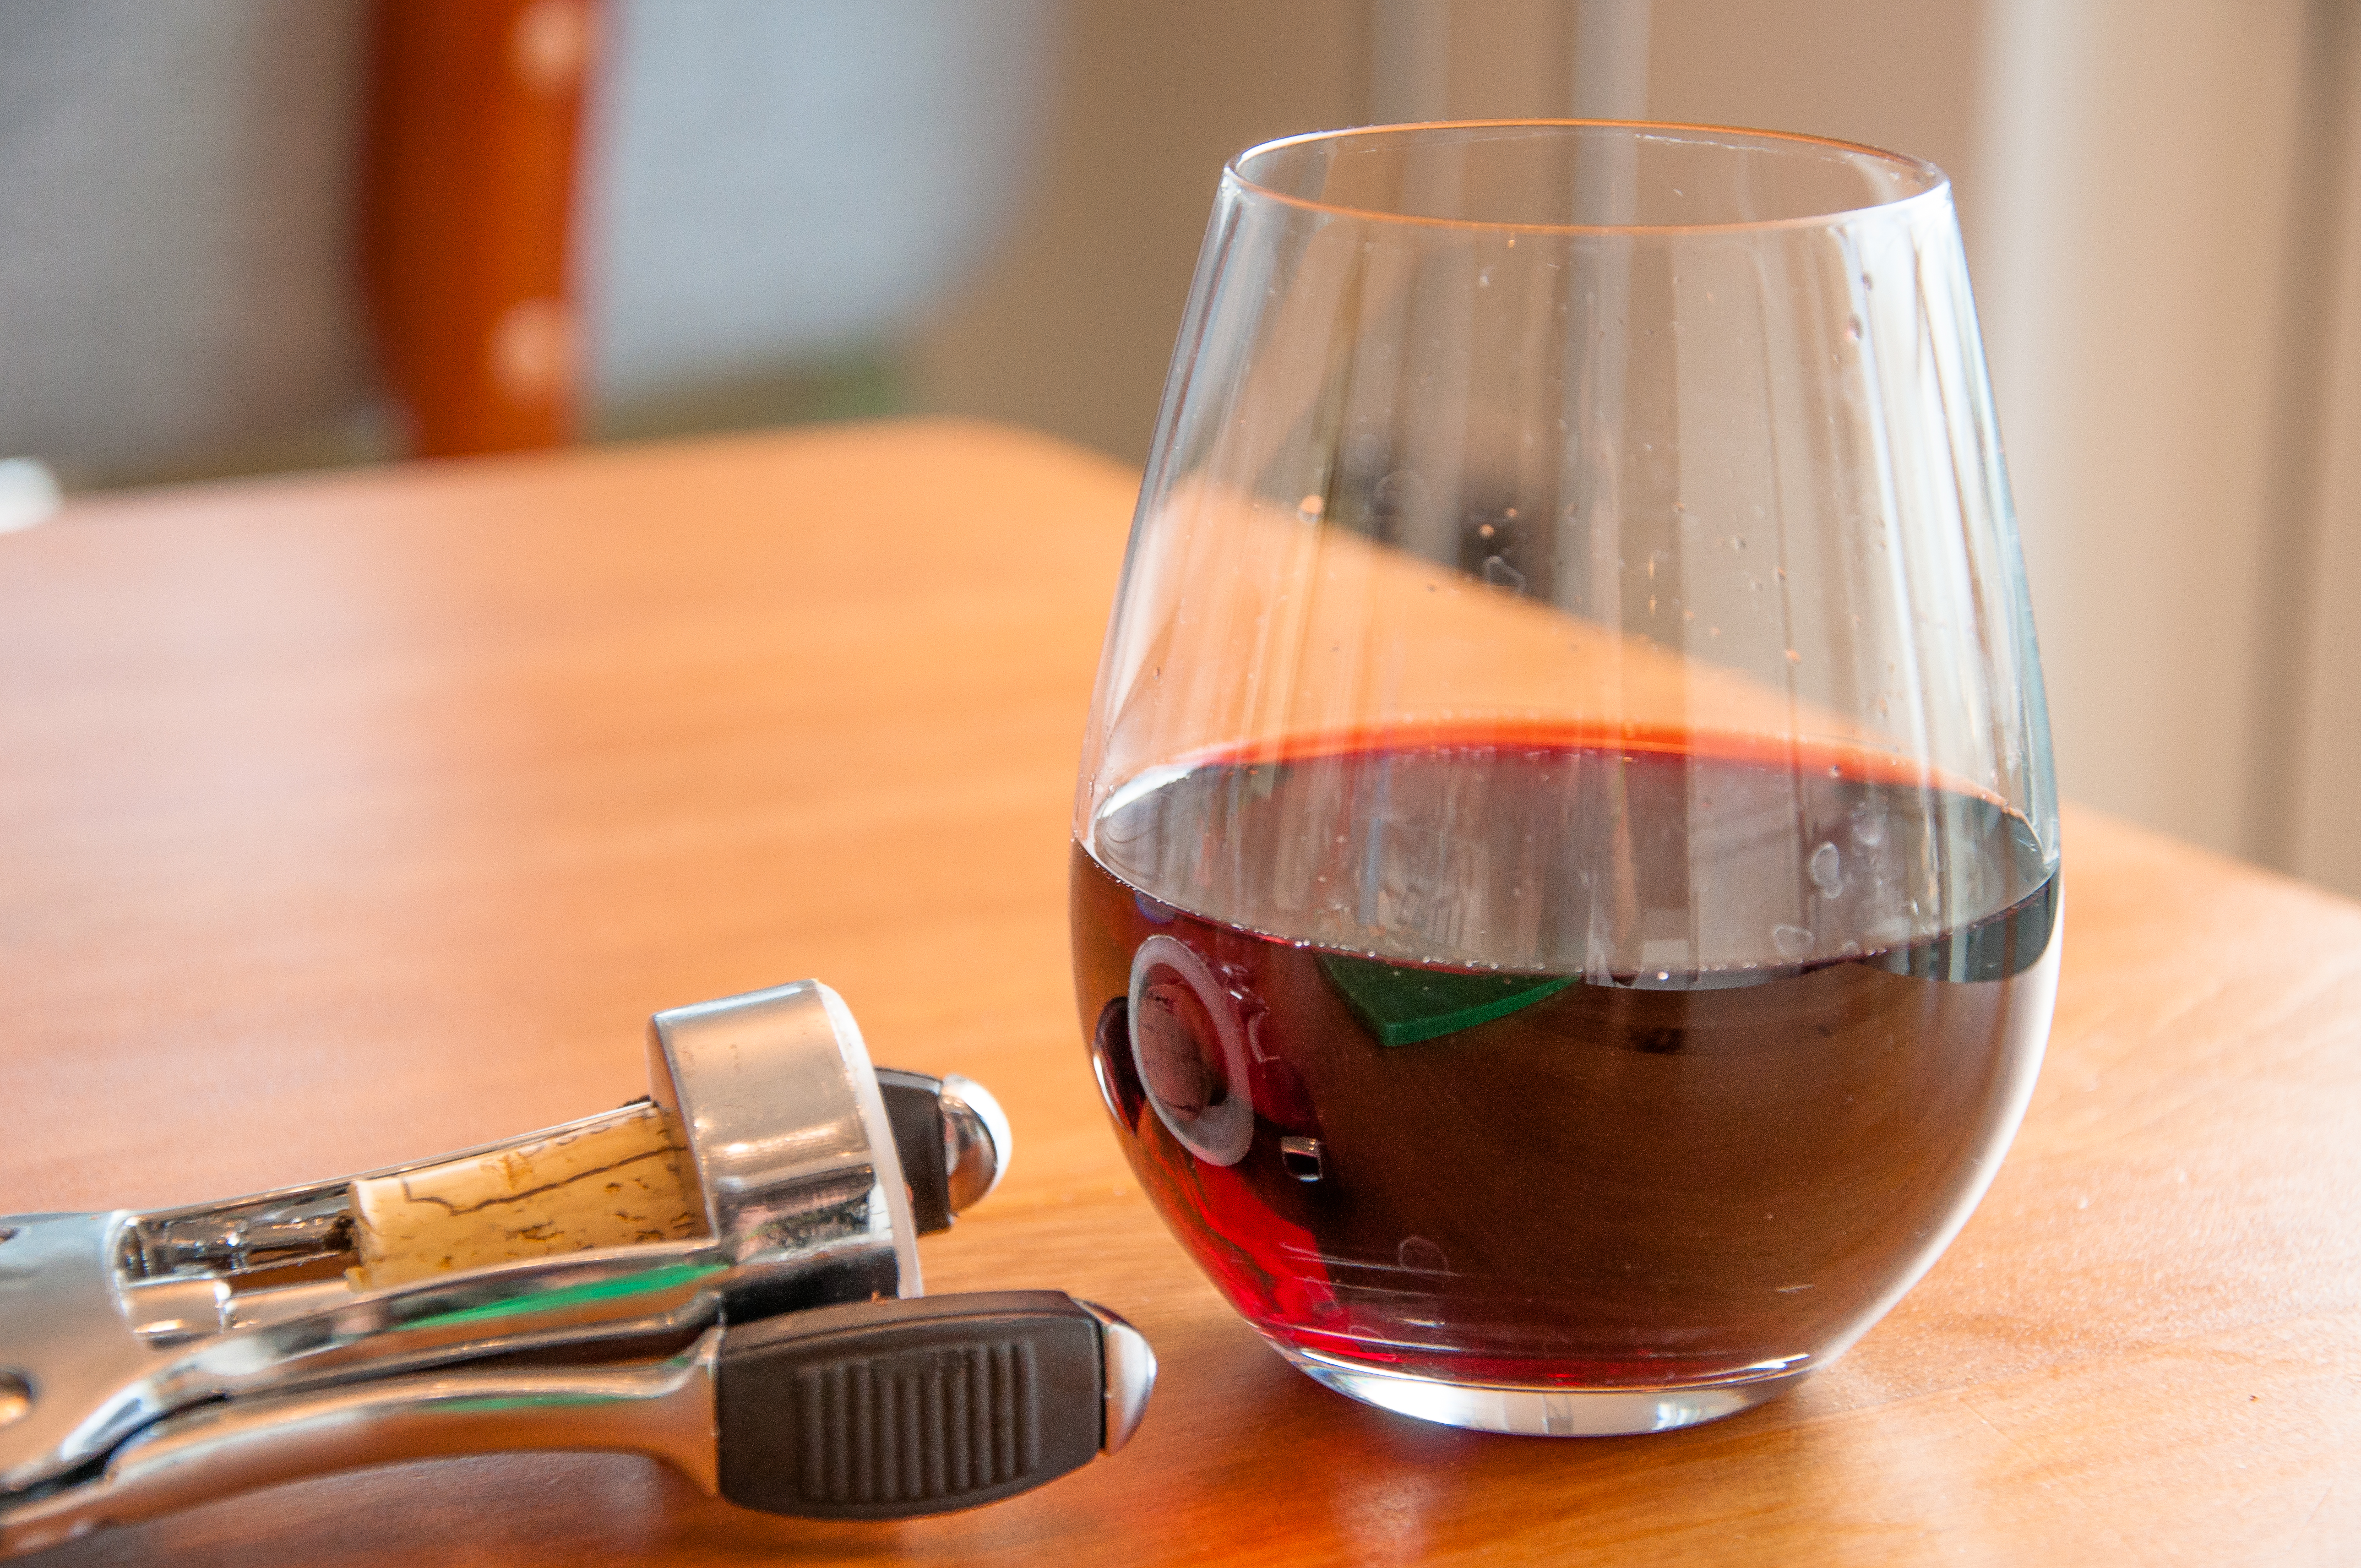
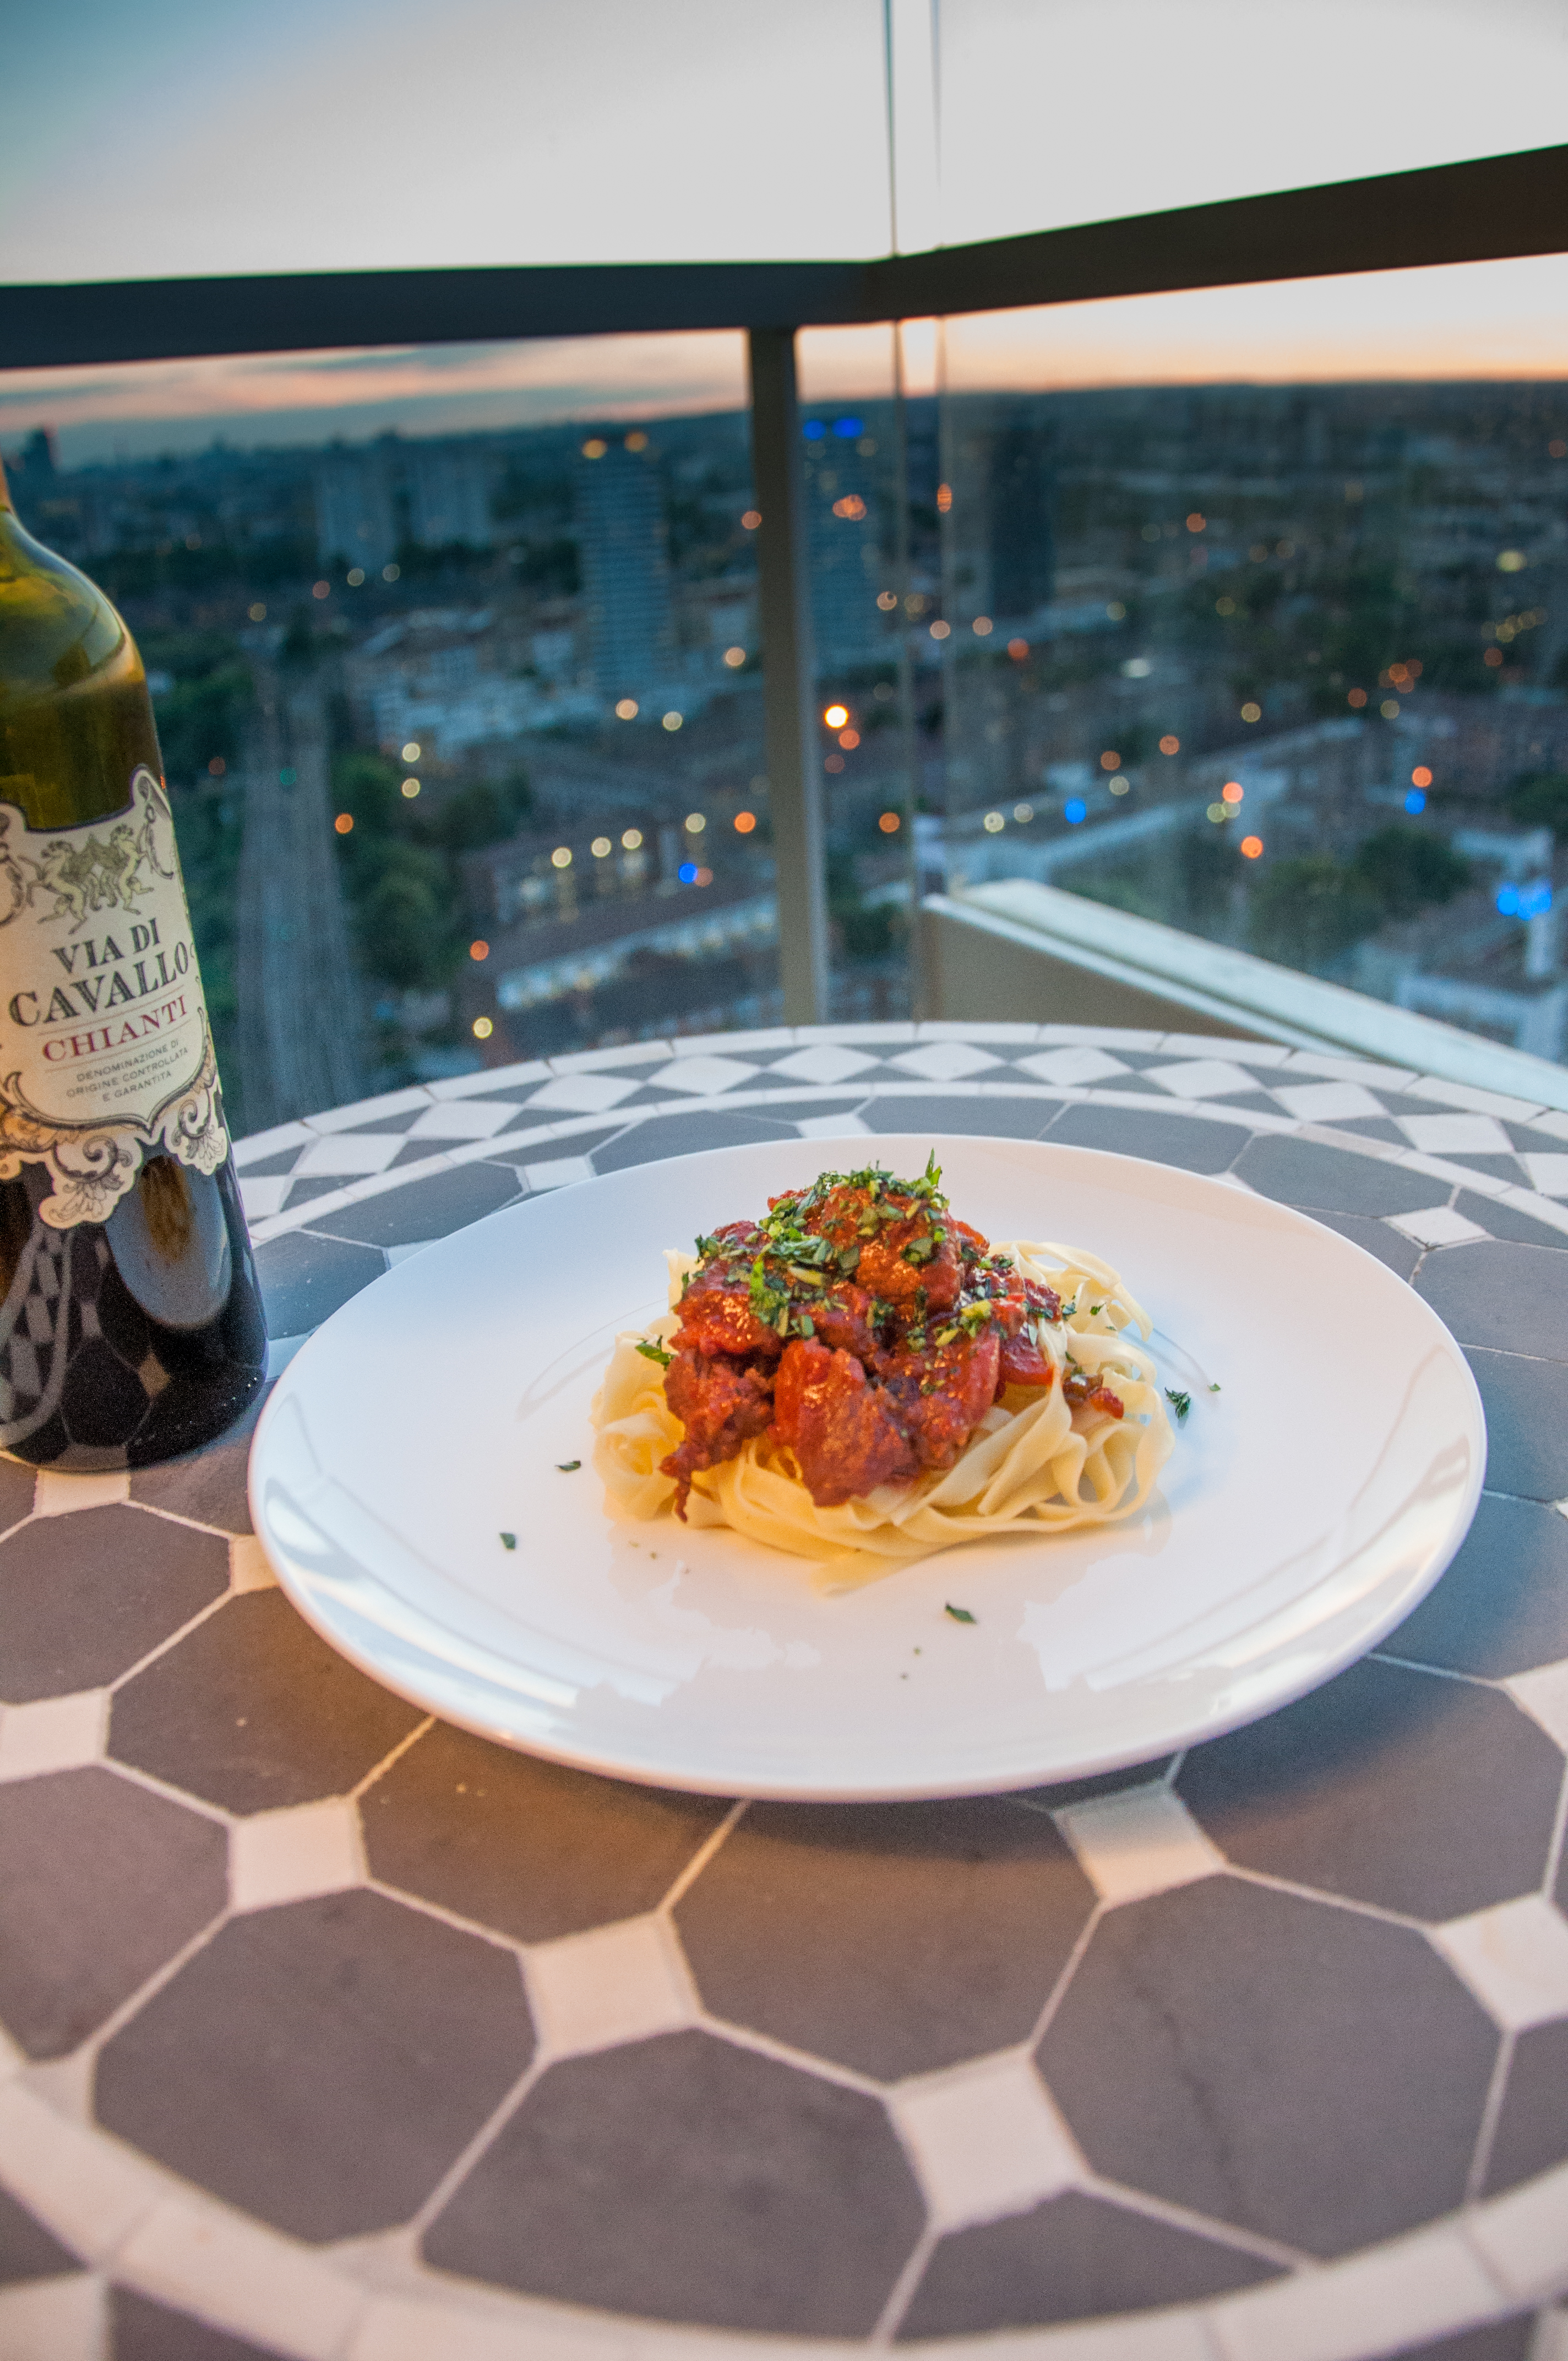
 So here it is by popular demand… well I say popular – two people asked for it, in fact probably just one person really, and I’m totally imagining the other. But anyway – here it is… my recipe for a frickin tasty, meat-tastic beef ragù. Be warned – it has to be slow cooked for at least a couple of hours minimum – so if your idea of effort in the kitchen is reaching for the HP sauce from the highest shelf in cupboard this may not be the recipe for you. Having said that its not a complicated recipe, and anyone with enough common sense to be around hot/pointy kitchen implements and utensils, without supervision, should have no problem getting brilliant results. Once its in the oven, it just needs checking every so often – leaving you free to find something suitably random to stick on Netflix for 3 hours – ‘Gangsters vs Zombies’ looks interesting. Anyway… back on track – a ragù is just a meat based sauce for pasta – thats it… nothing complicated, just a italian sounding meat stew really. This one, like many has a tomato and meat stock base, enhanced with a rich good quality red wine. Recipes do not come much easier than this and the BIG, deep, sumptuous, opulent flavours that come from the rich sauce and meltingly tender, slow cooked meat are just awesome – as with many recipes like this the effort to results ratio is pretty generous. The flavours come in amazing waves of complexity too – sweet, savoury, tangy, meaty… they just keep on coming. My girlfriend and I have been enjoying many bowls of this sitting on the sun on our little balcony recently – as this is the kind of dish thats perfect for cooking up a big batch and sticking in the fridge to heat up throughout the week. And just like all dishes of this kind – beef bourguignon, english stew or a meat paella – a couple of days in the fridge soaking up flavour just improves it. Its also perfect for cooking up in big batches if you have a load of mouths to feed as its so easy to do, and basically is classic one big pot cooking – I recently had to do this myself, cooking up two big patches for my girlfriend to take on a girls weekend away she was doing with some friends in a beach cabin – though I have to admit it probably didn’t taste as good as concentrating on cooking up one, amazing, fantastically layered and slow cooked batch of ragù on a lazy Saturday or Sunday and enjoying it in the evening sun with a good glass of wine.
Music I Cooked to:
For the ragú
- Light olive oil, for frying
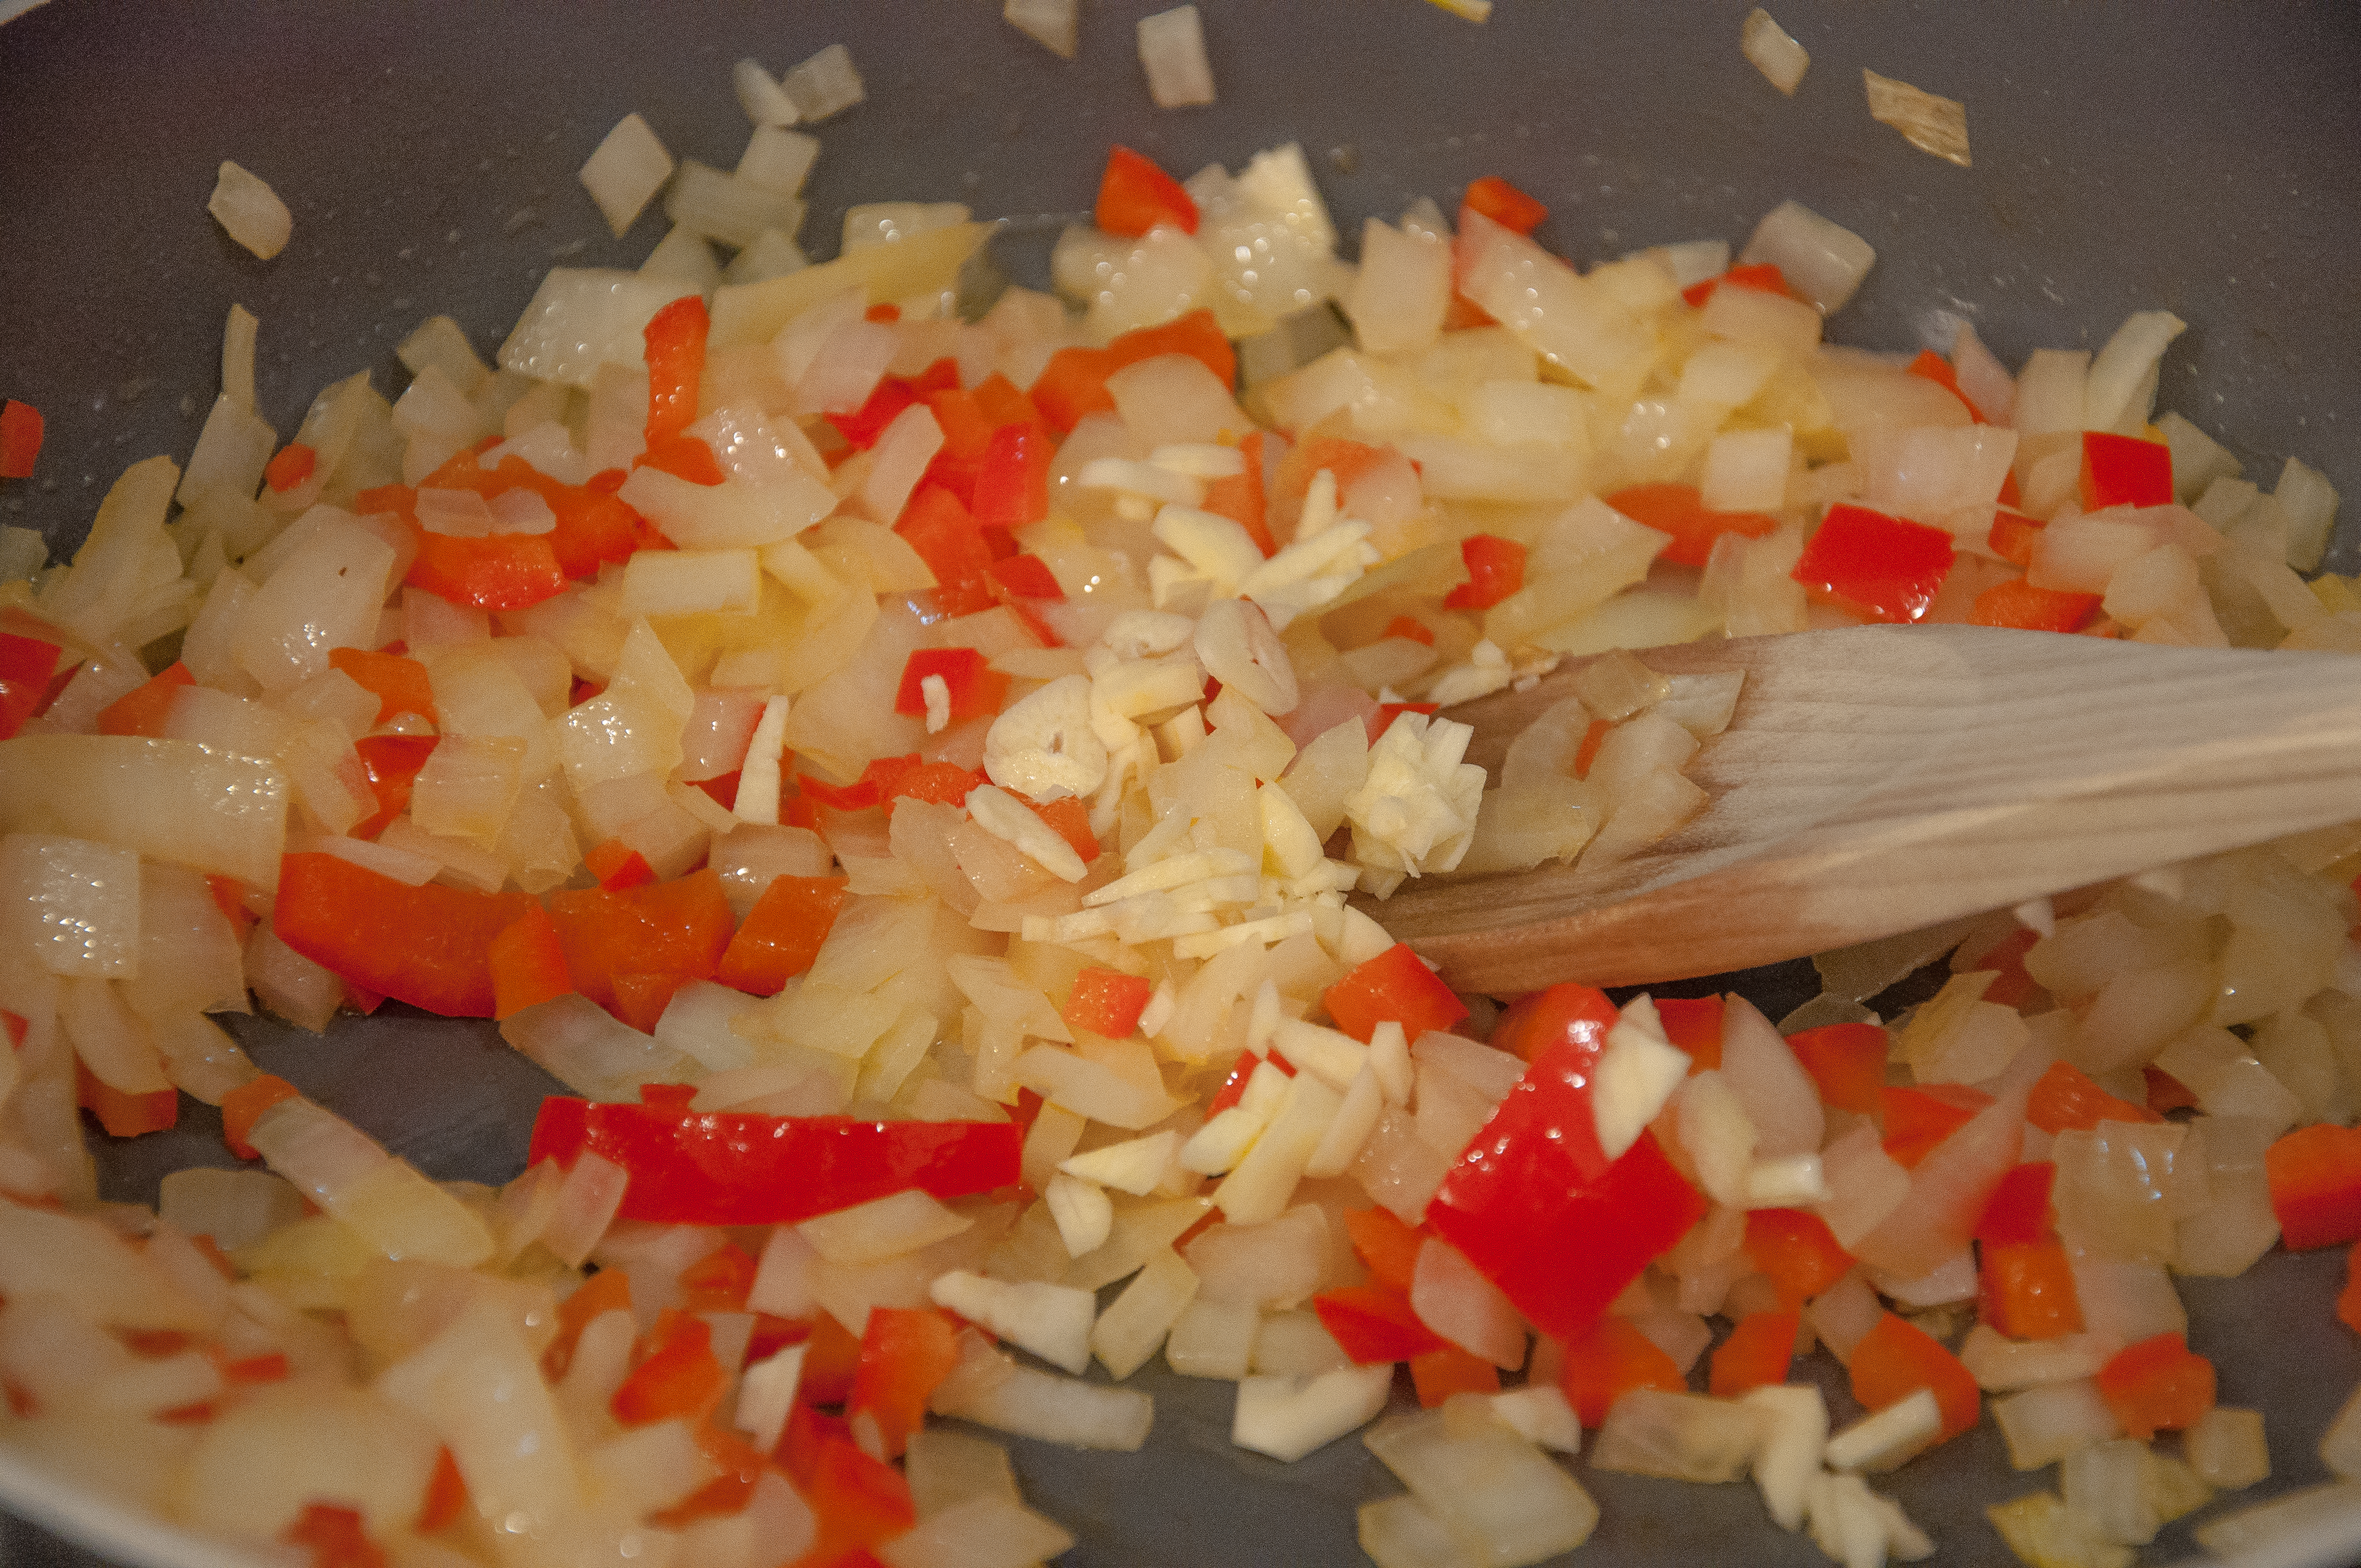
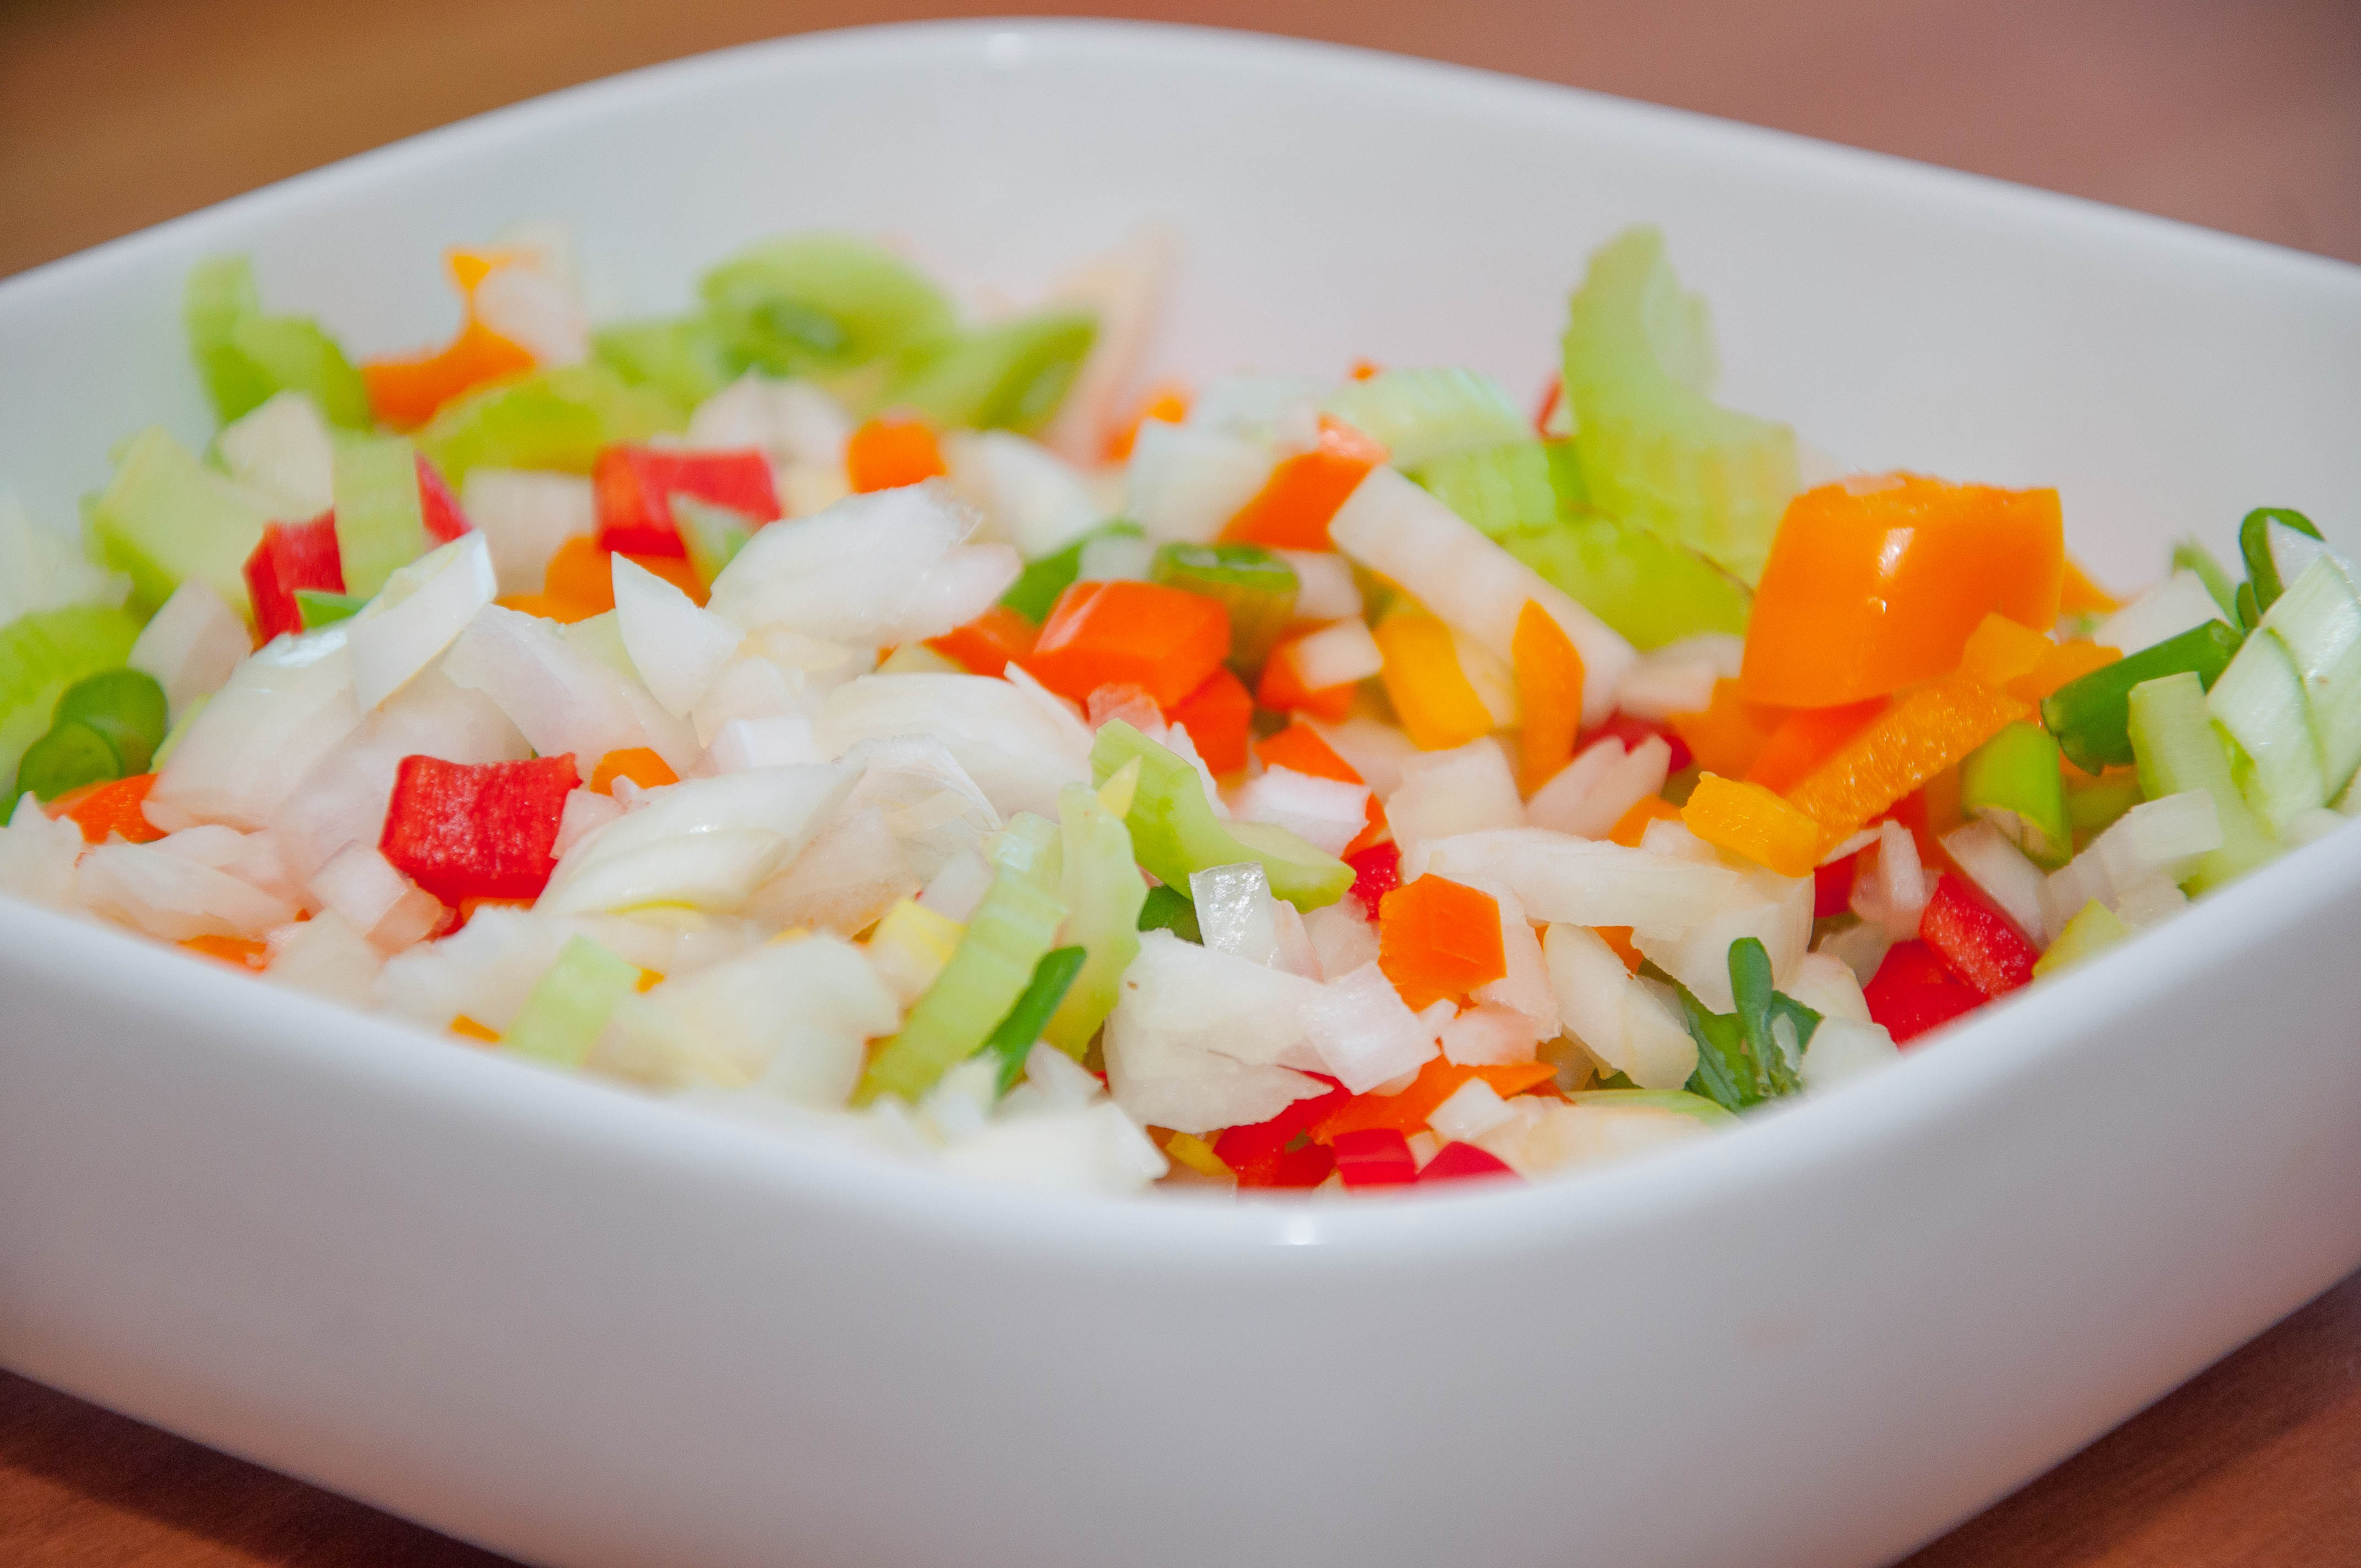
- 1 onion, peeled and finely chopped
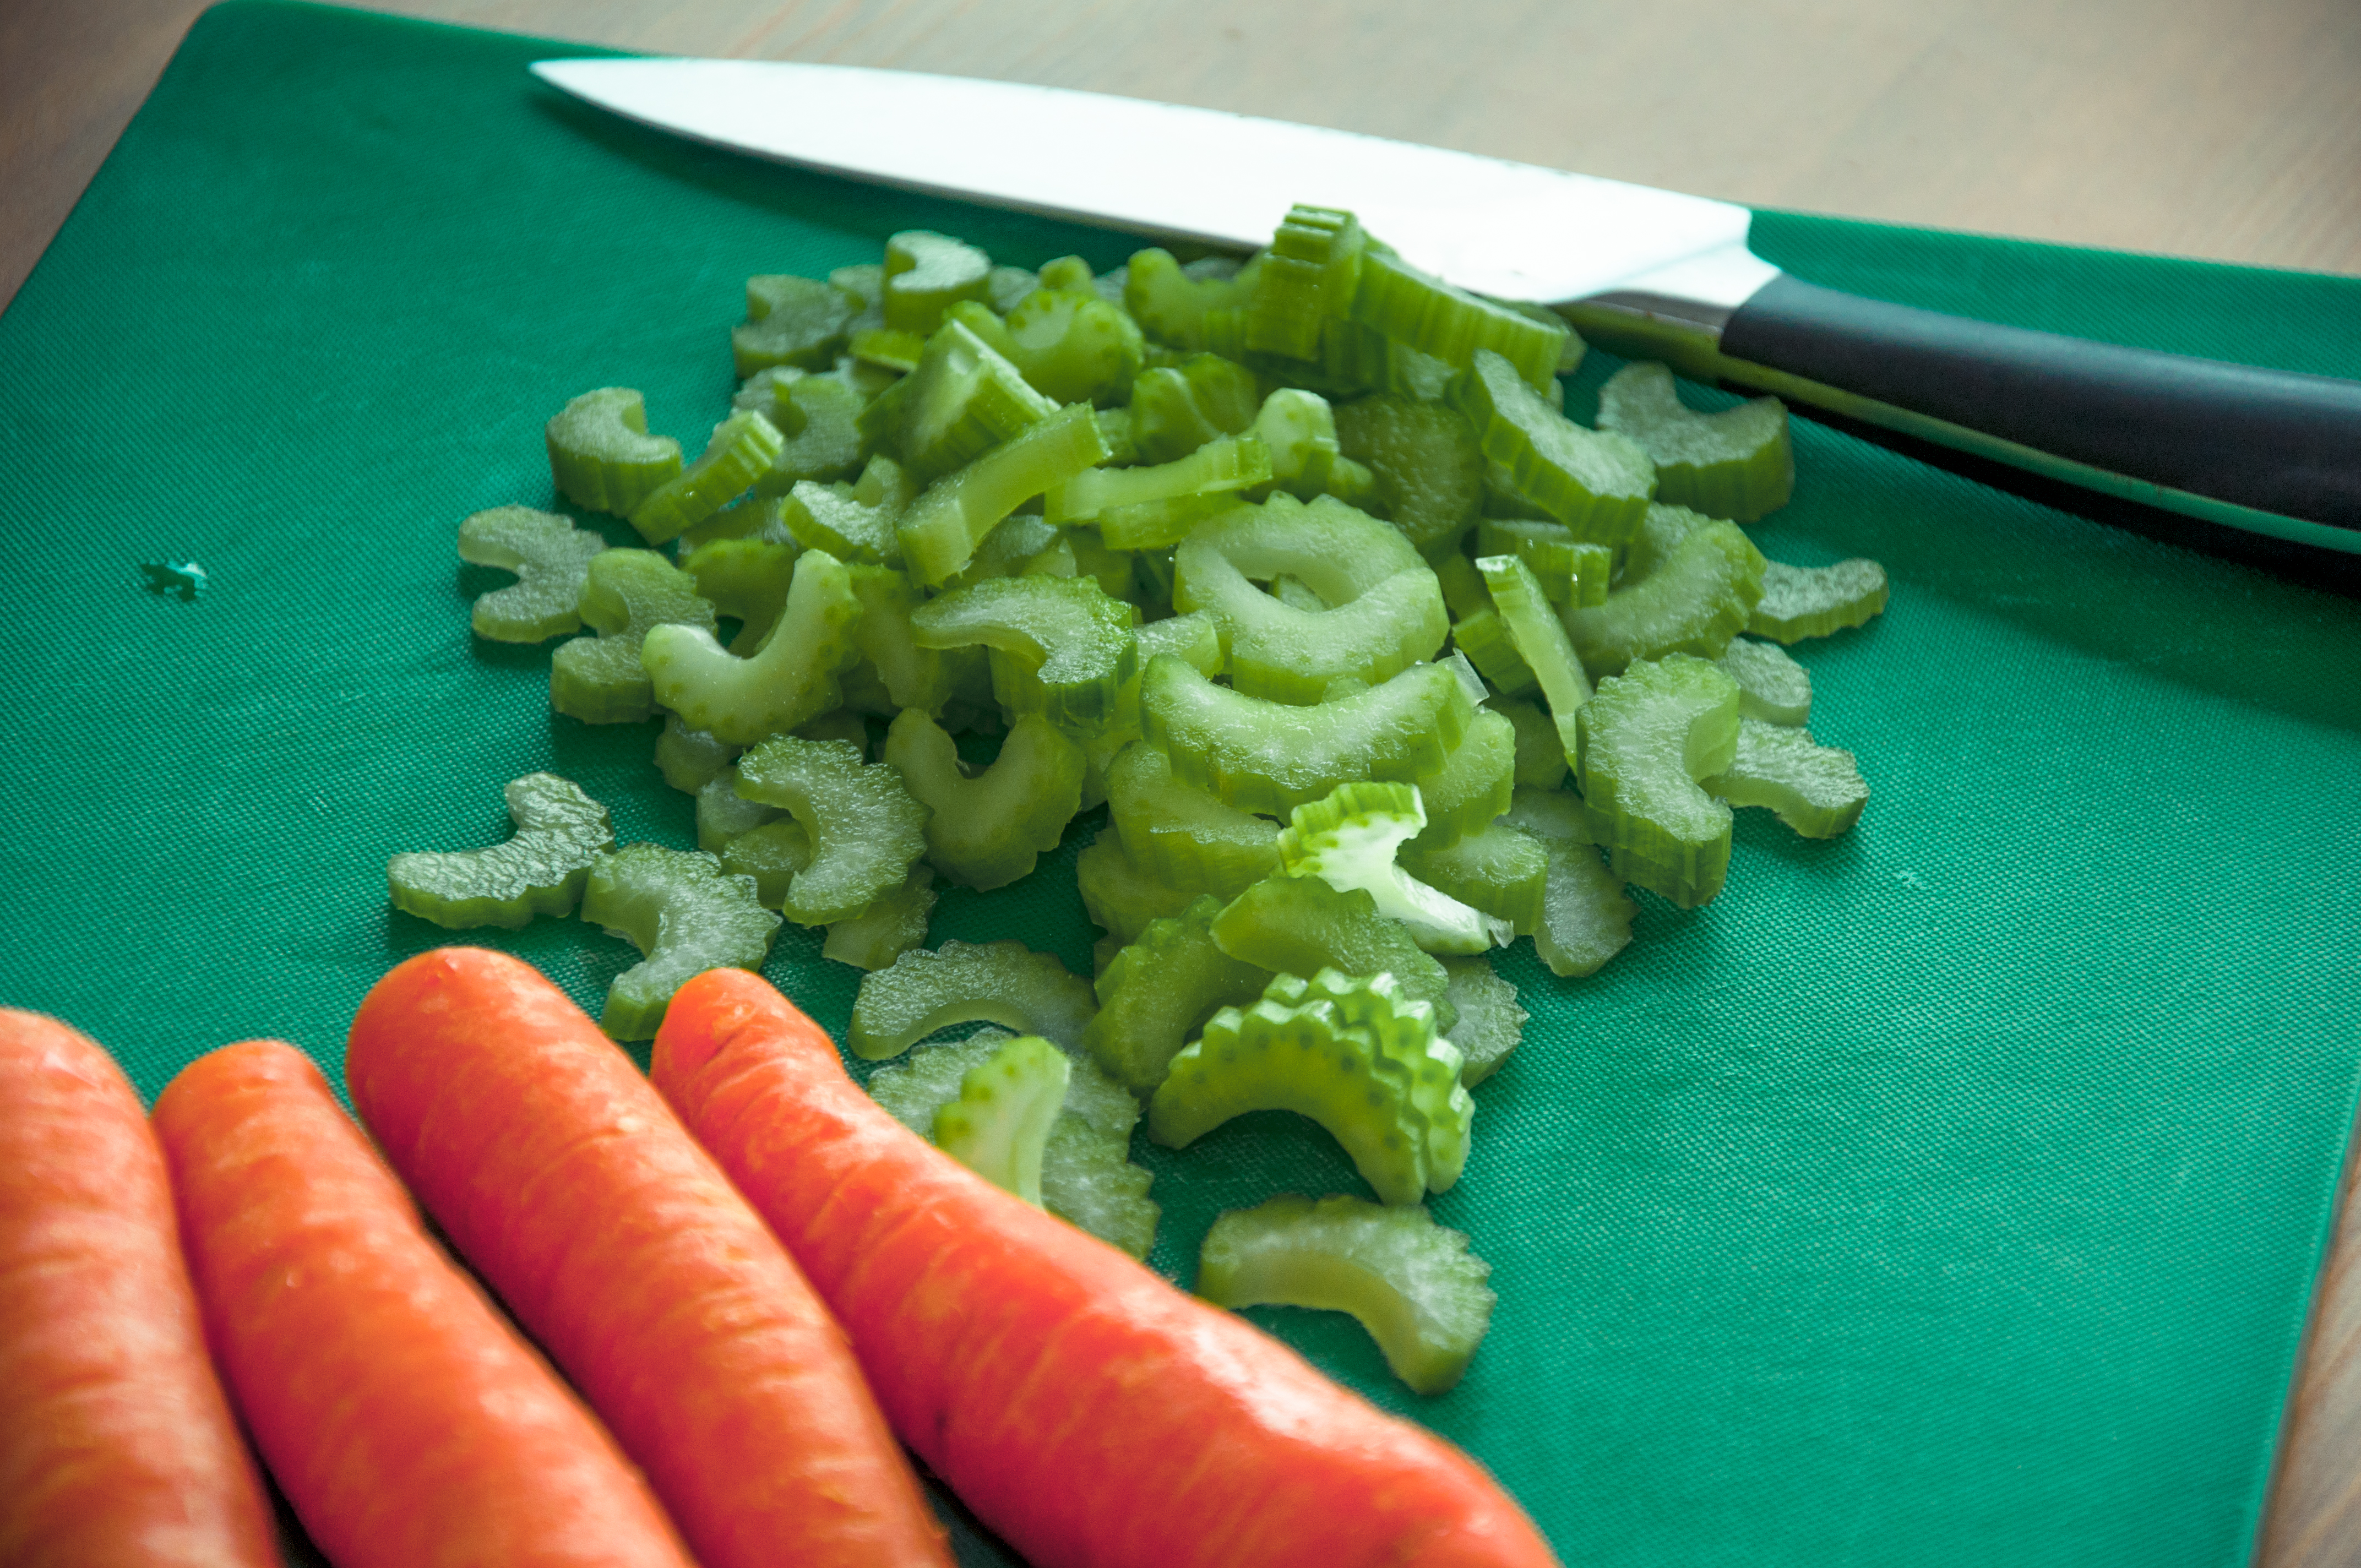
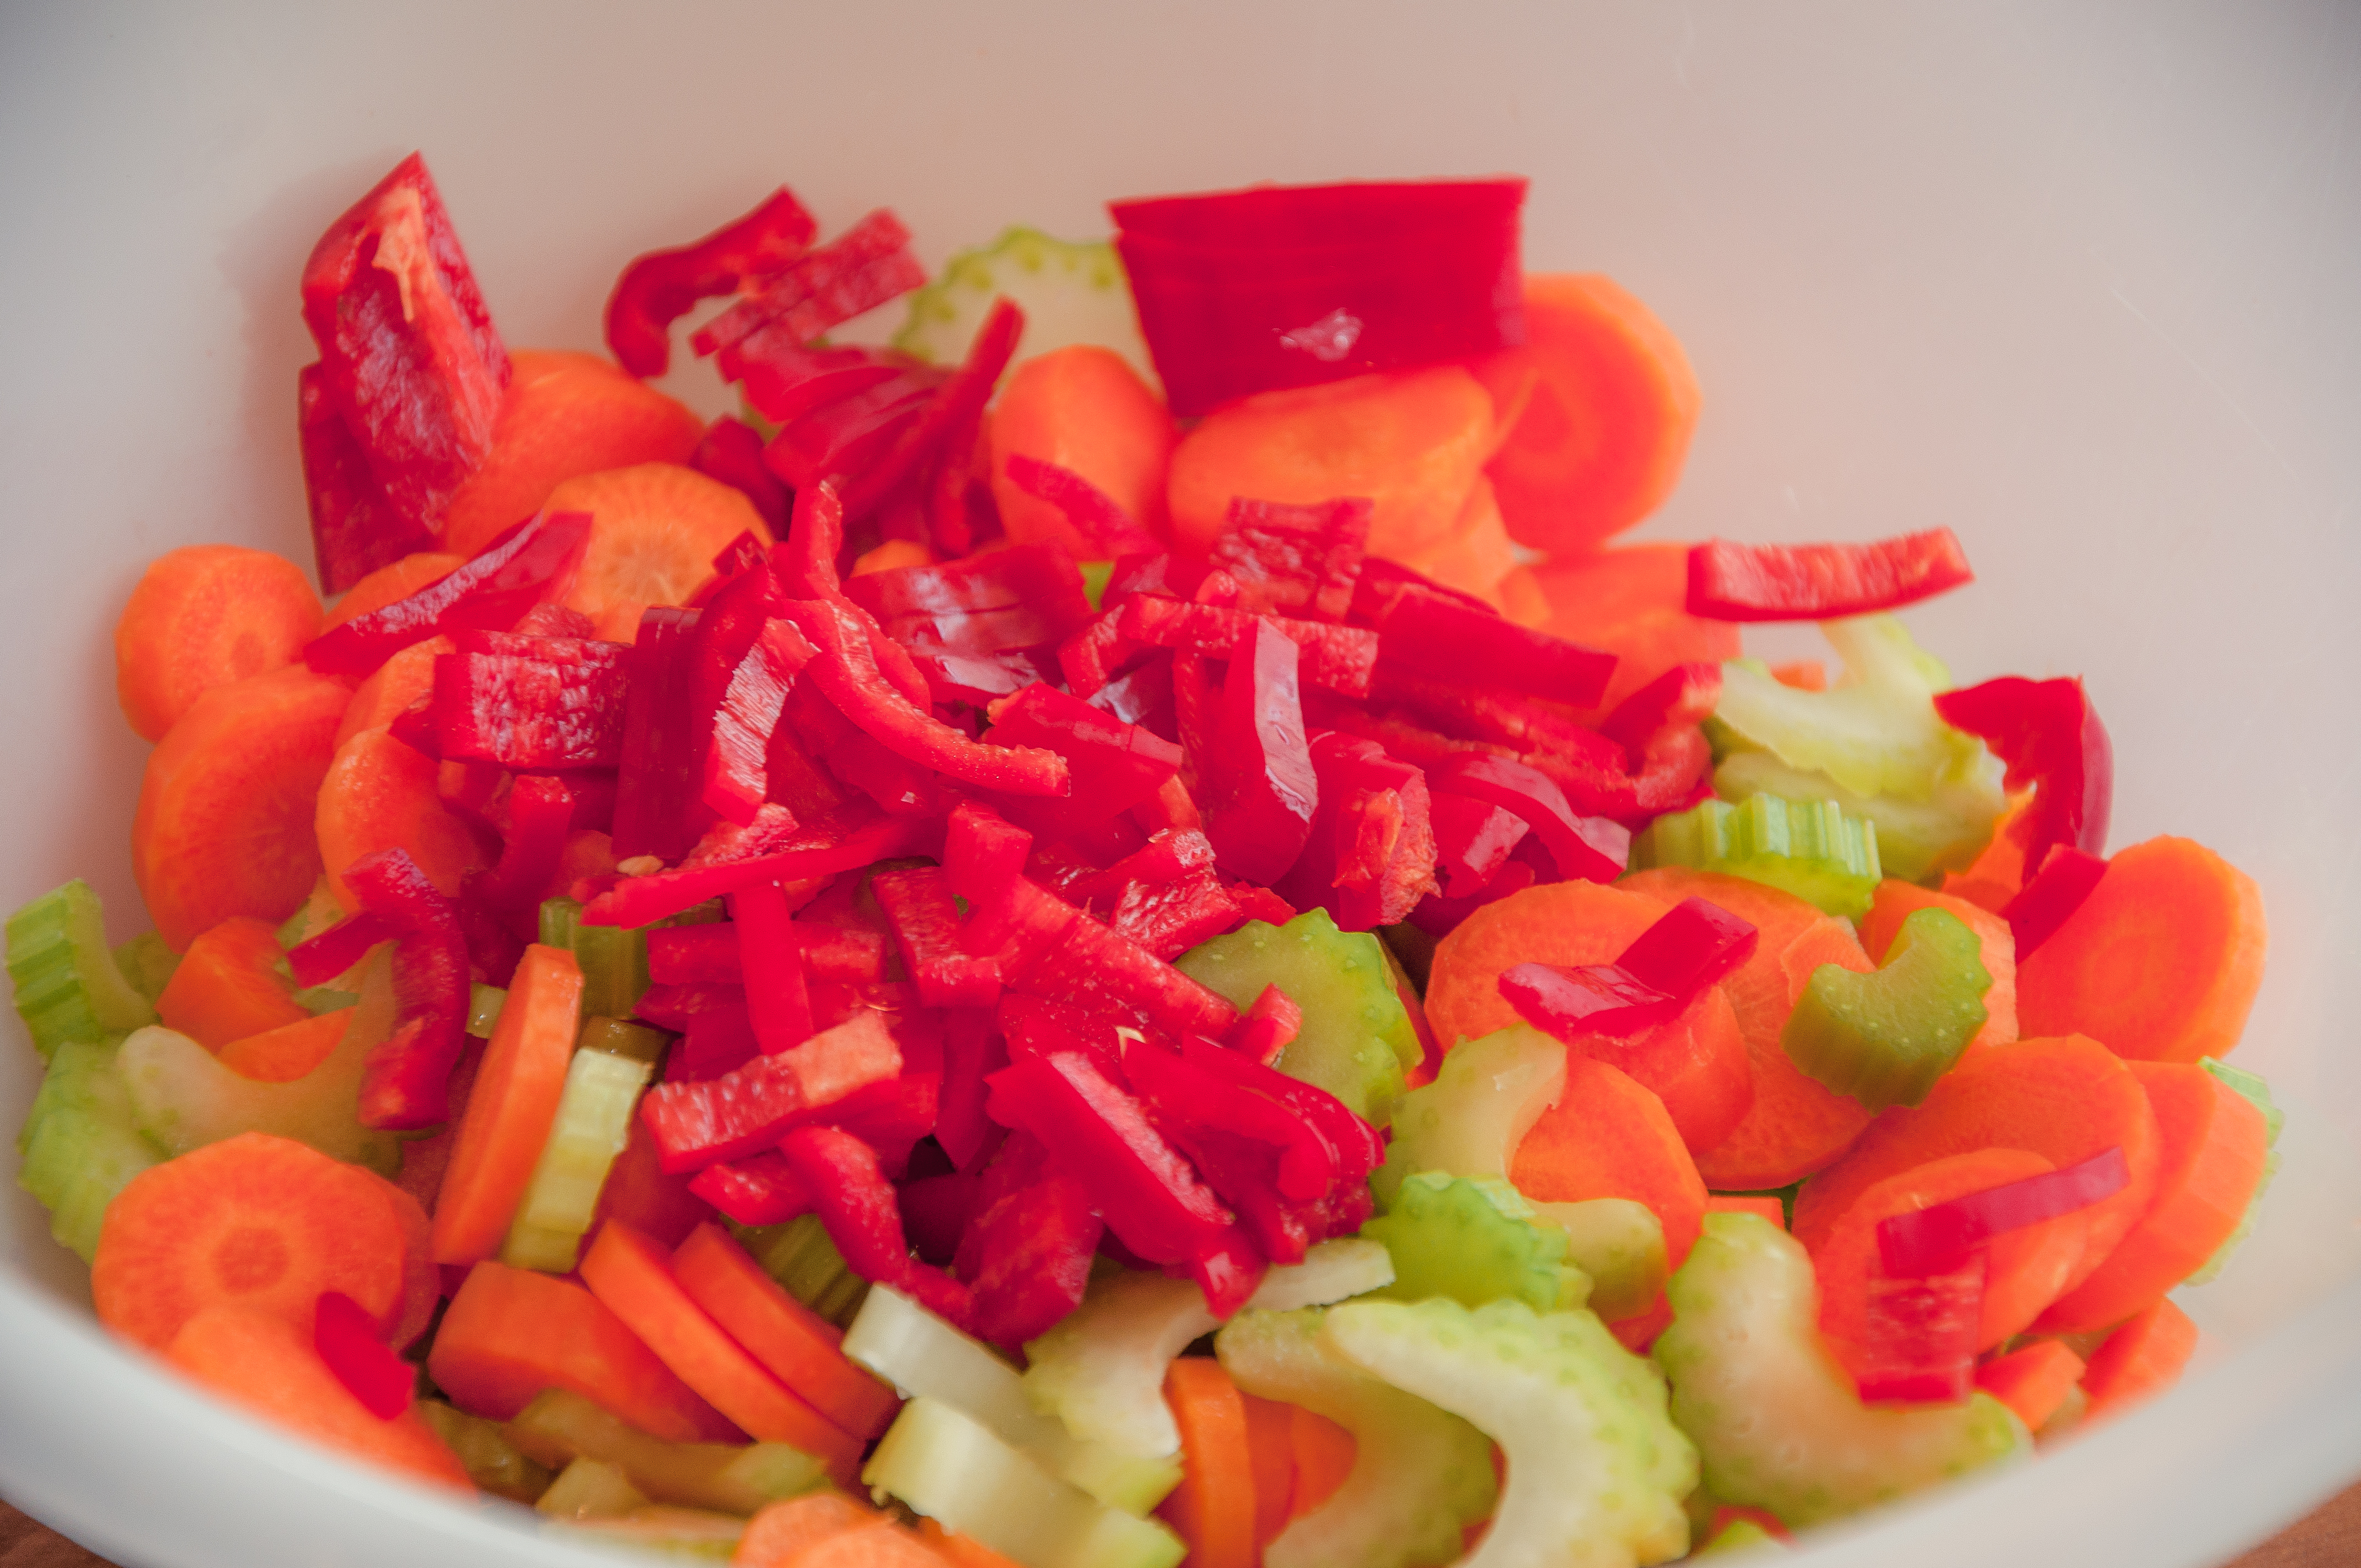
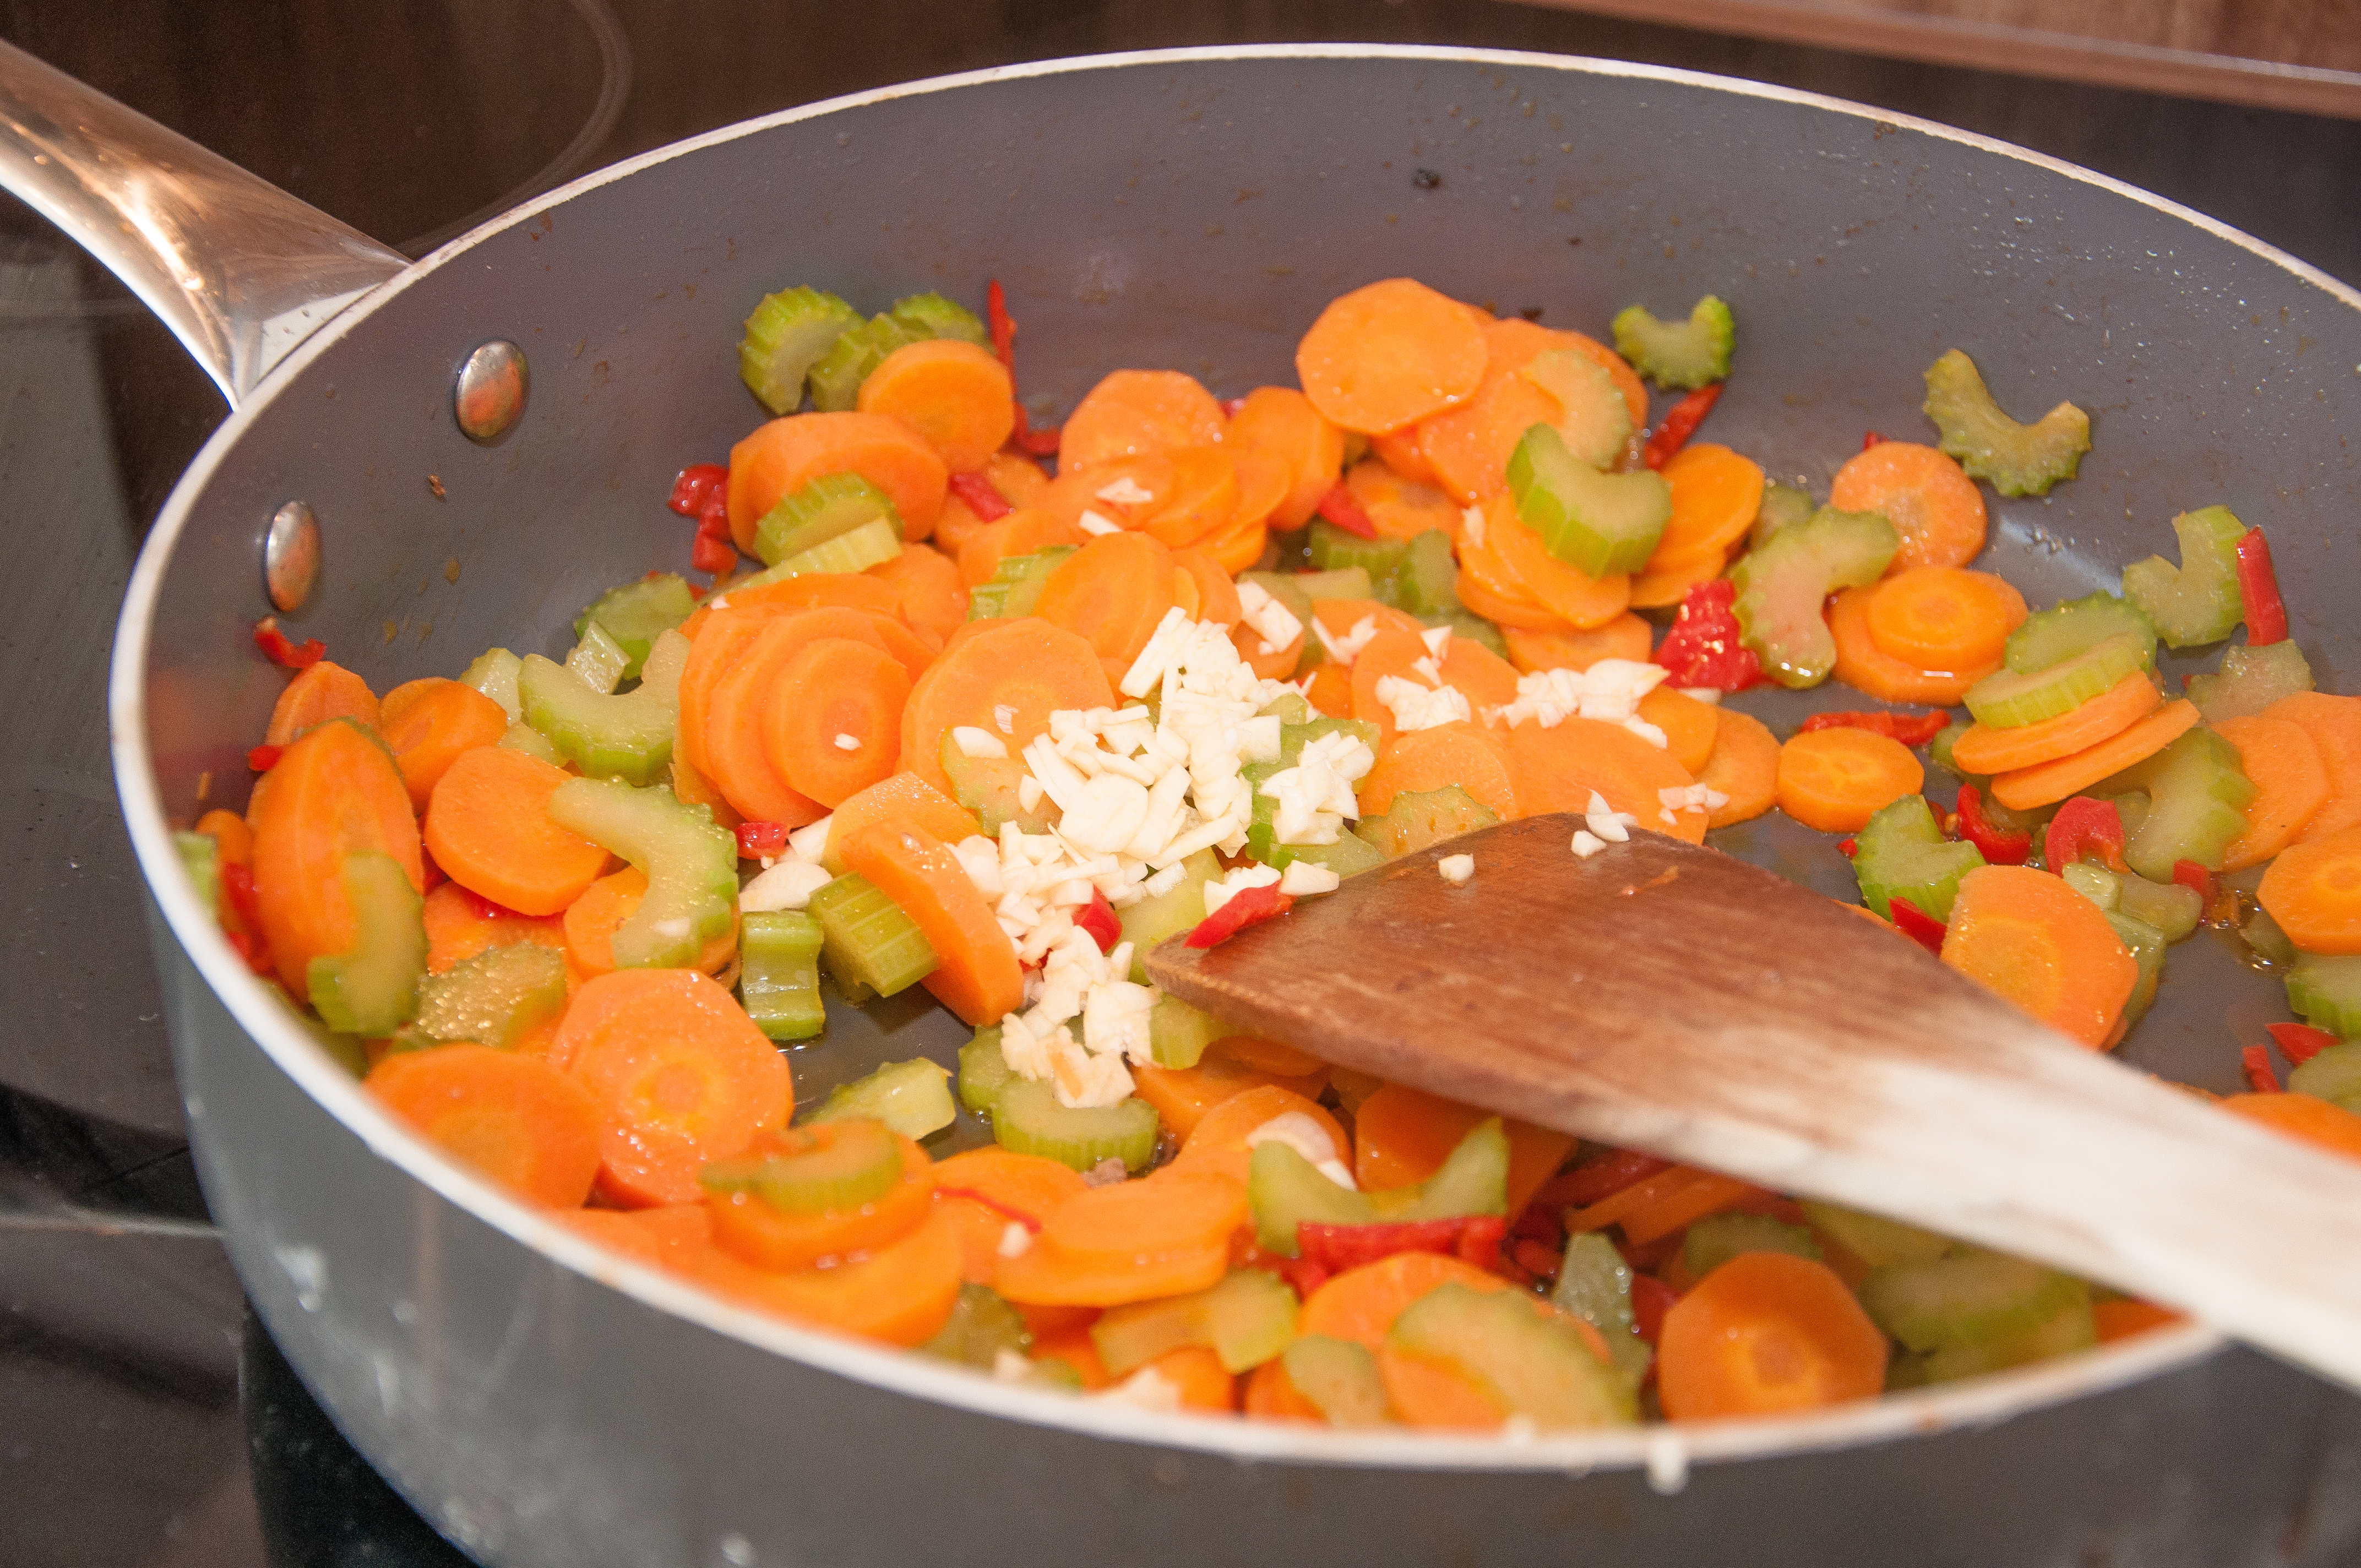
- 4 carrots, peeled and finely chopped
- 3 sticks celery, finely diced
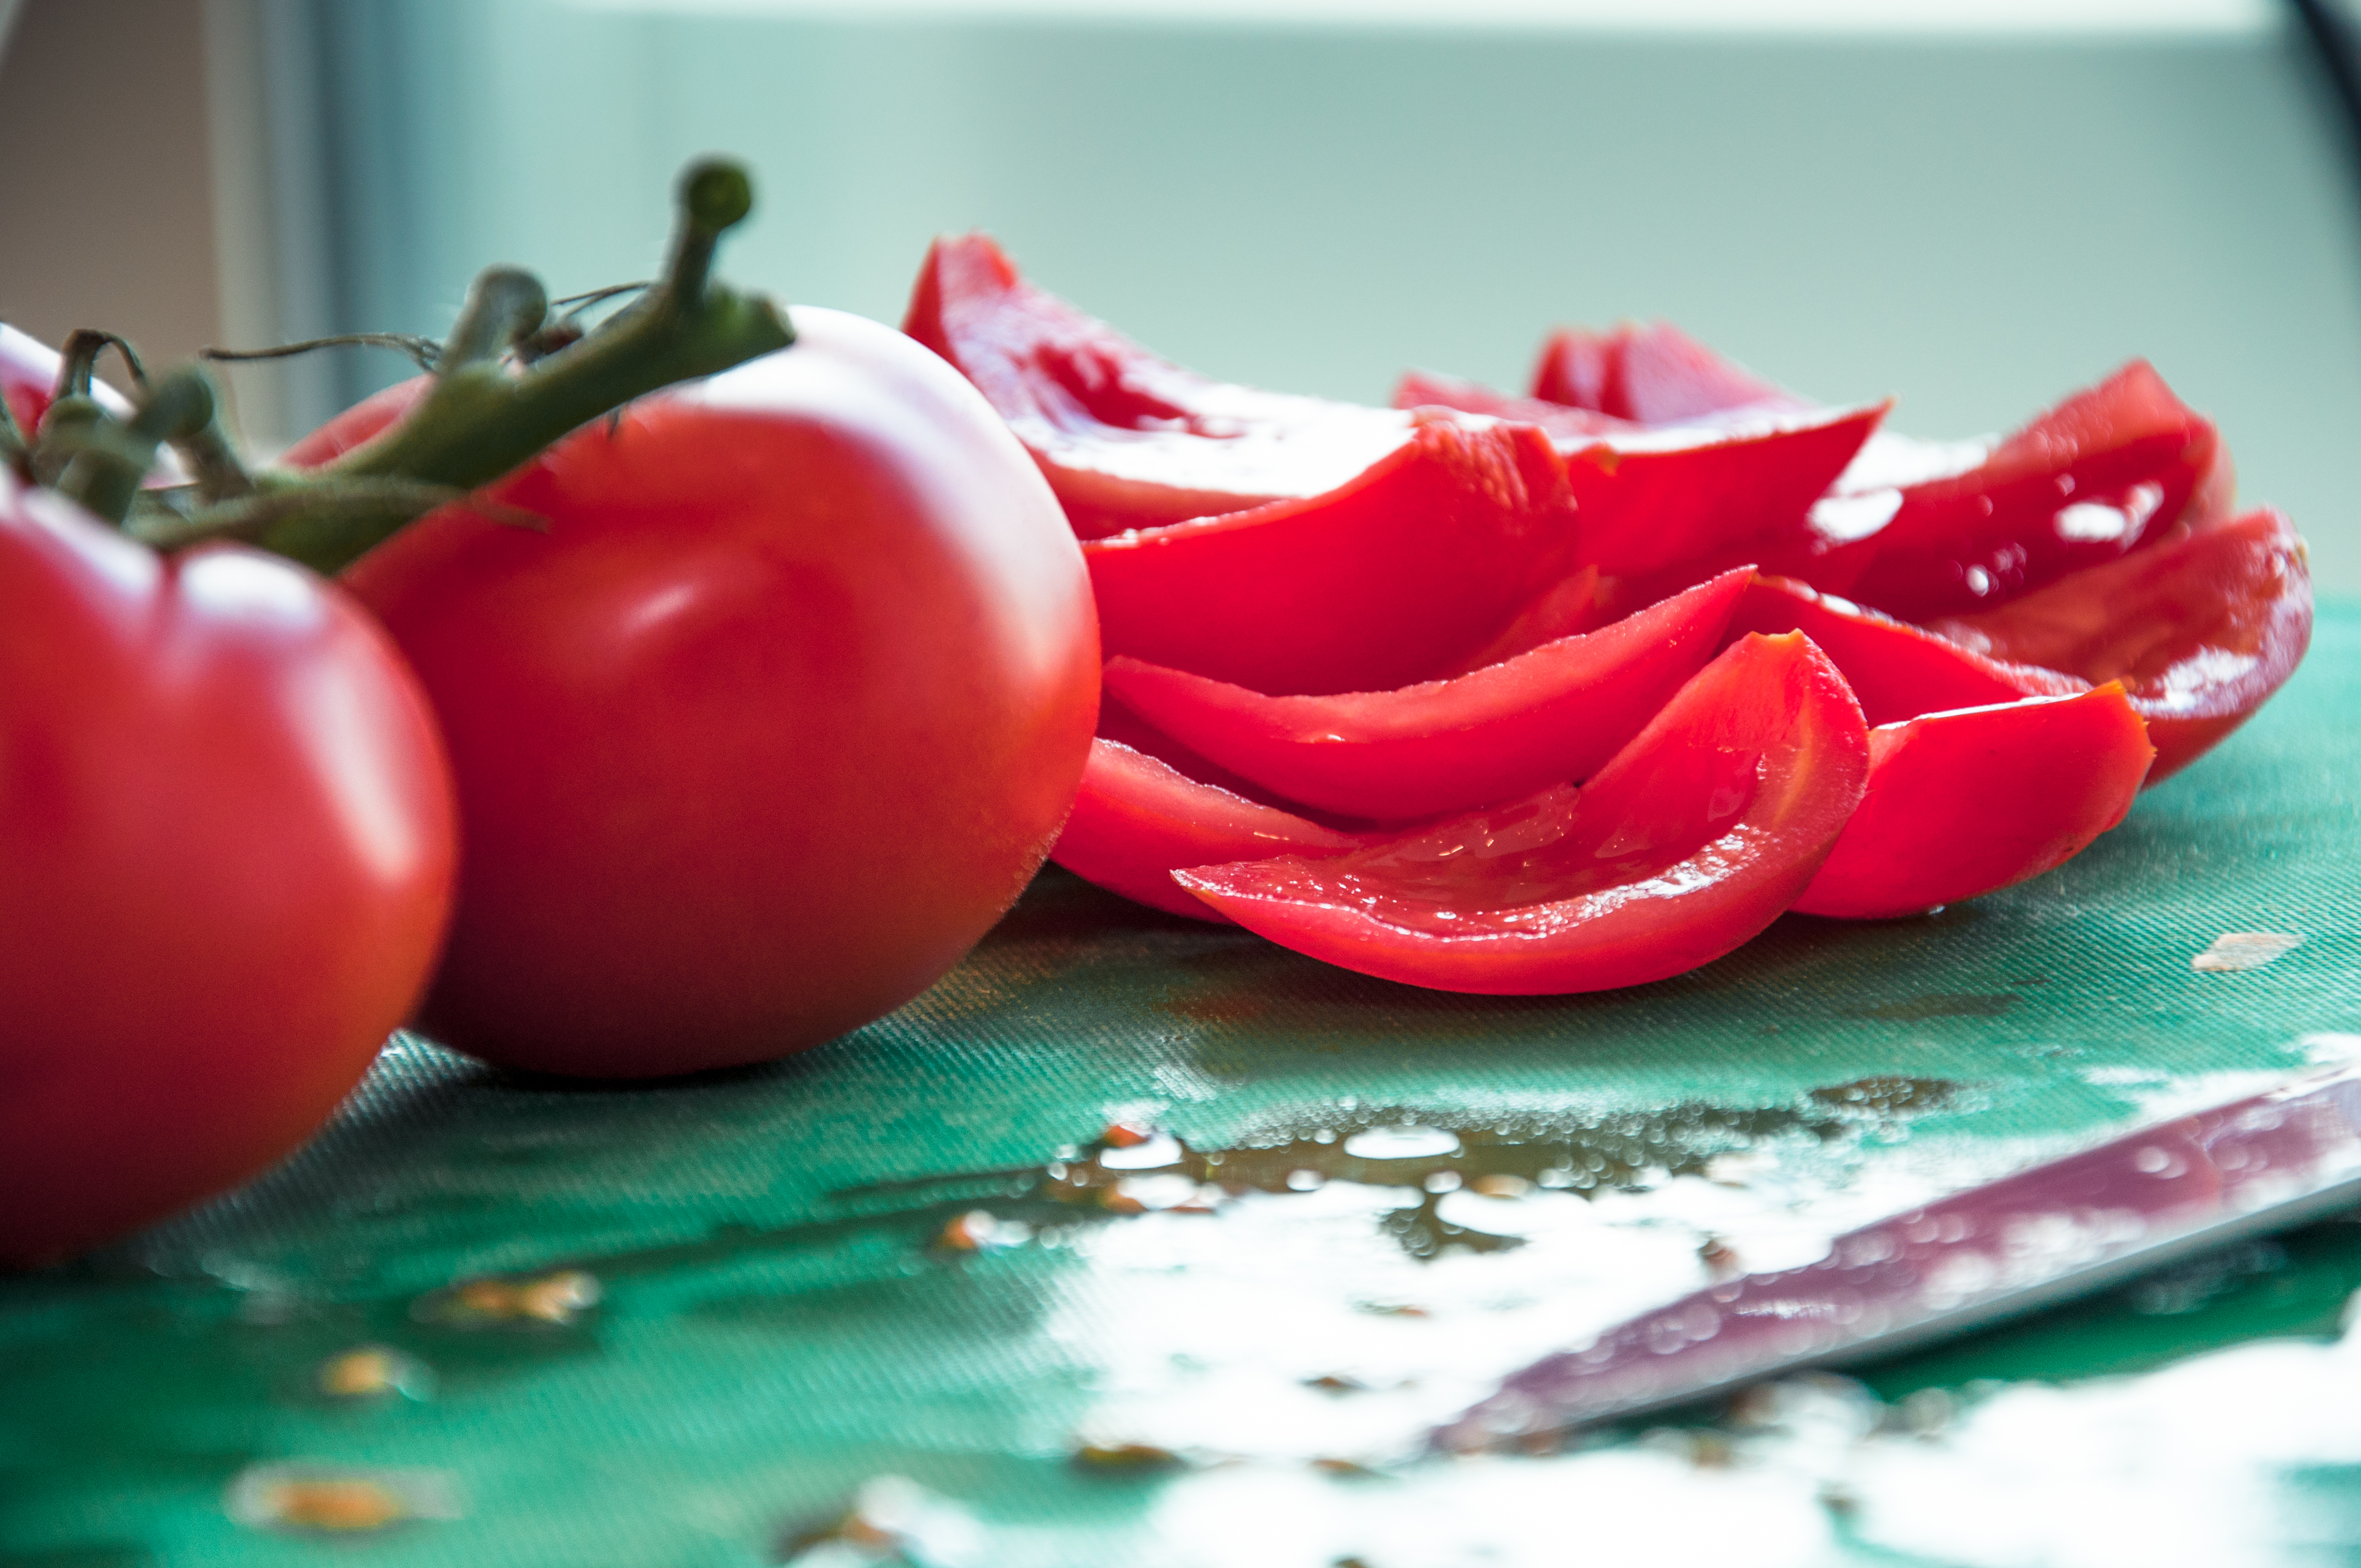
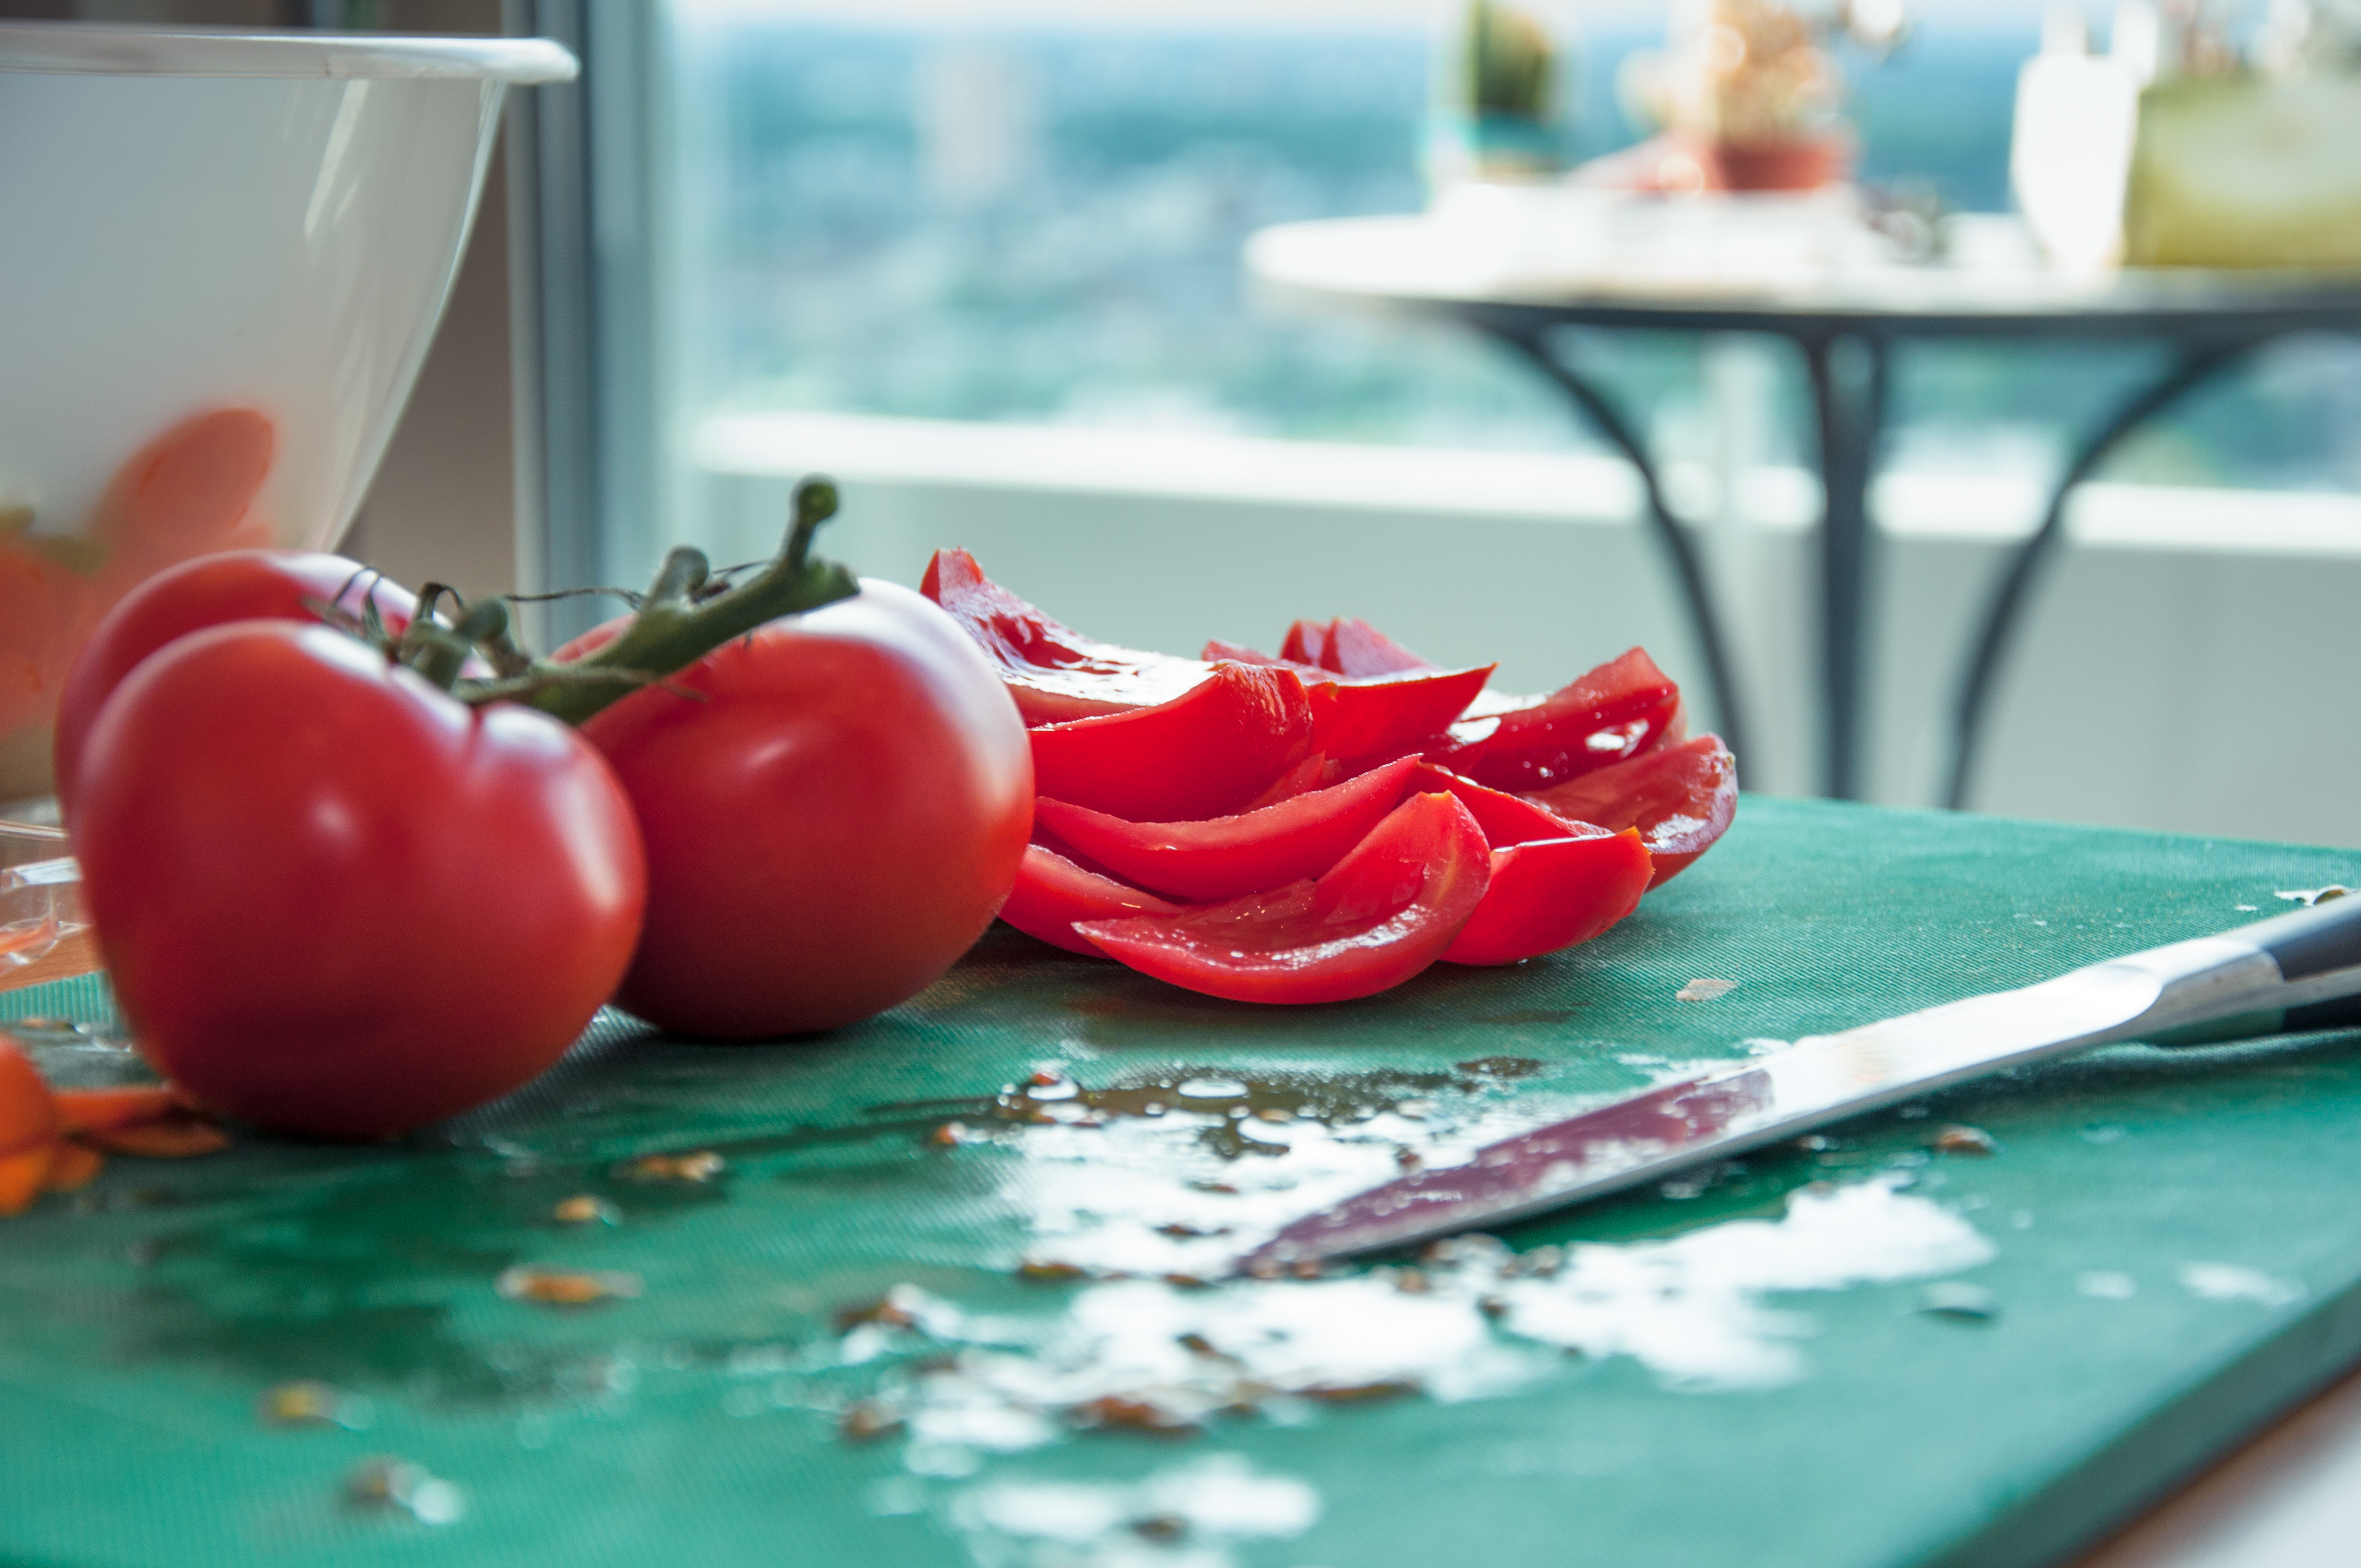
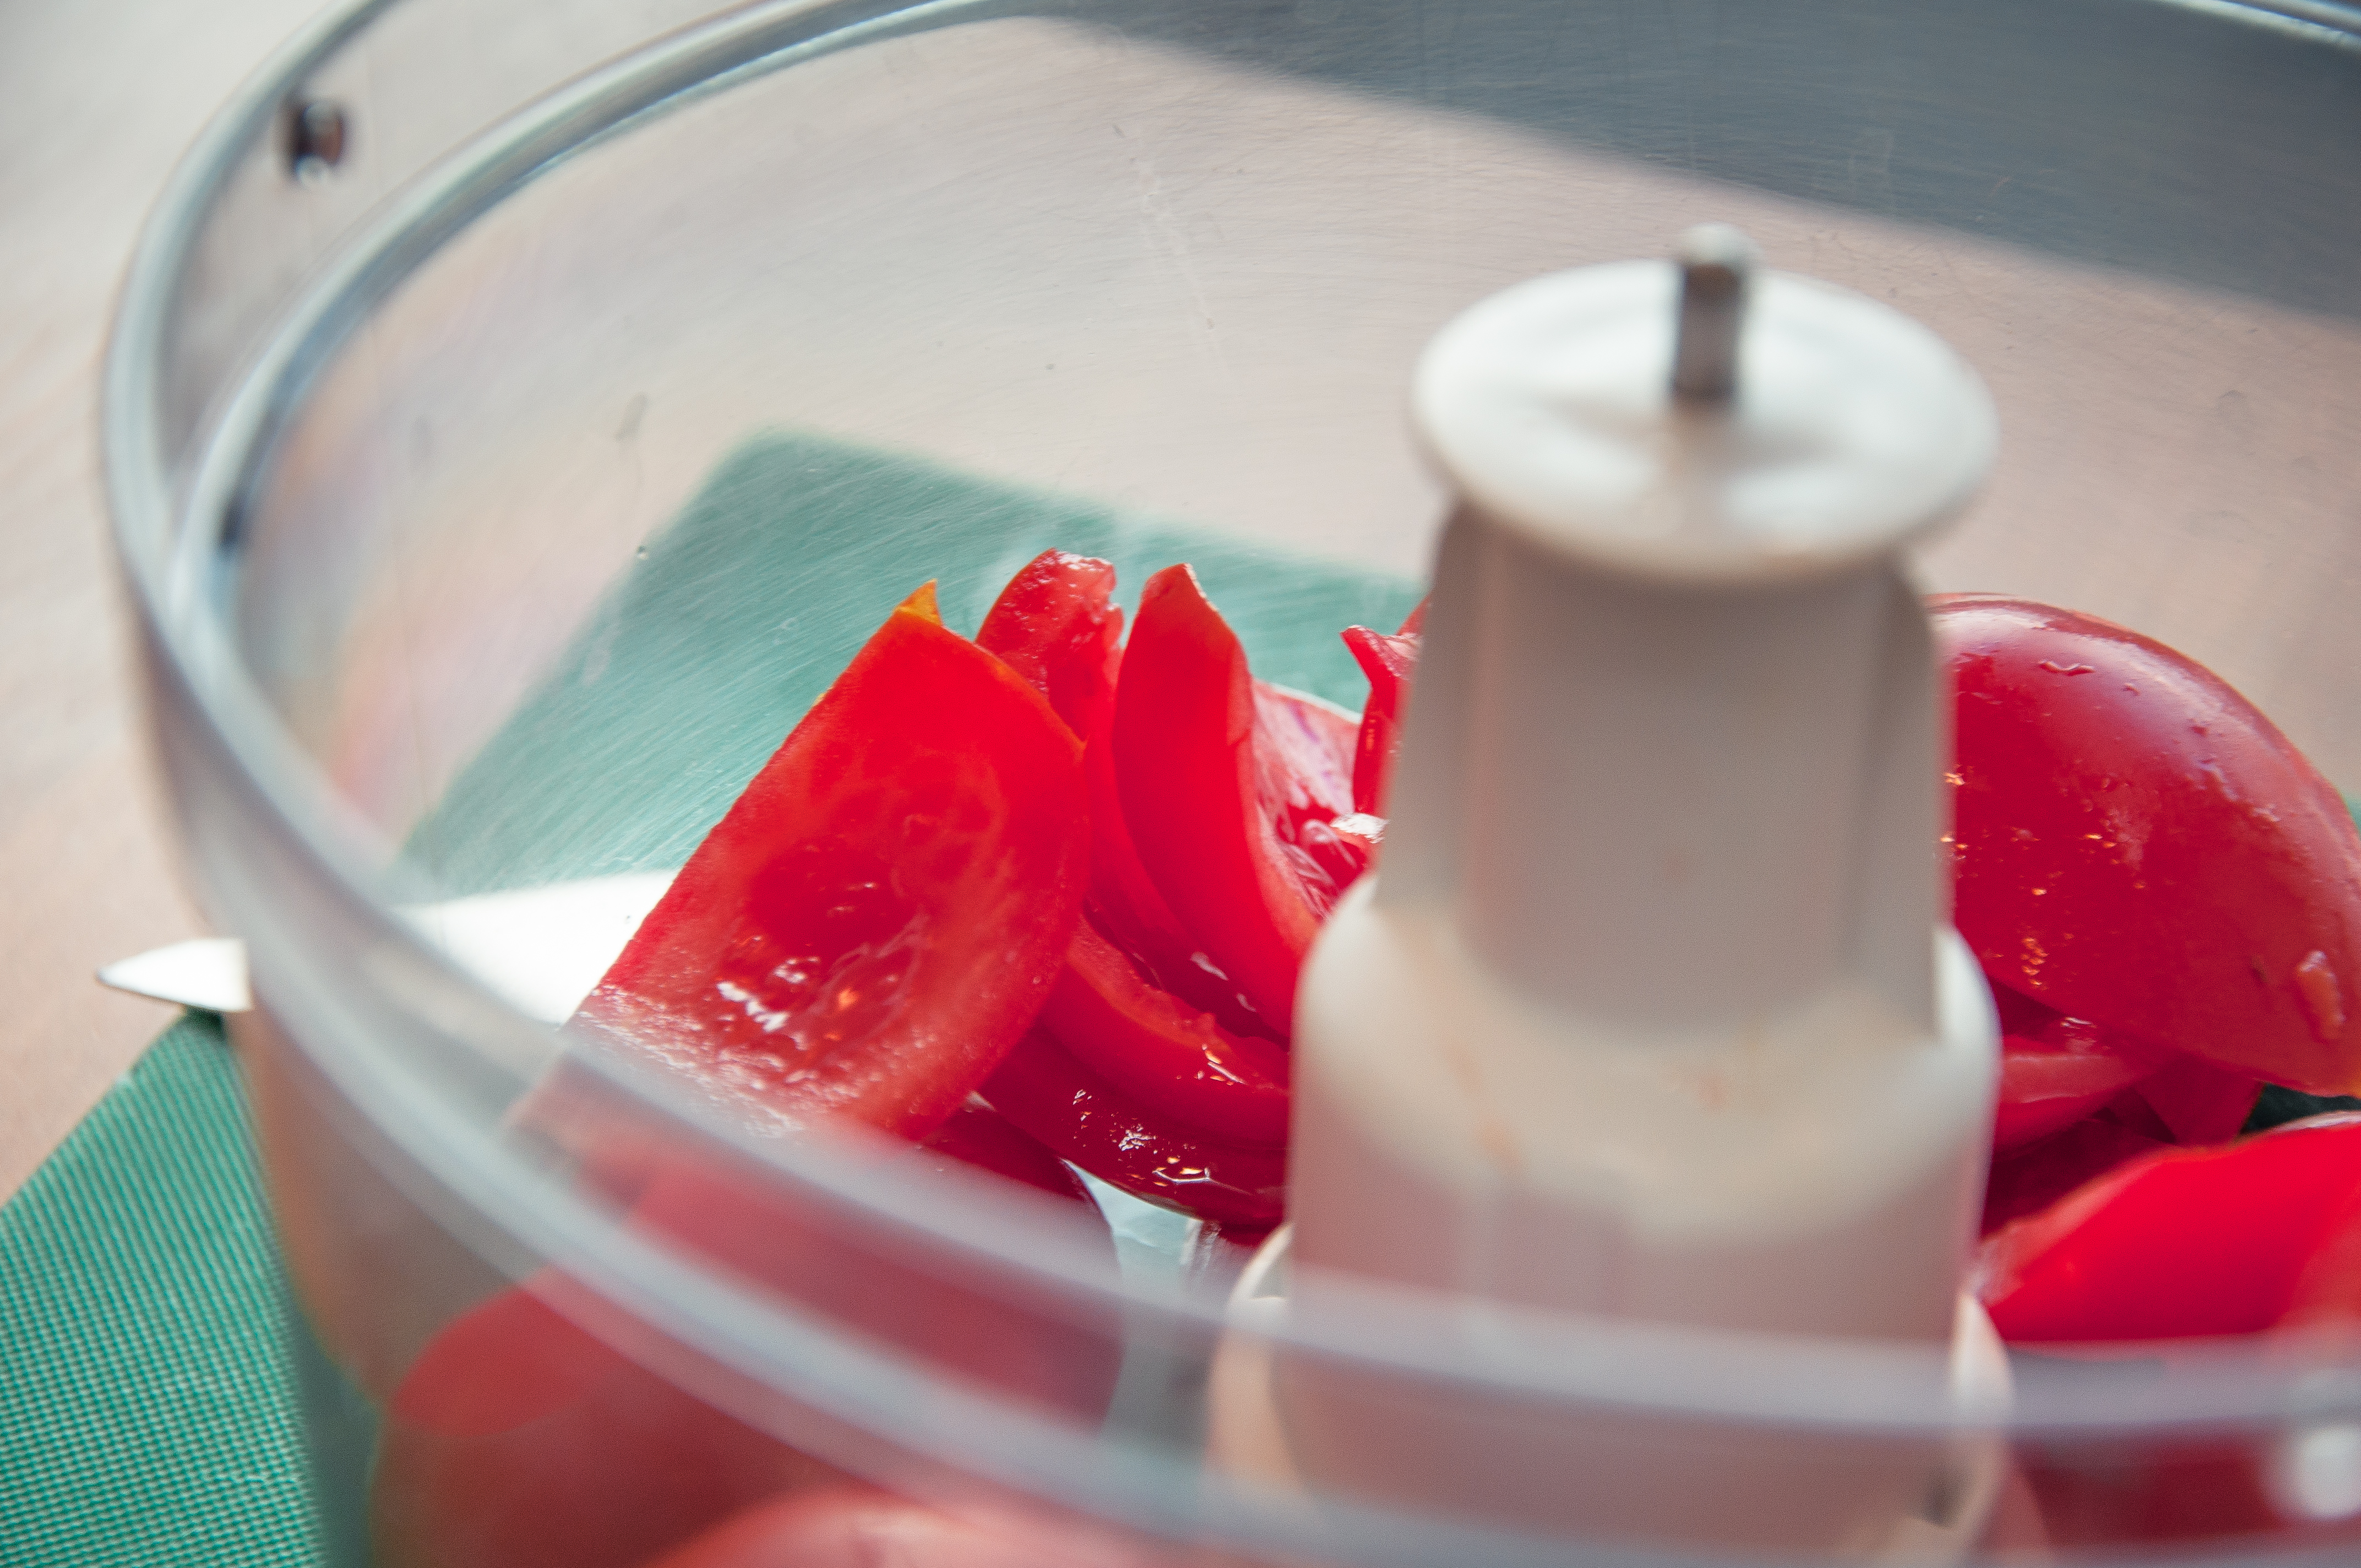
- 6 Tomatos de-seeded and chopped
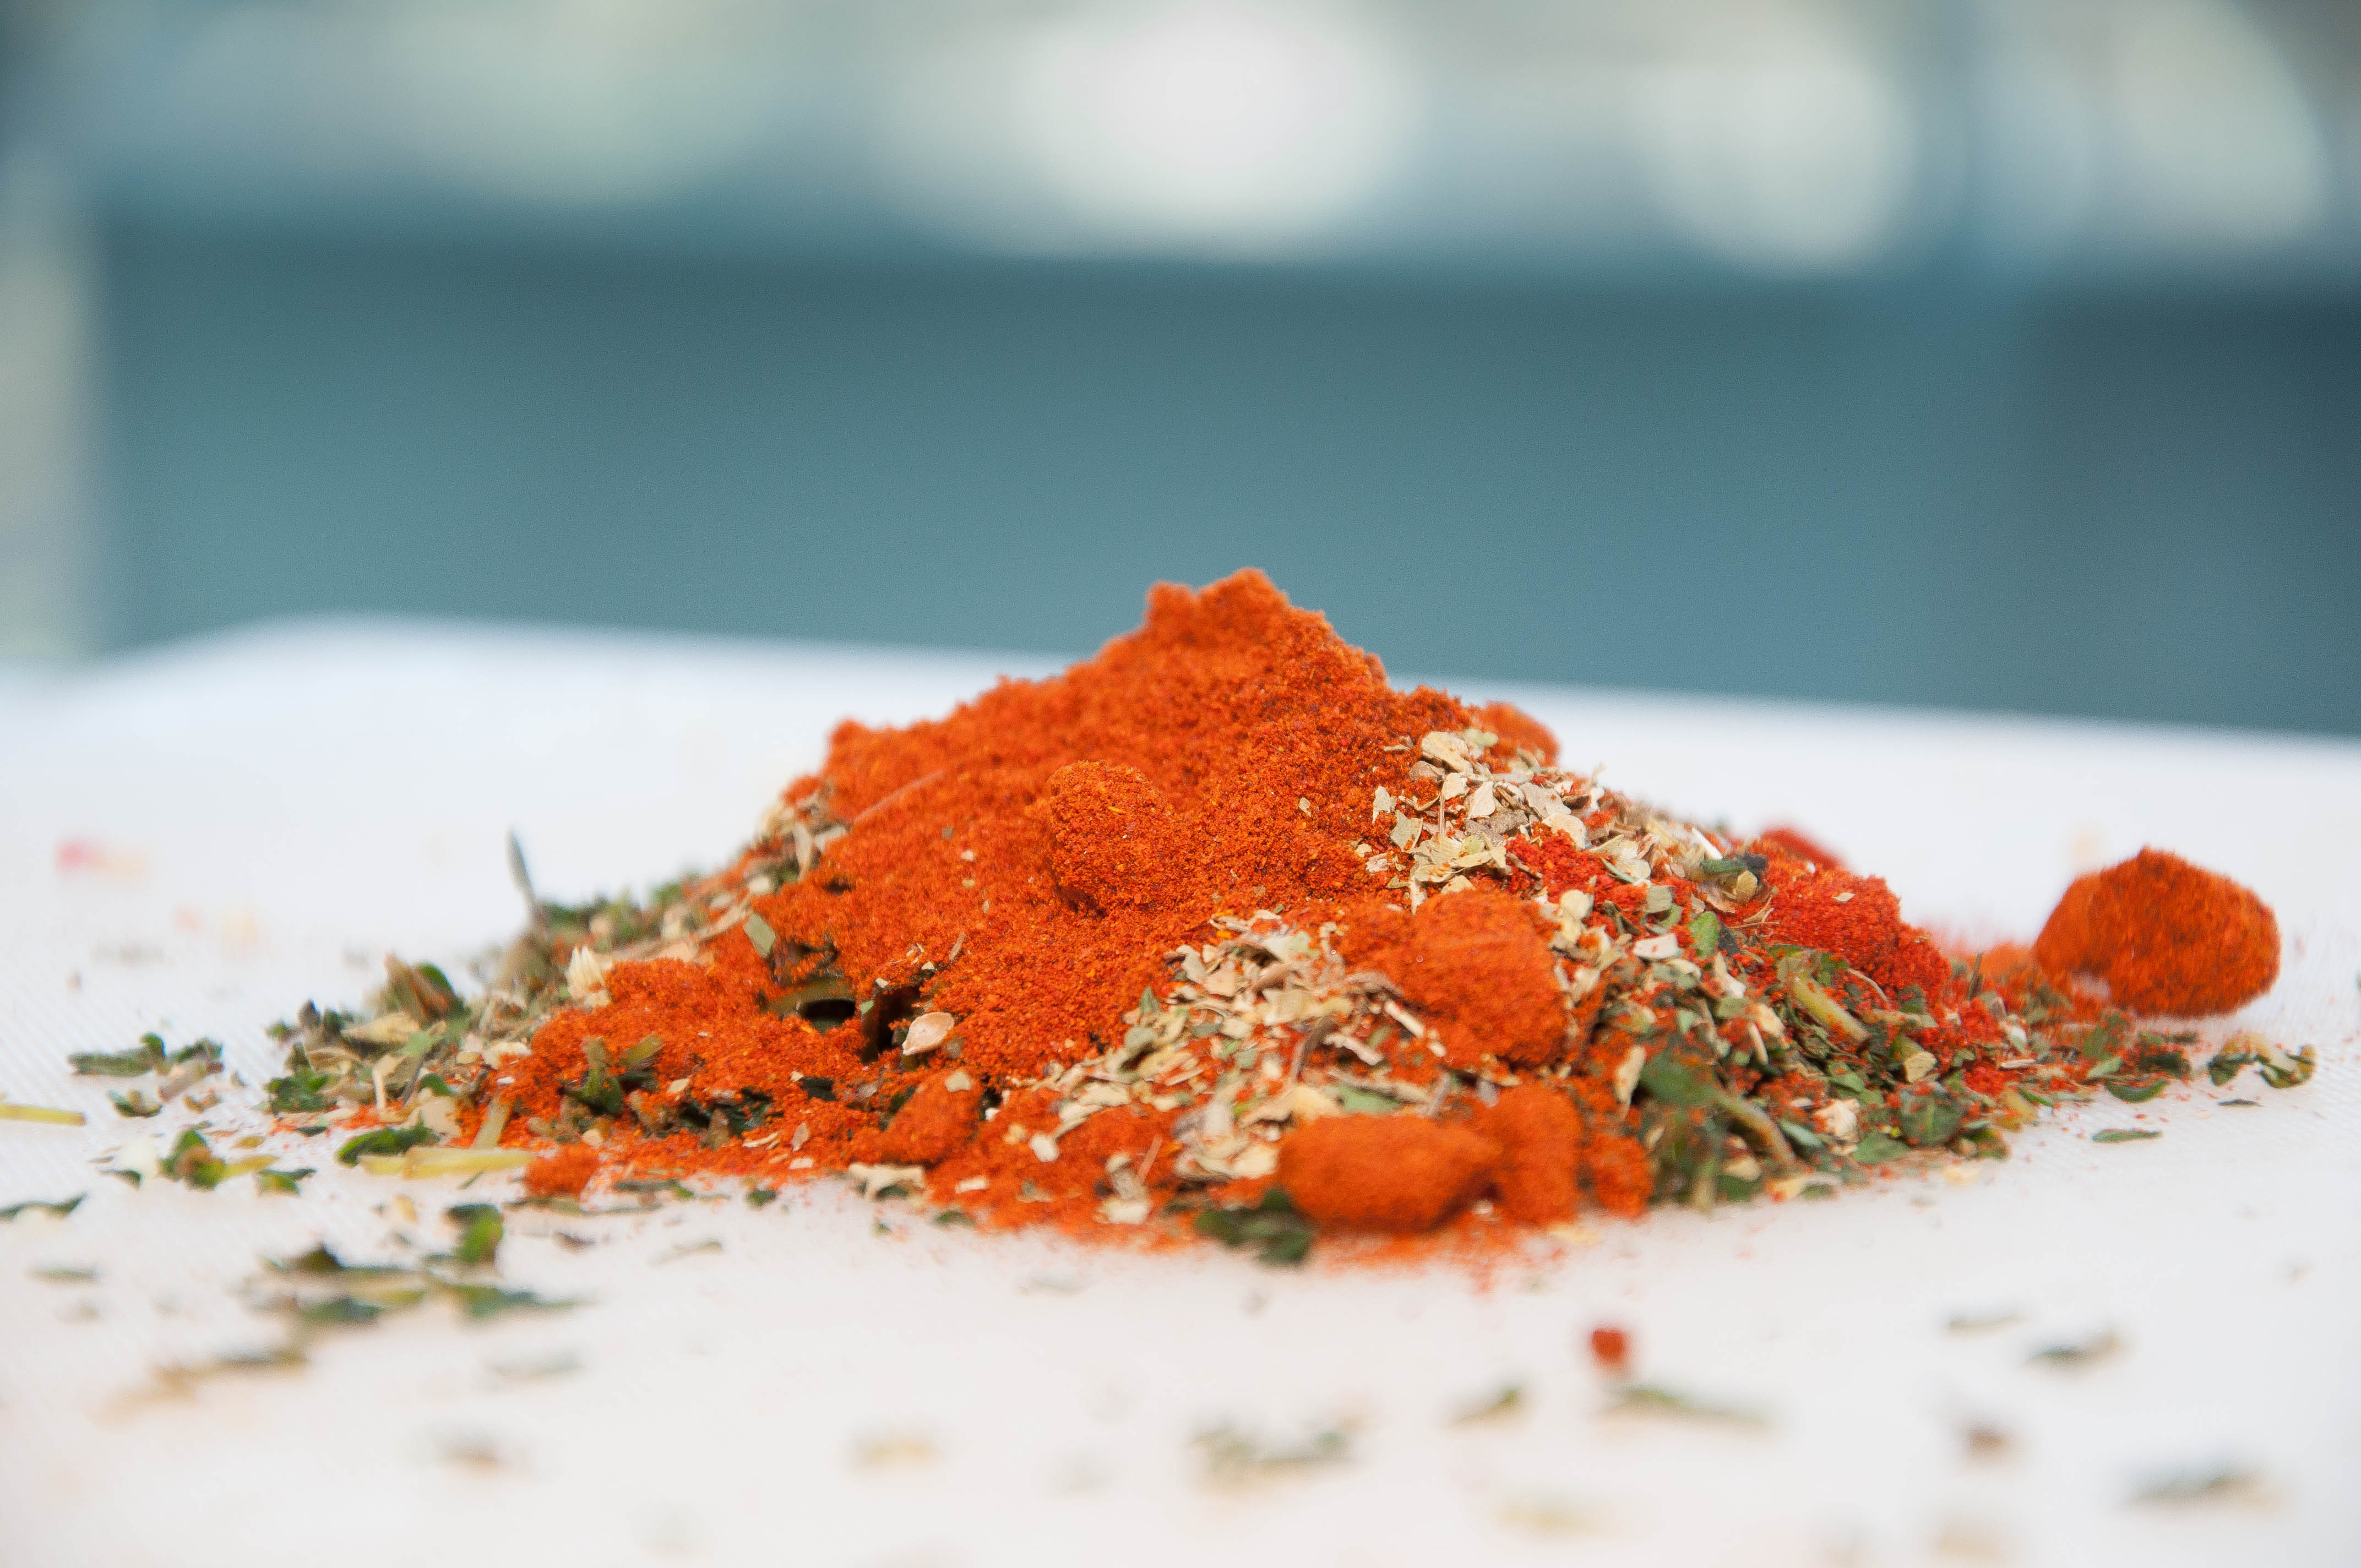
- 1 chopped red chilli
- 3 garlic cloves, peeled and finely sliced
- salt and freshly ground black pepper
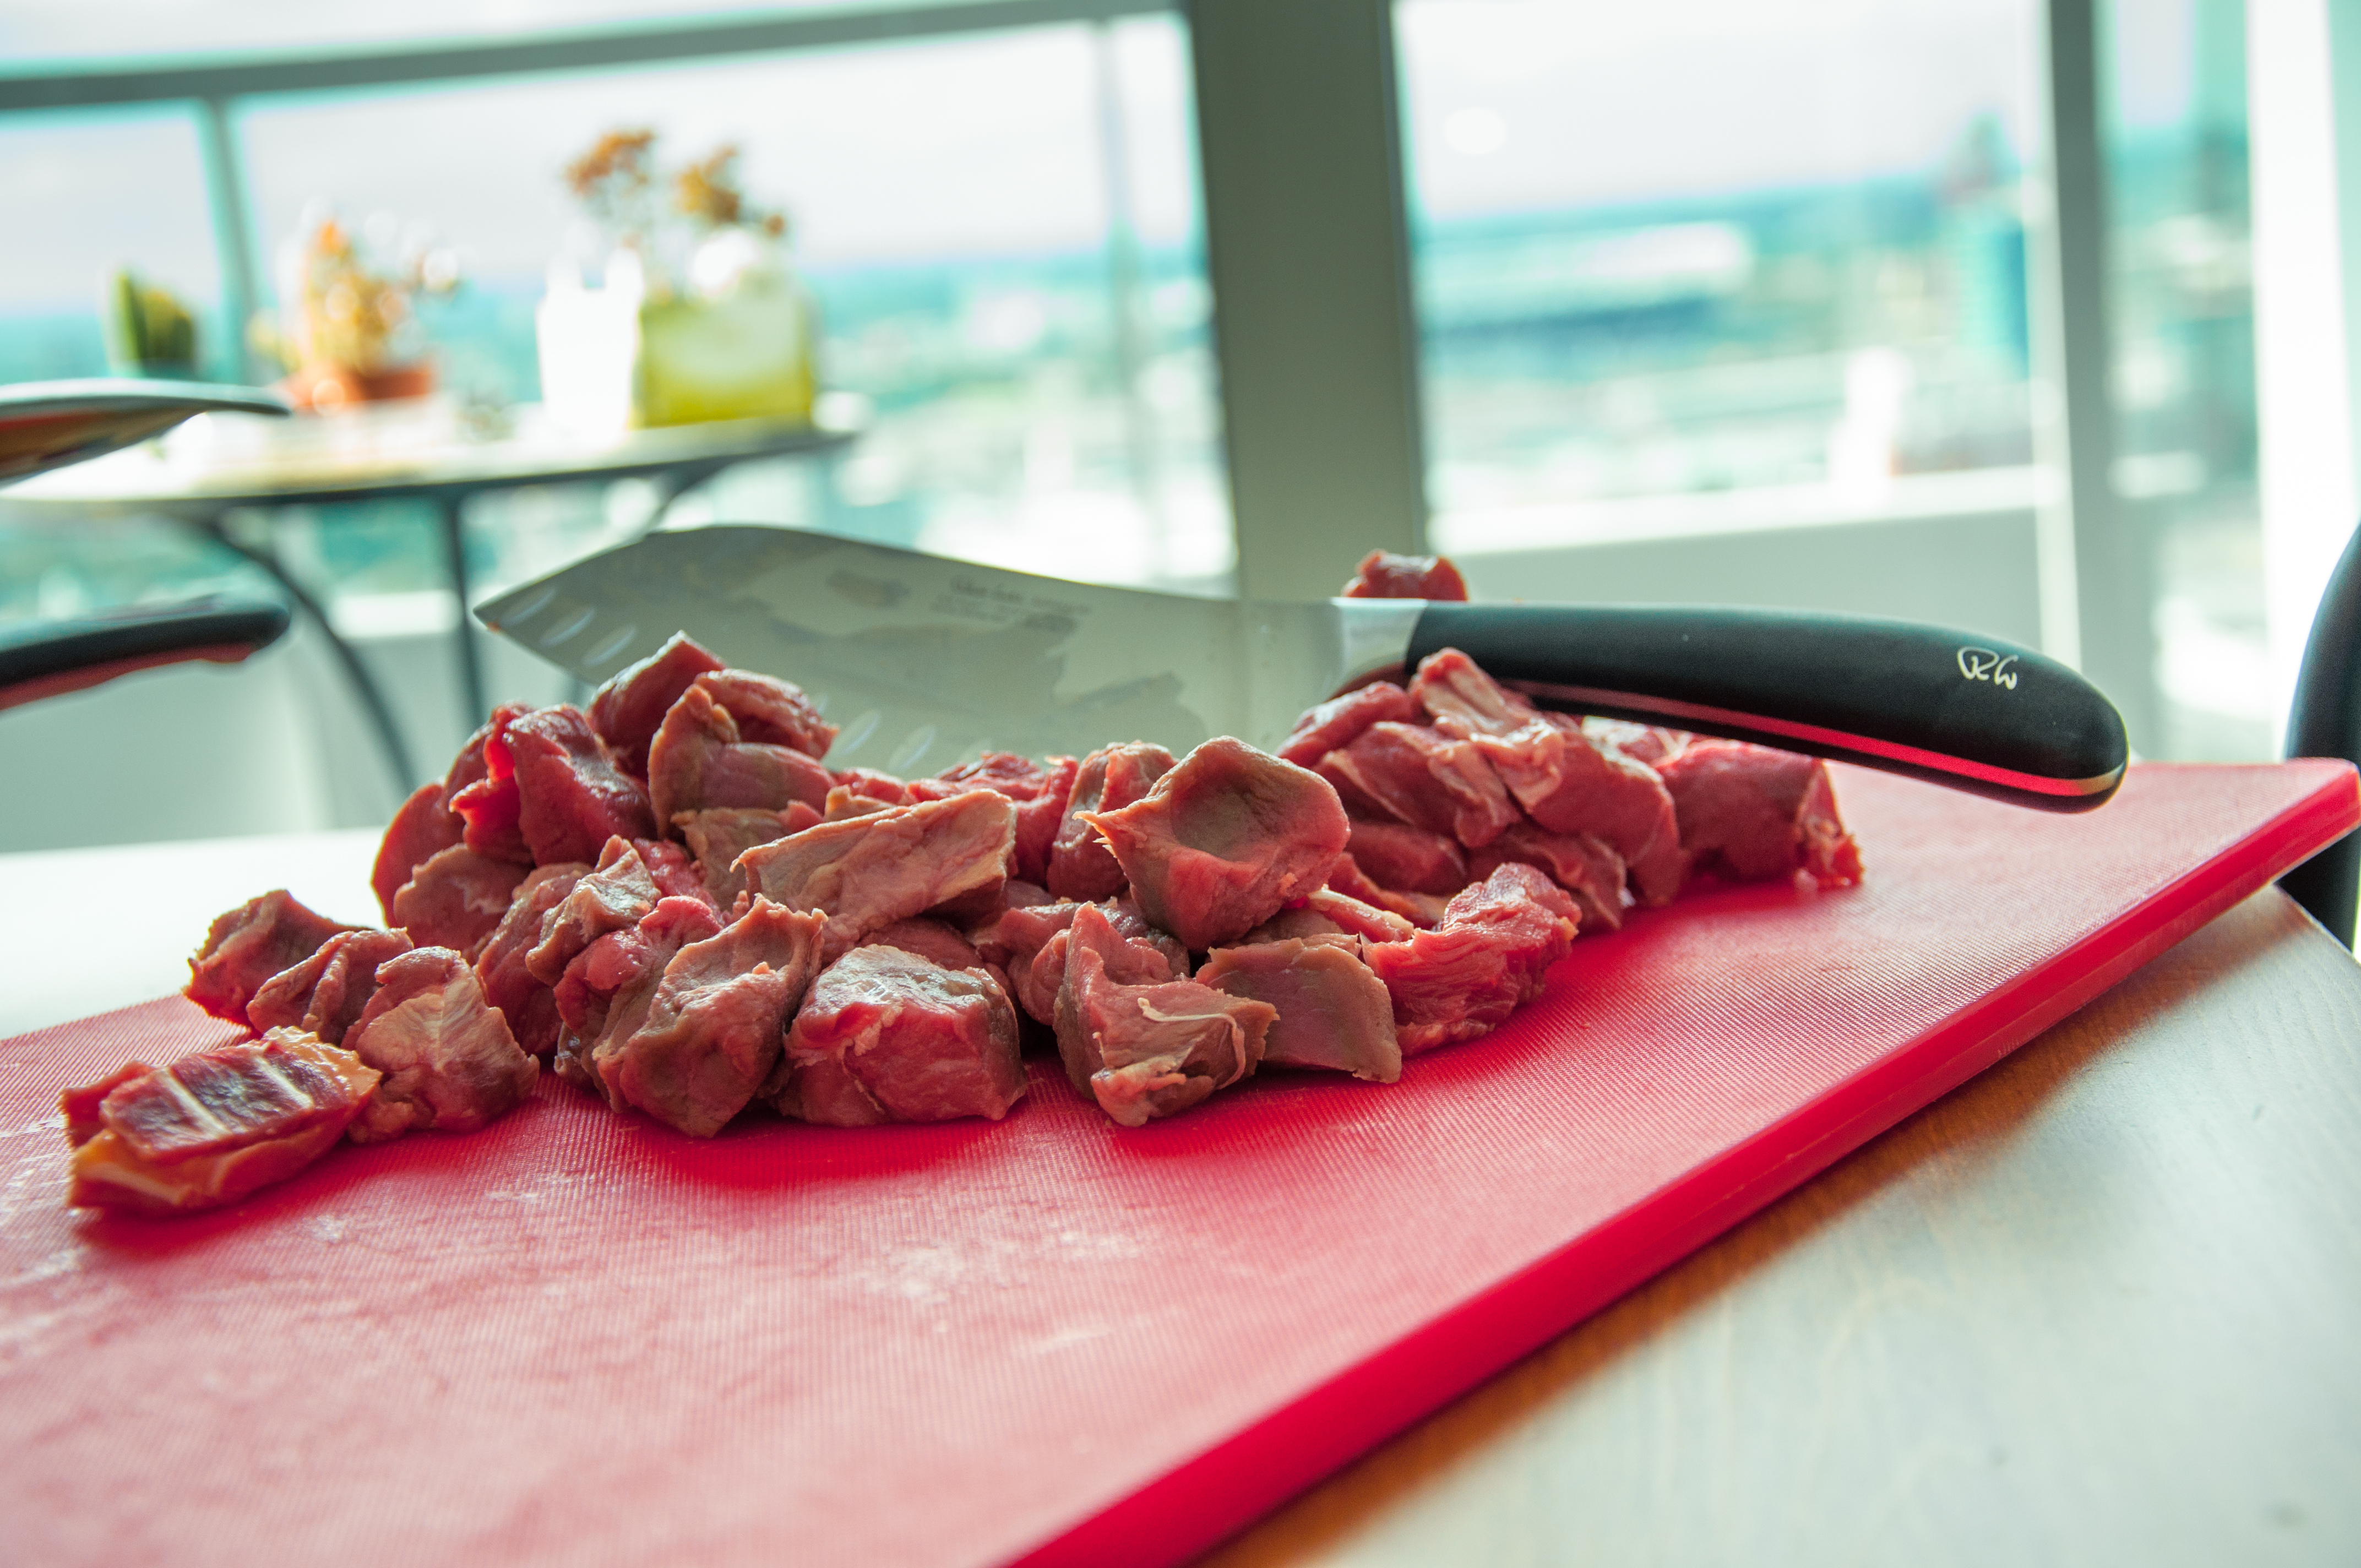
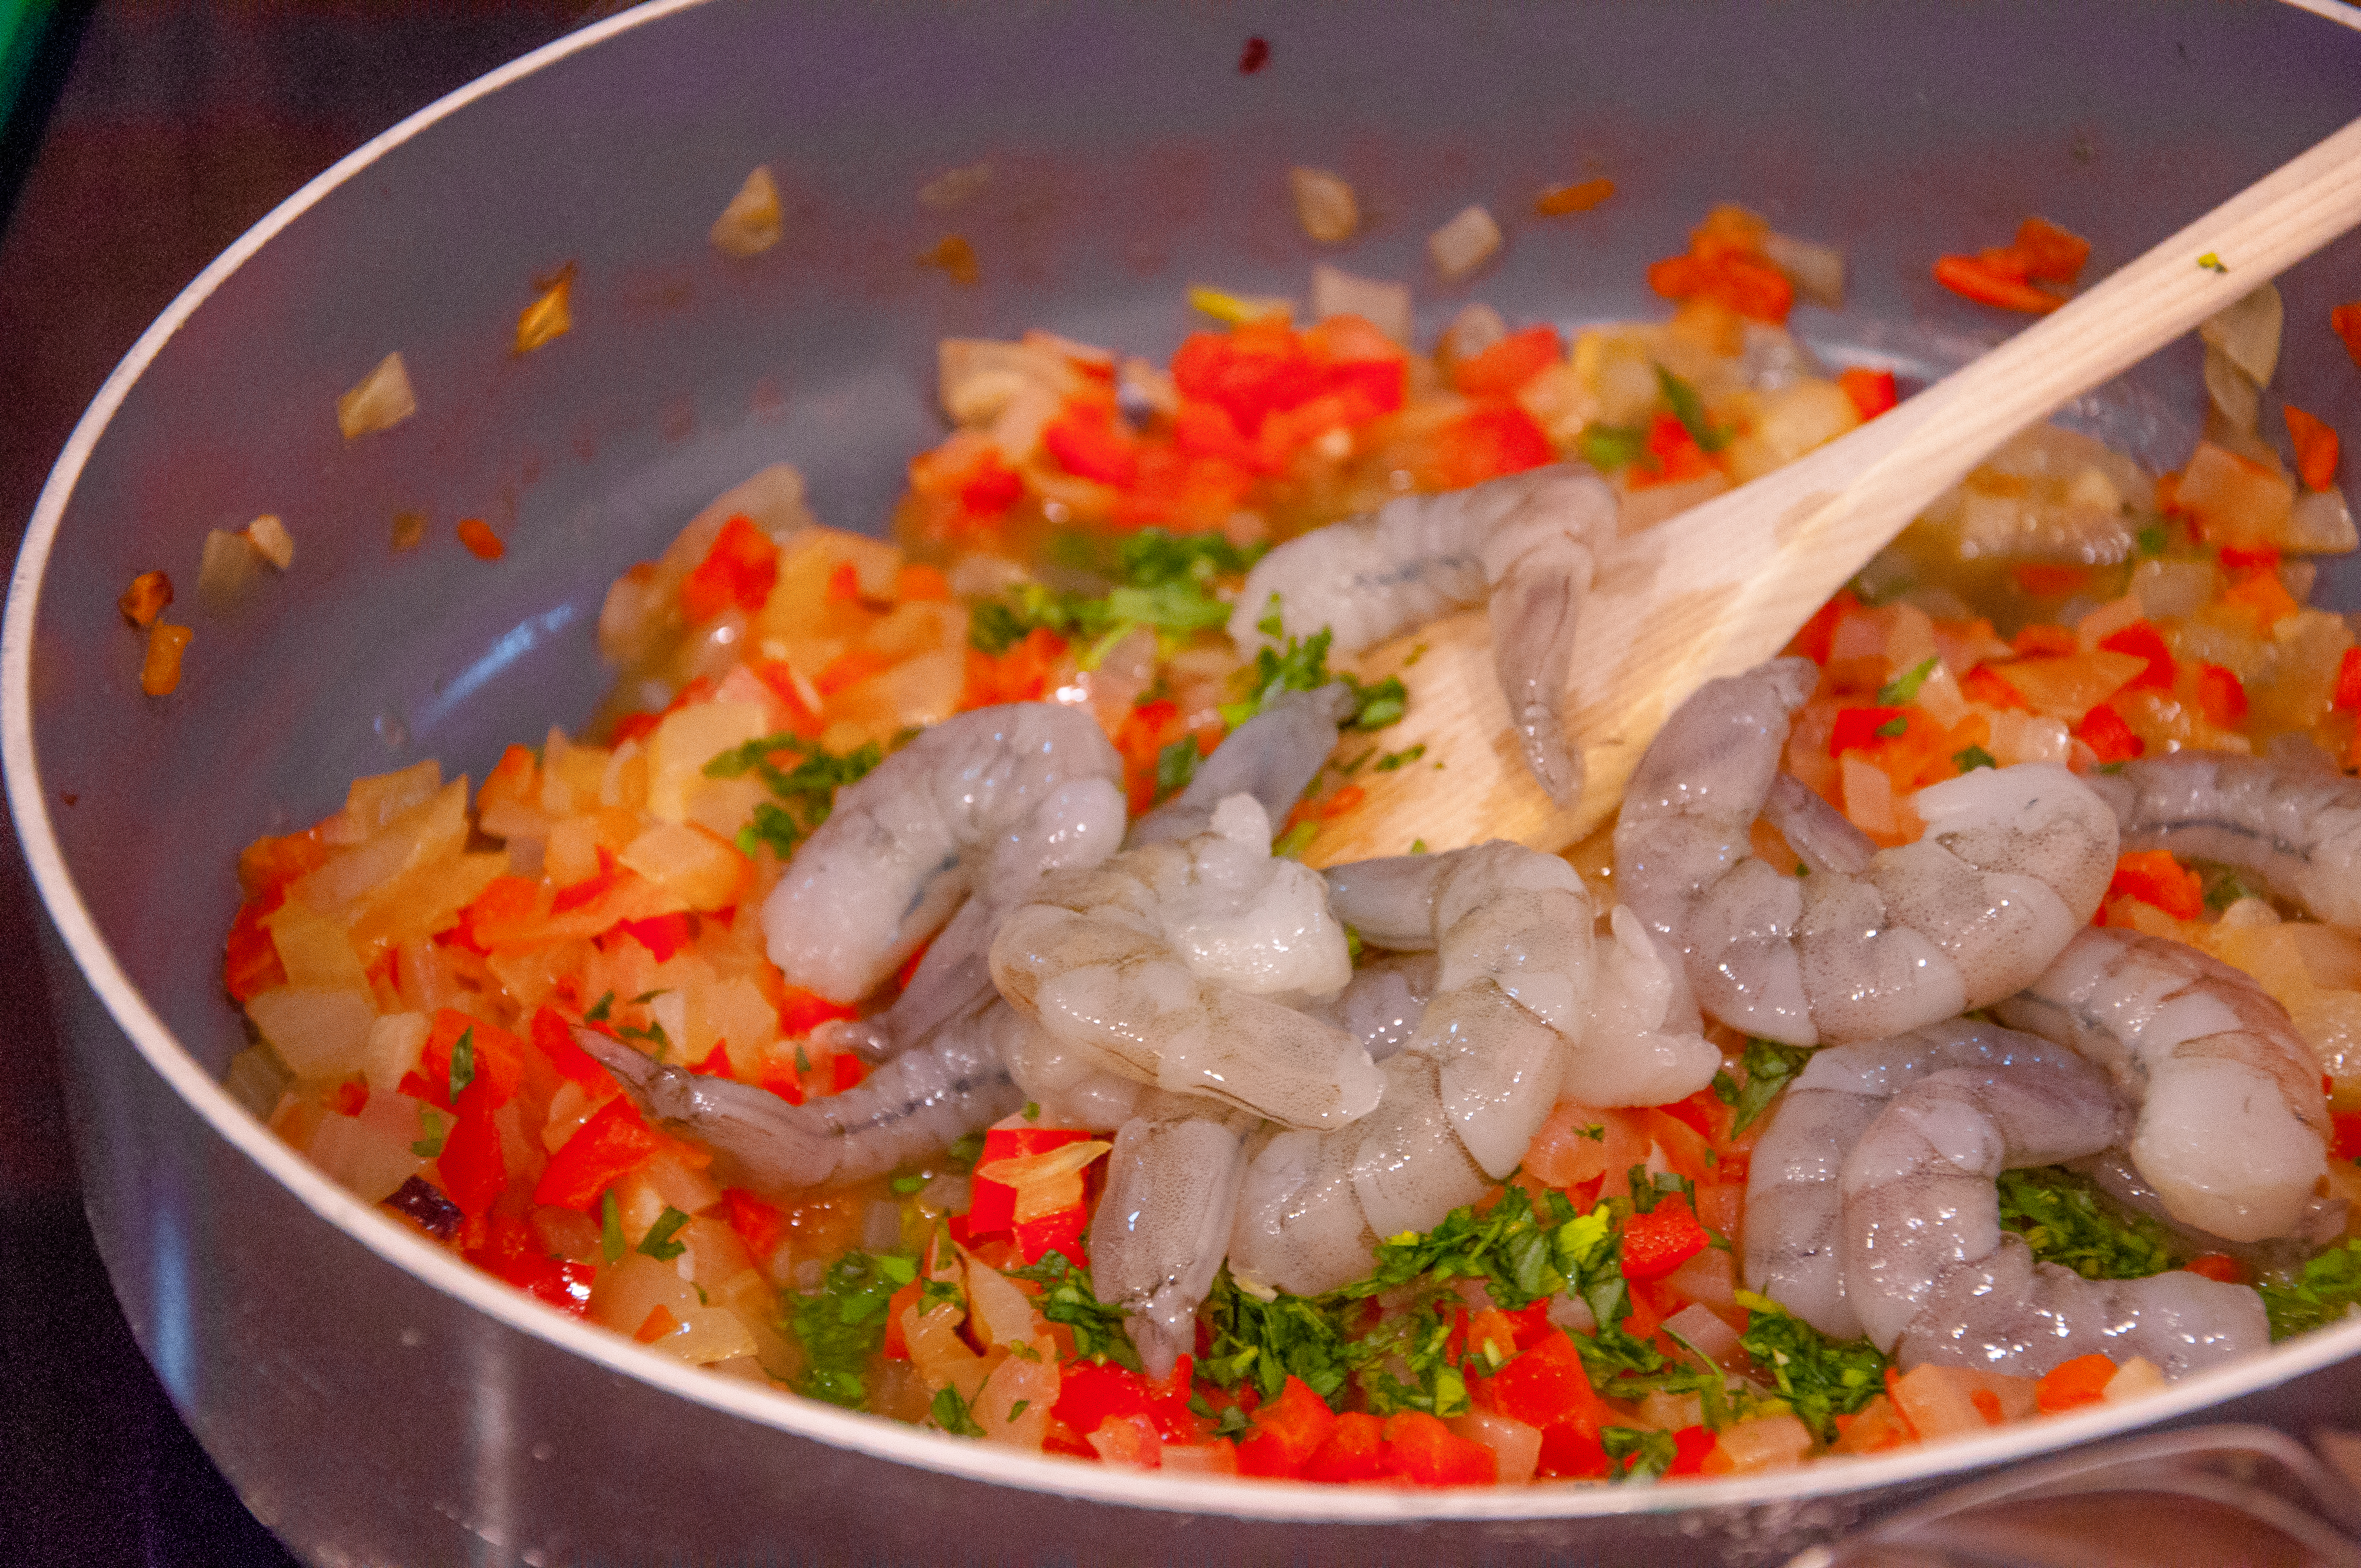
- 750g beef cut suitable for slow cooking, chopped into 3cm/1in cubes e.g shoulder steaks
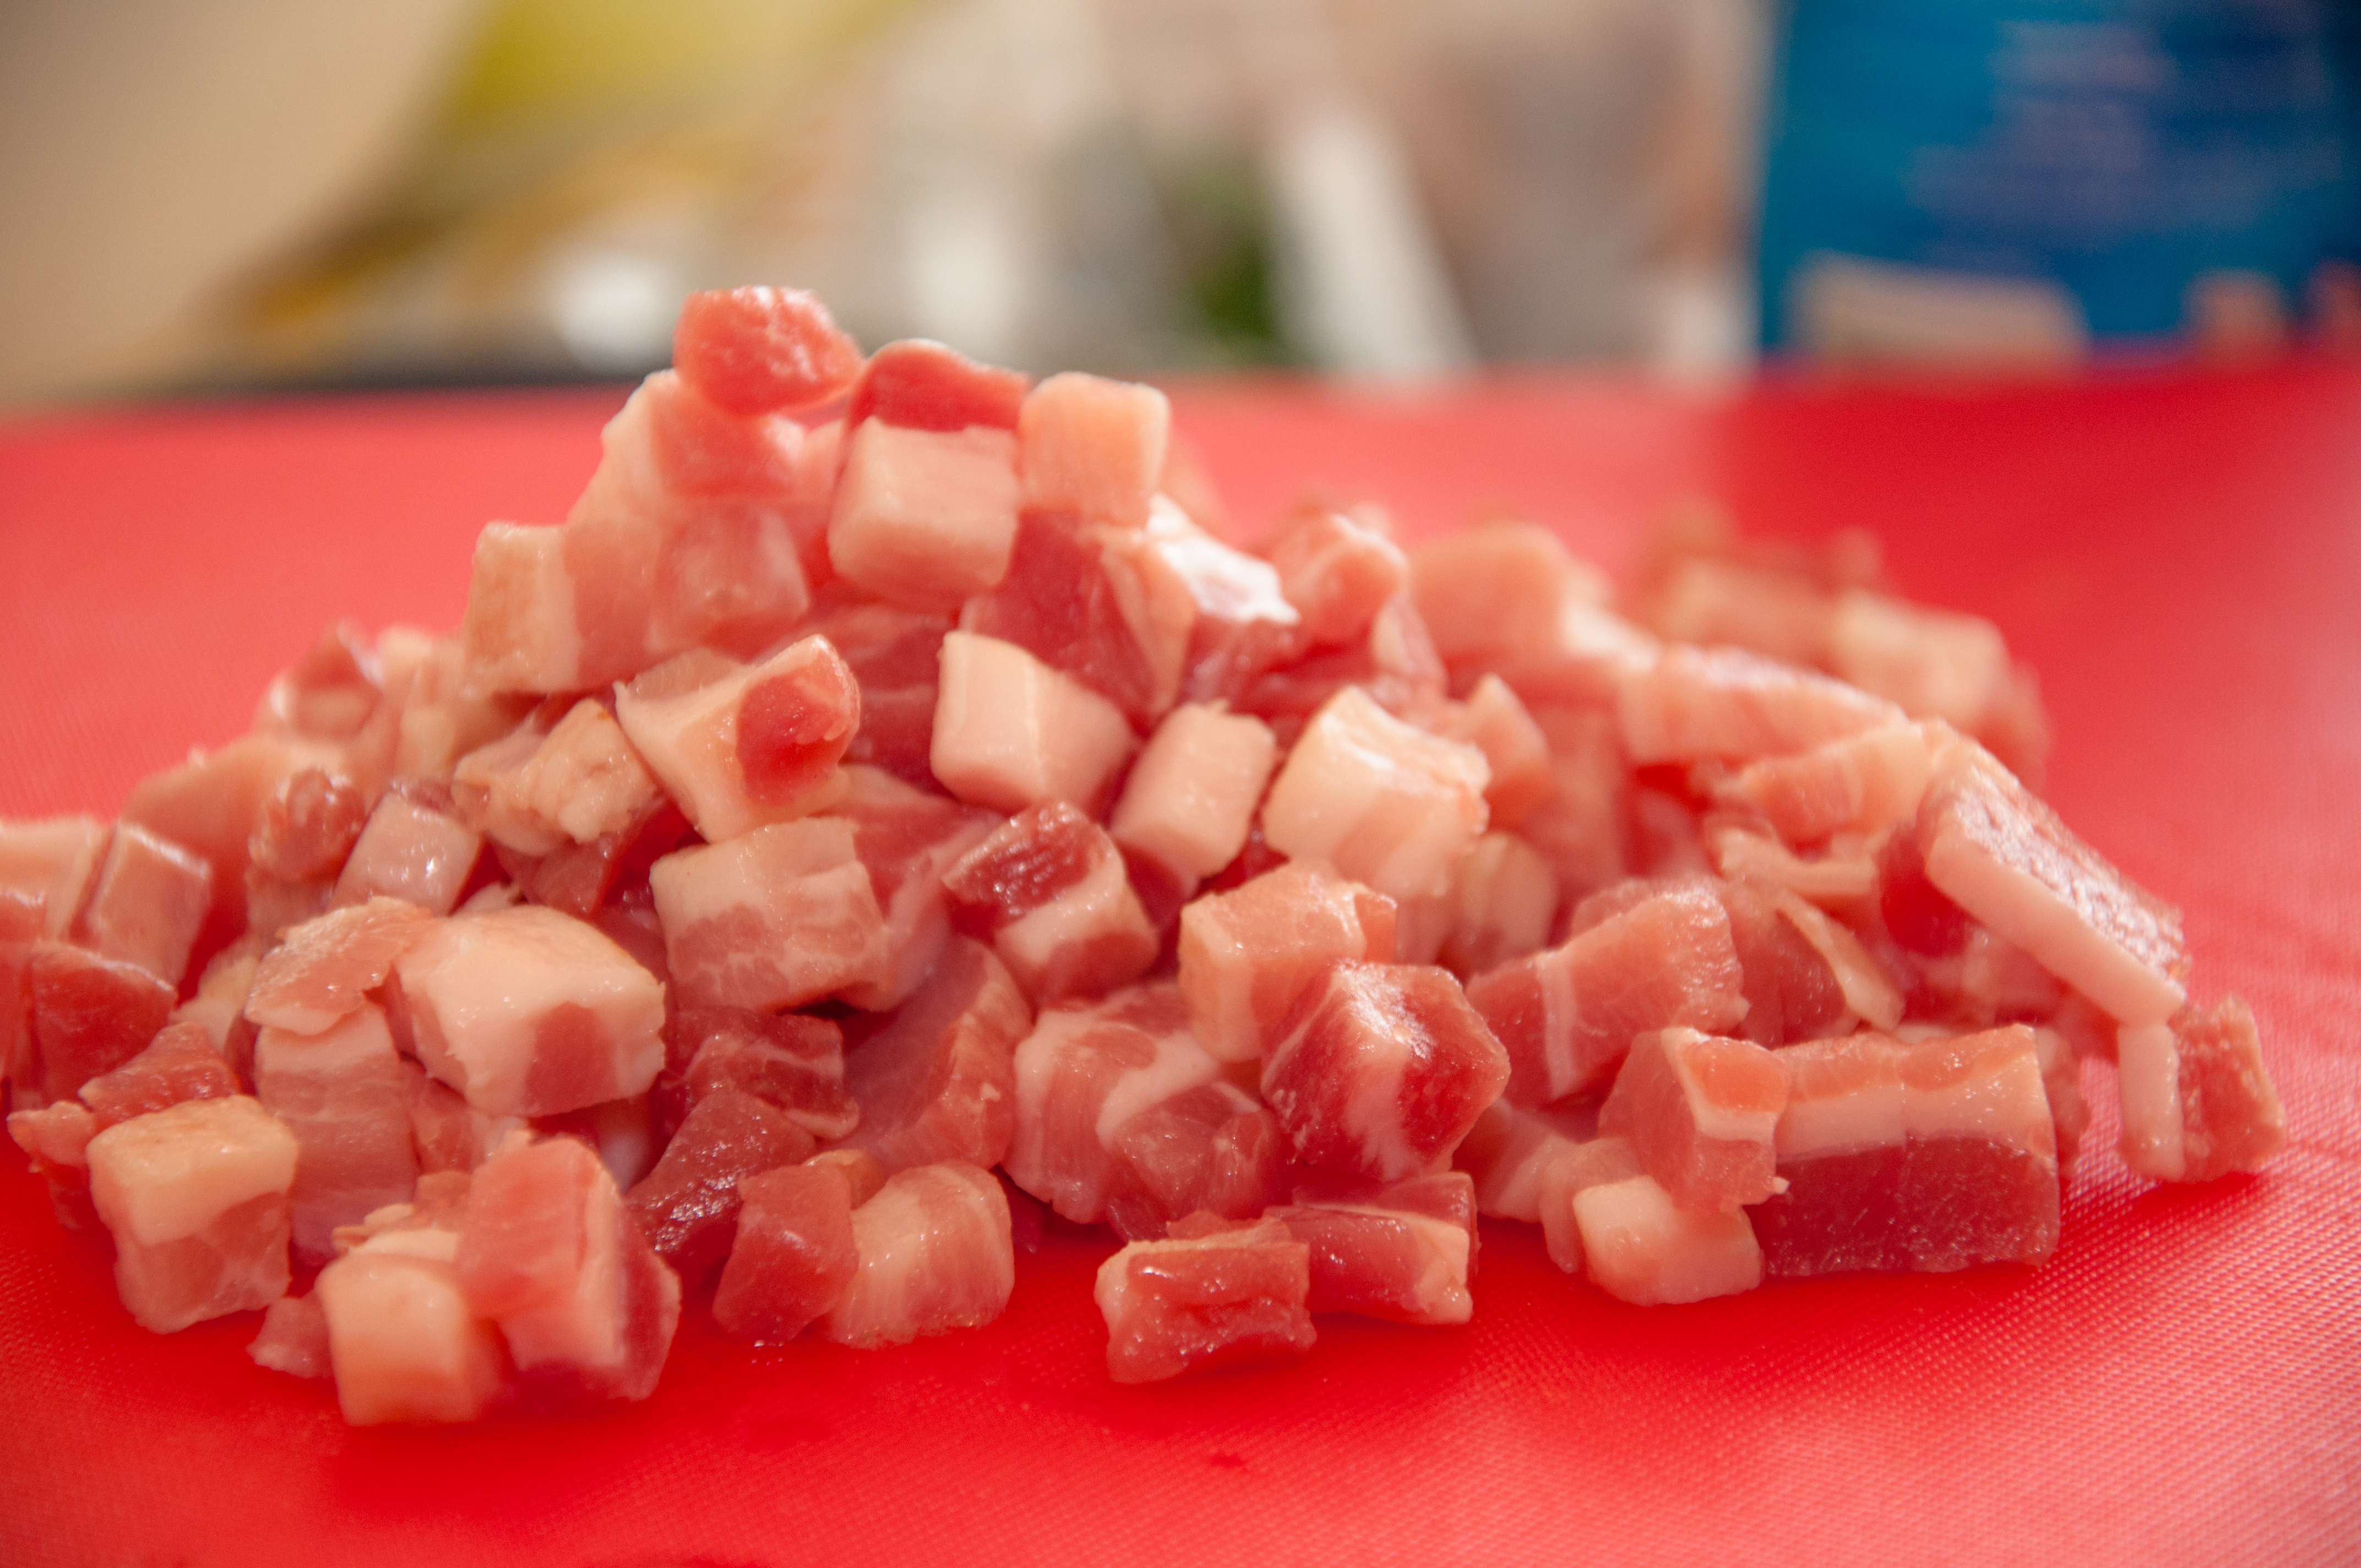
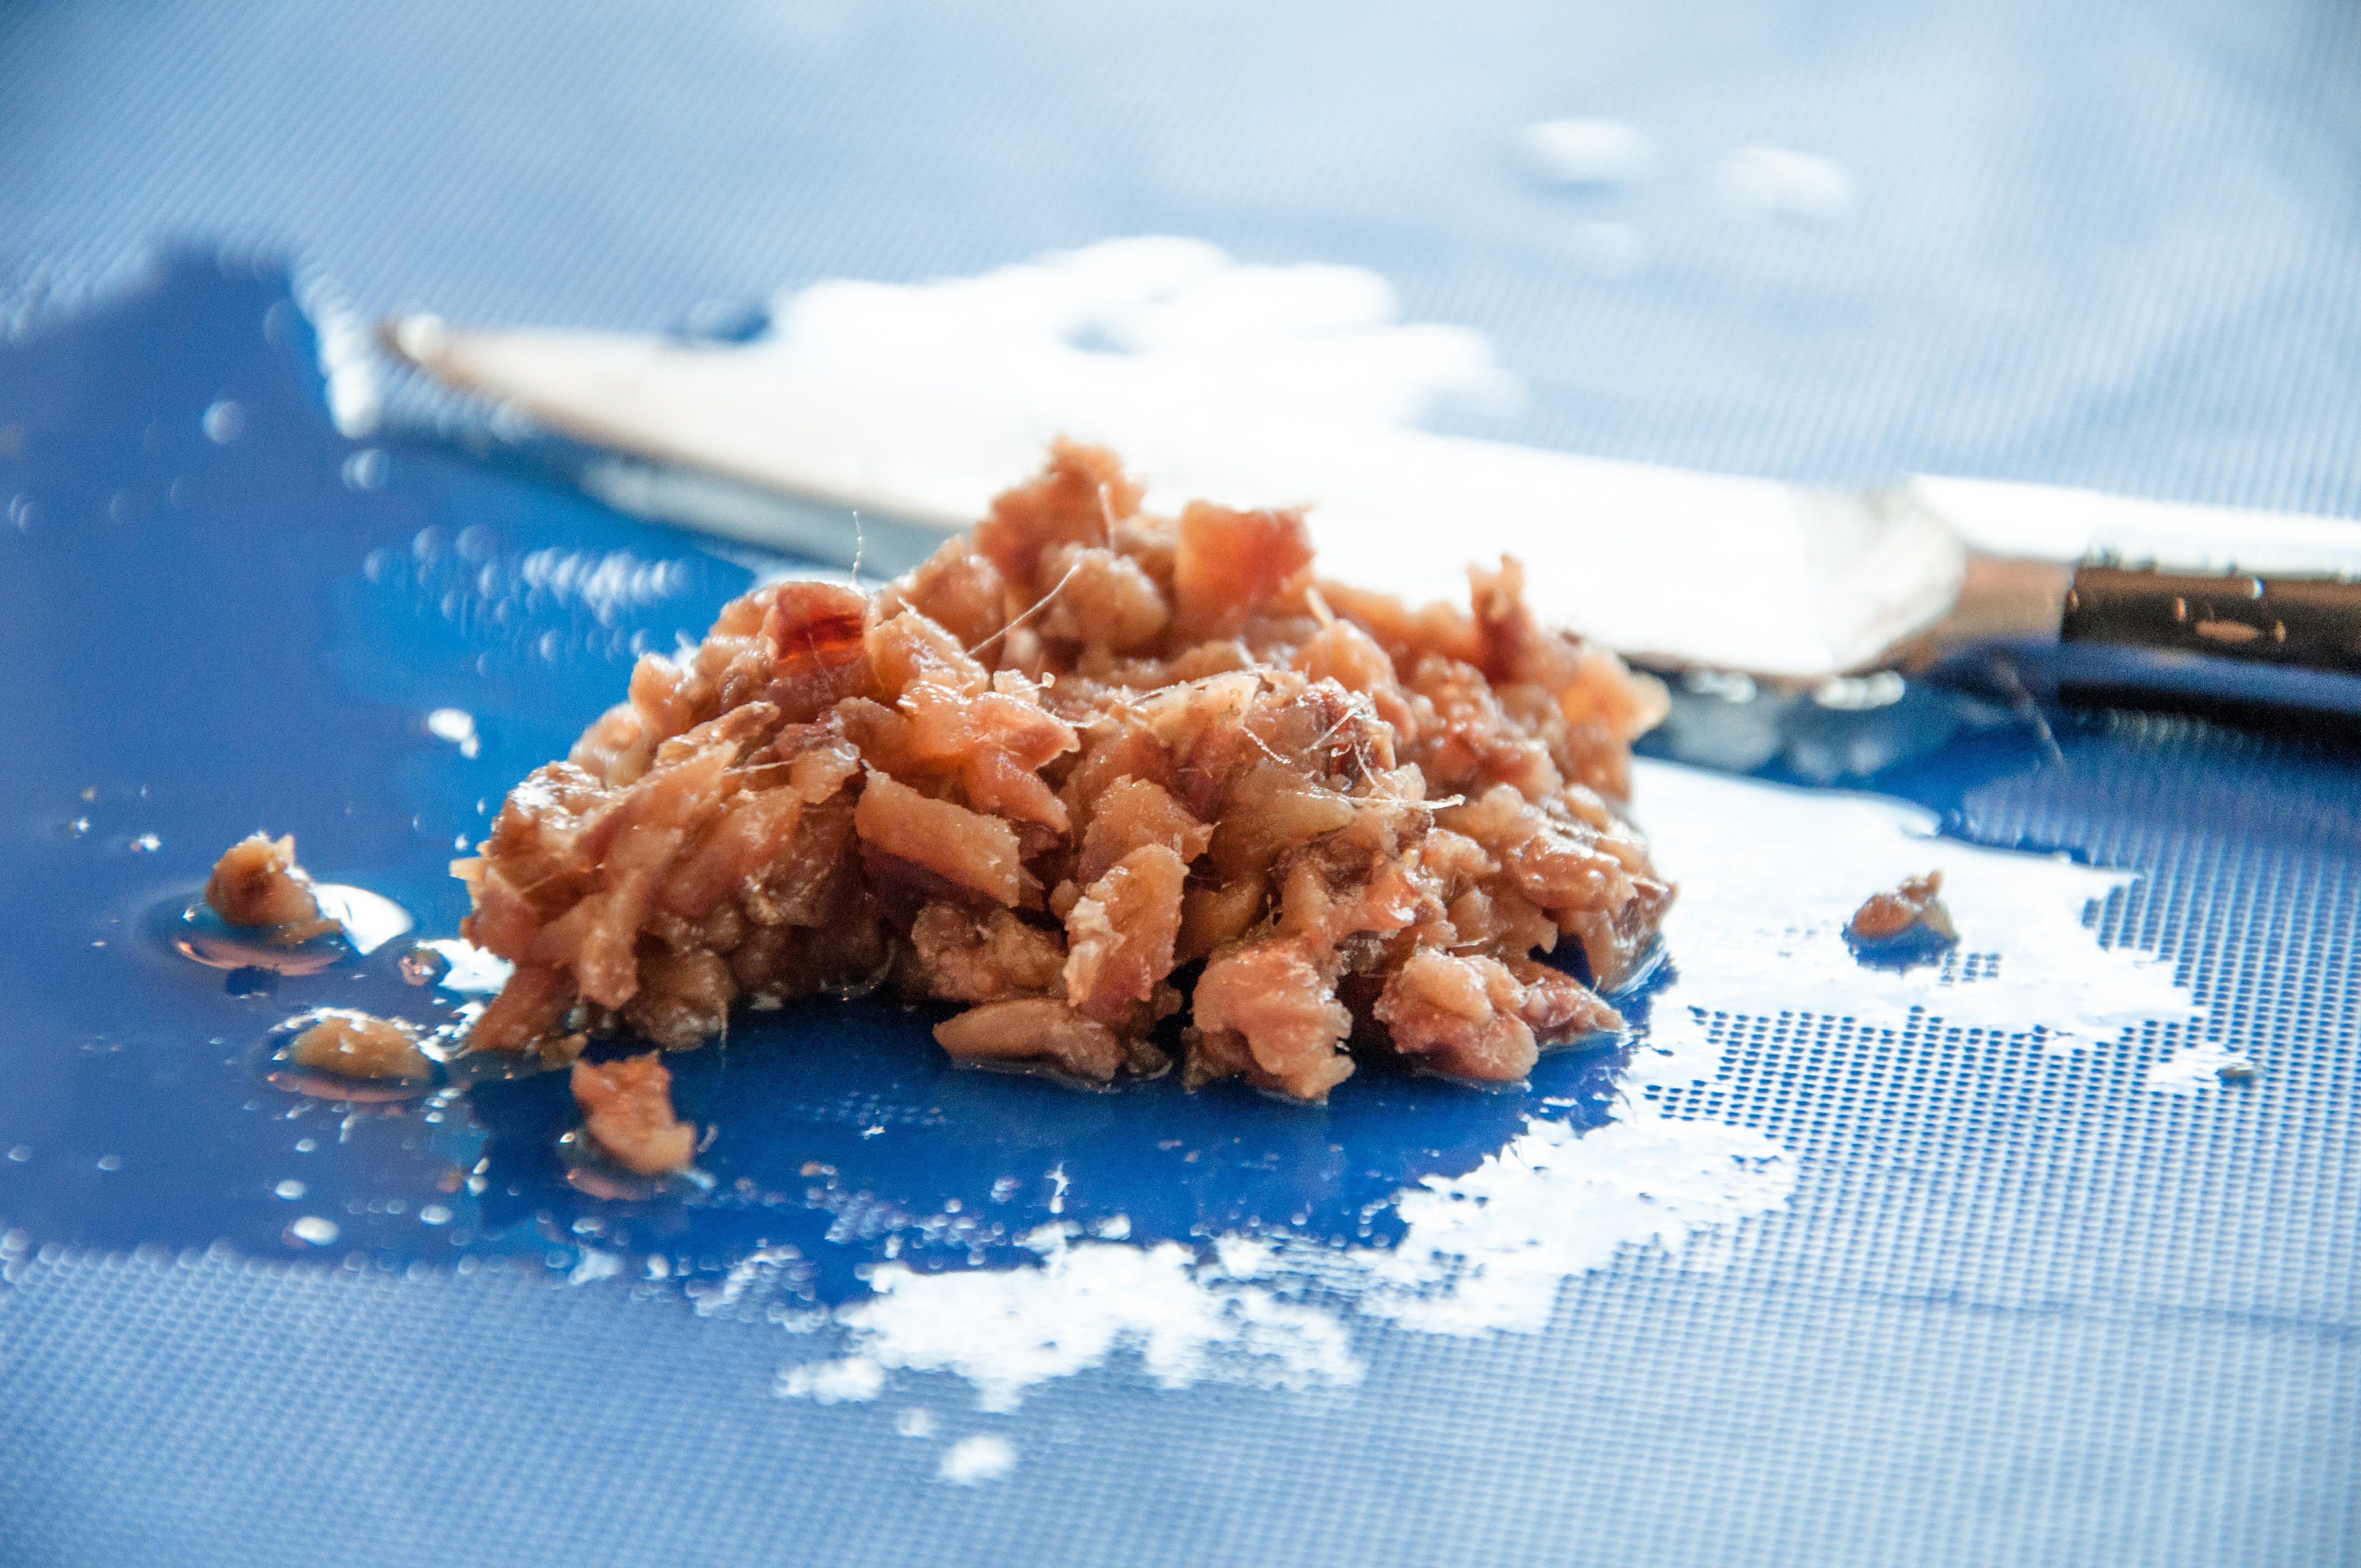
- 200g pancetta
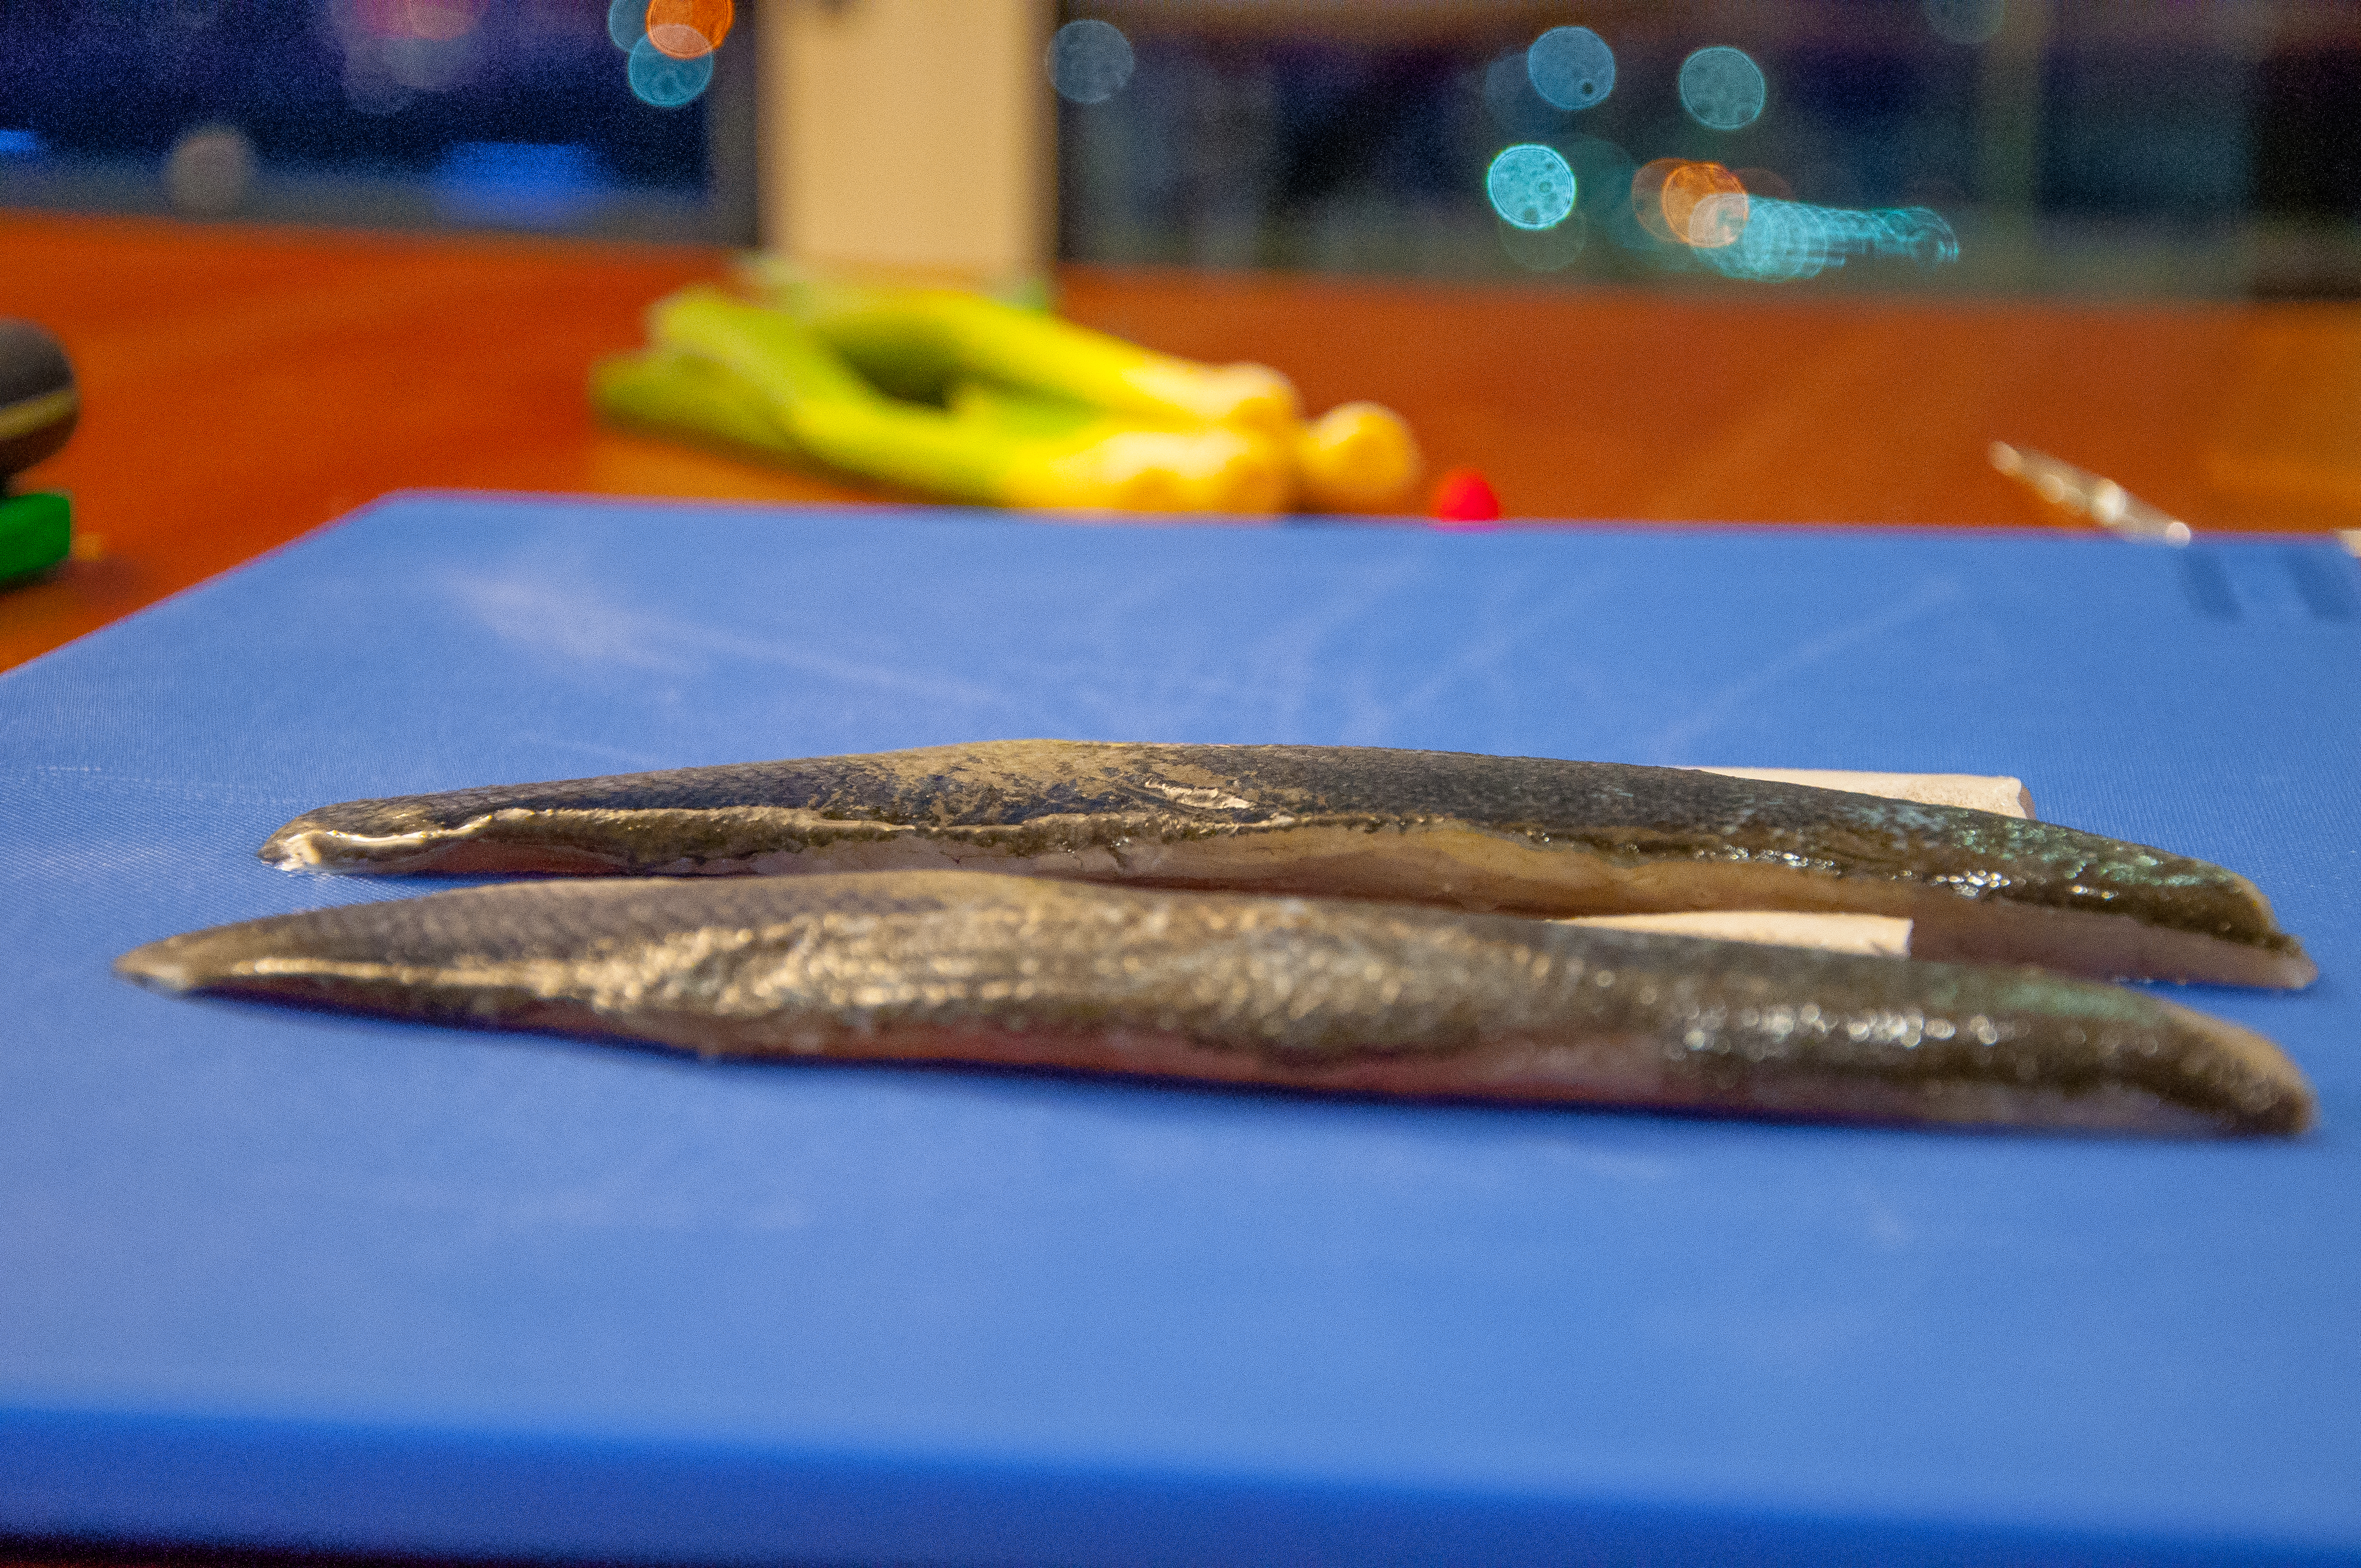
- Jar of anchovies
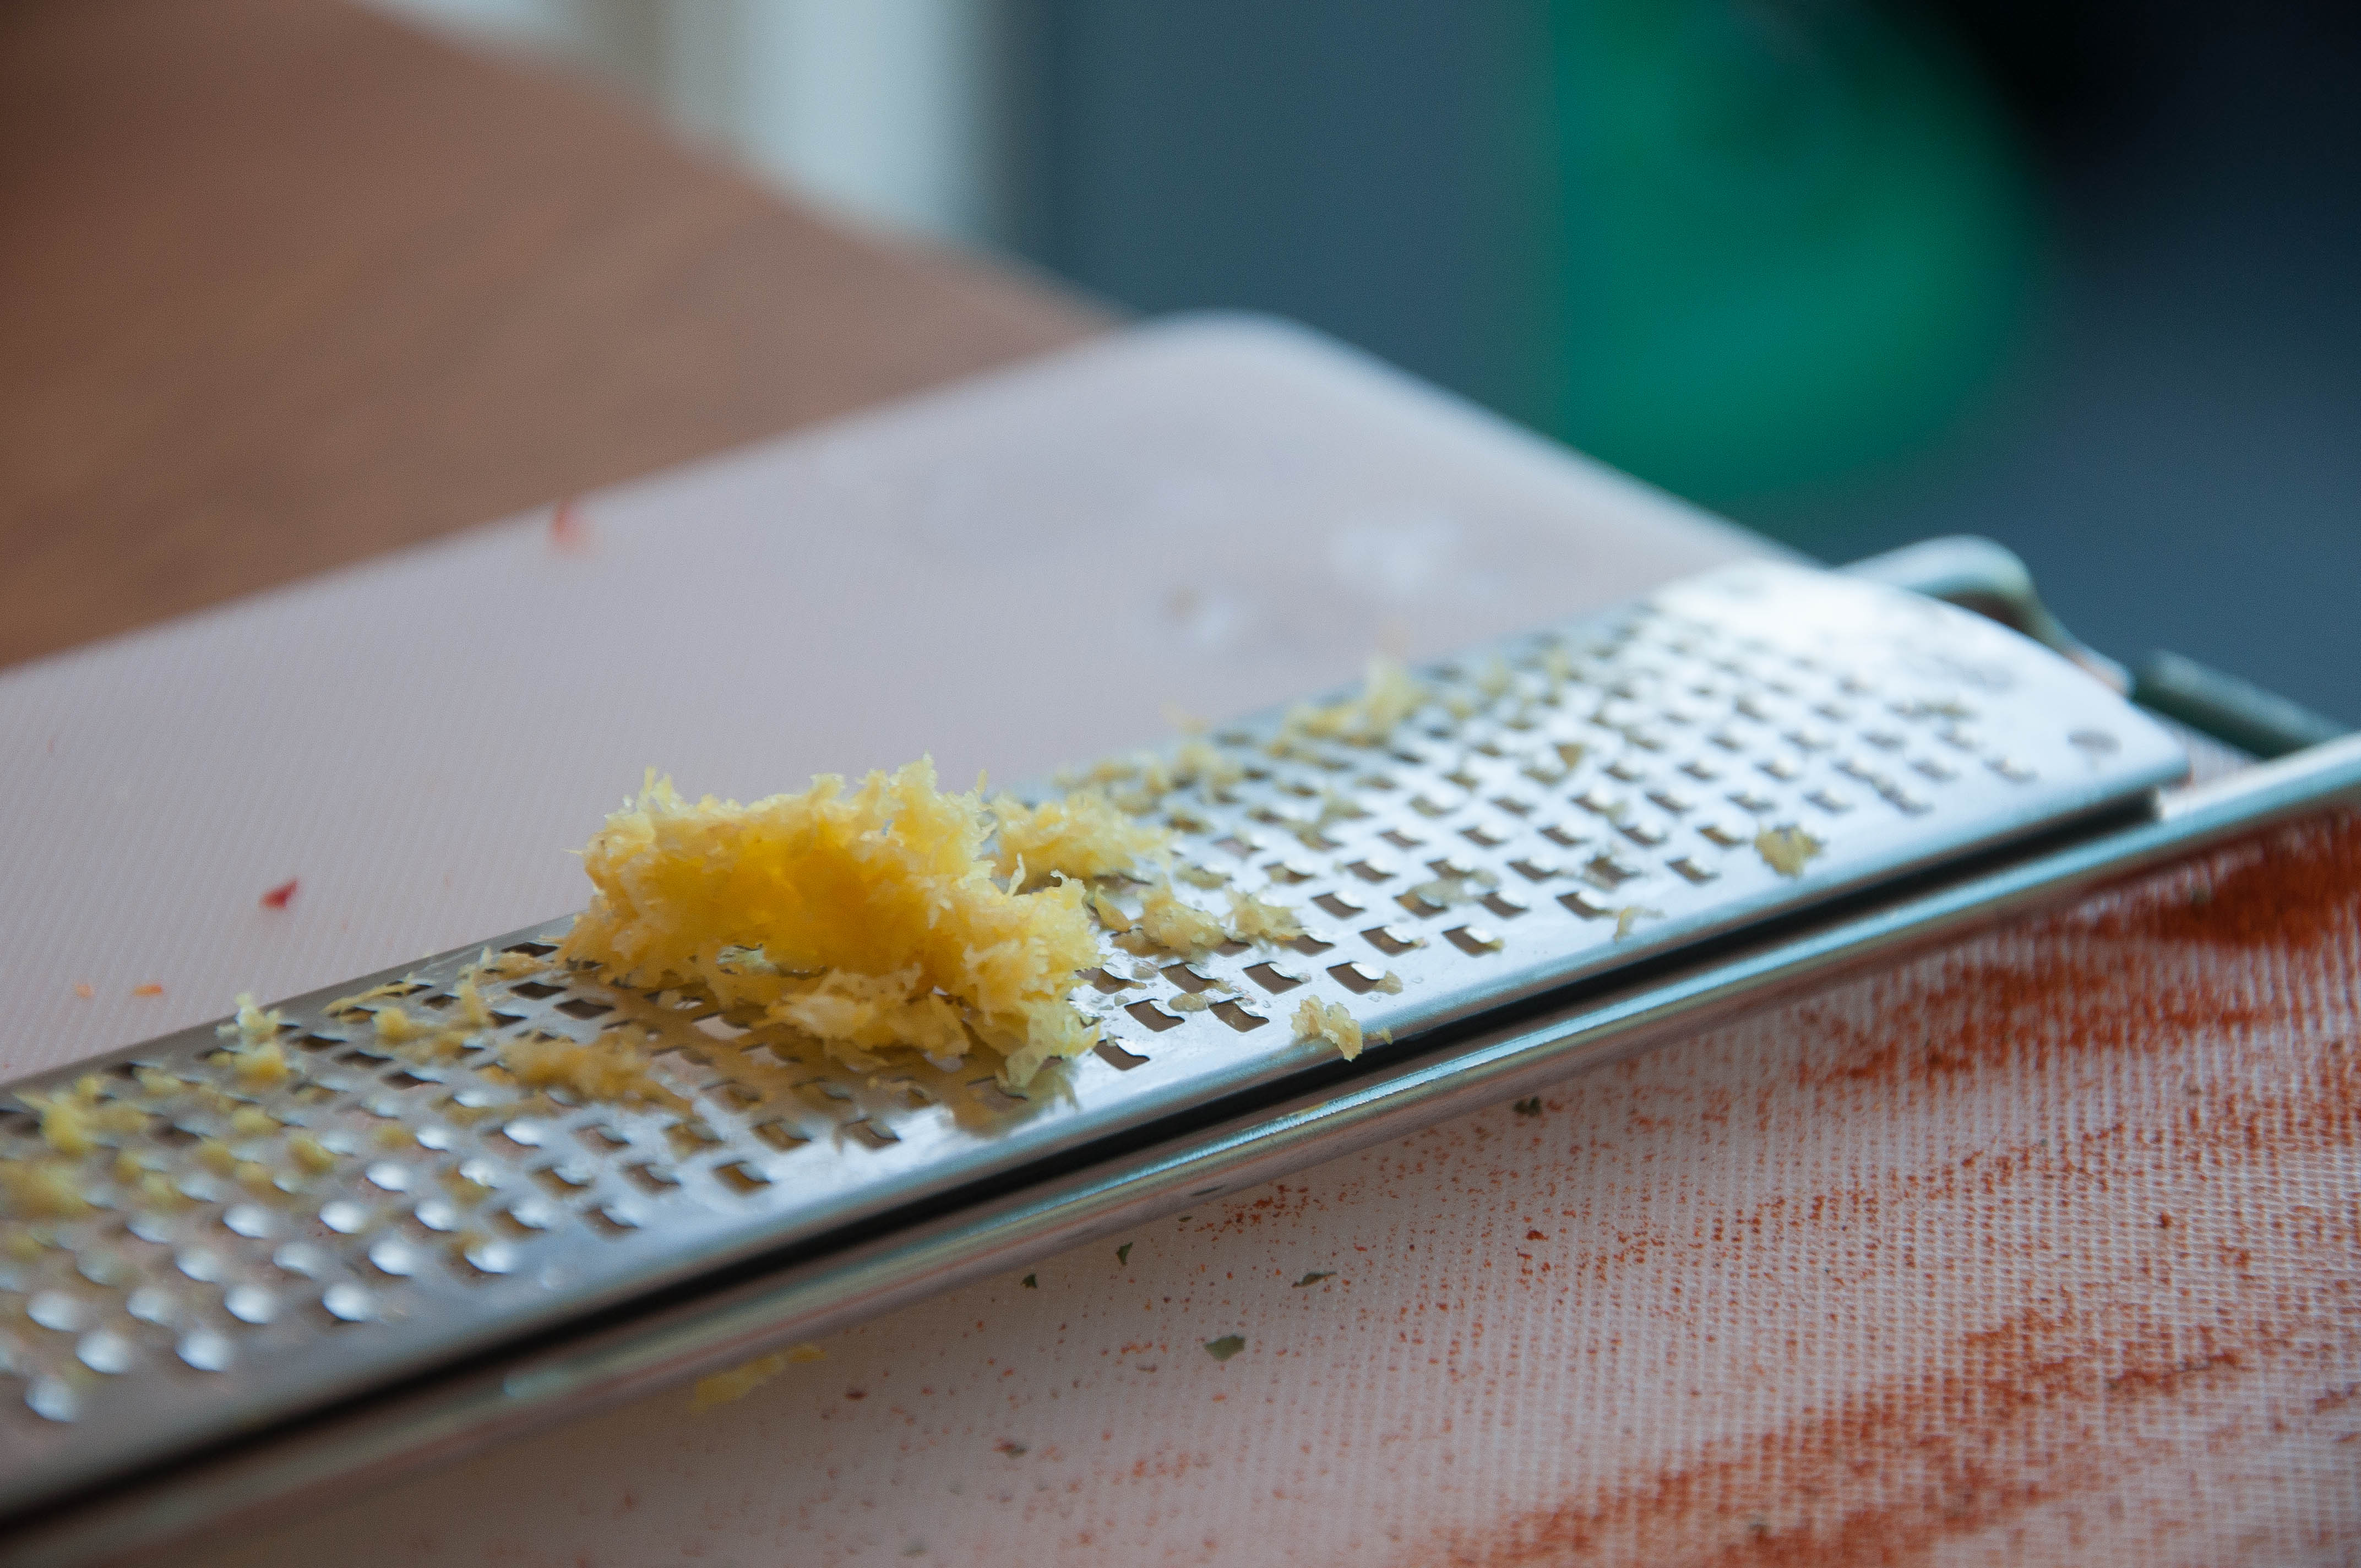
- Zest of an orange – grated
- Zest and juice of 1 lemon – grated
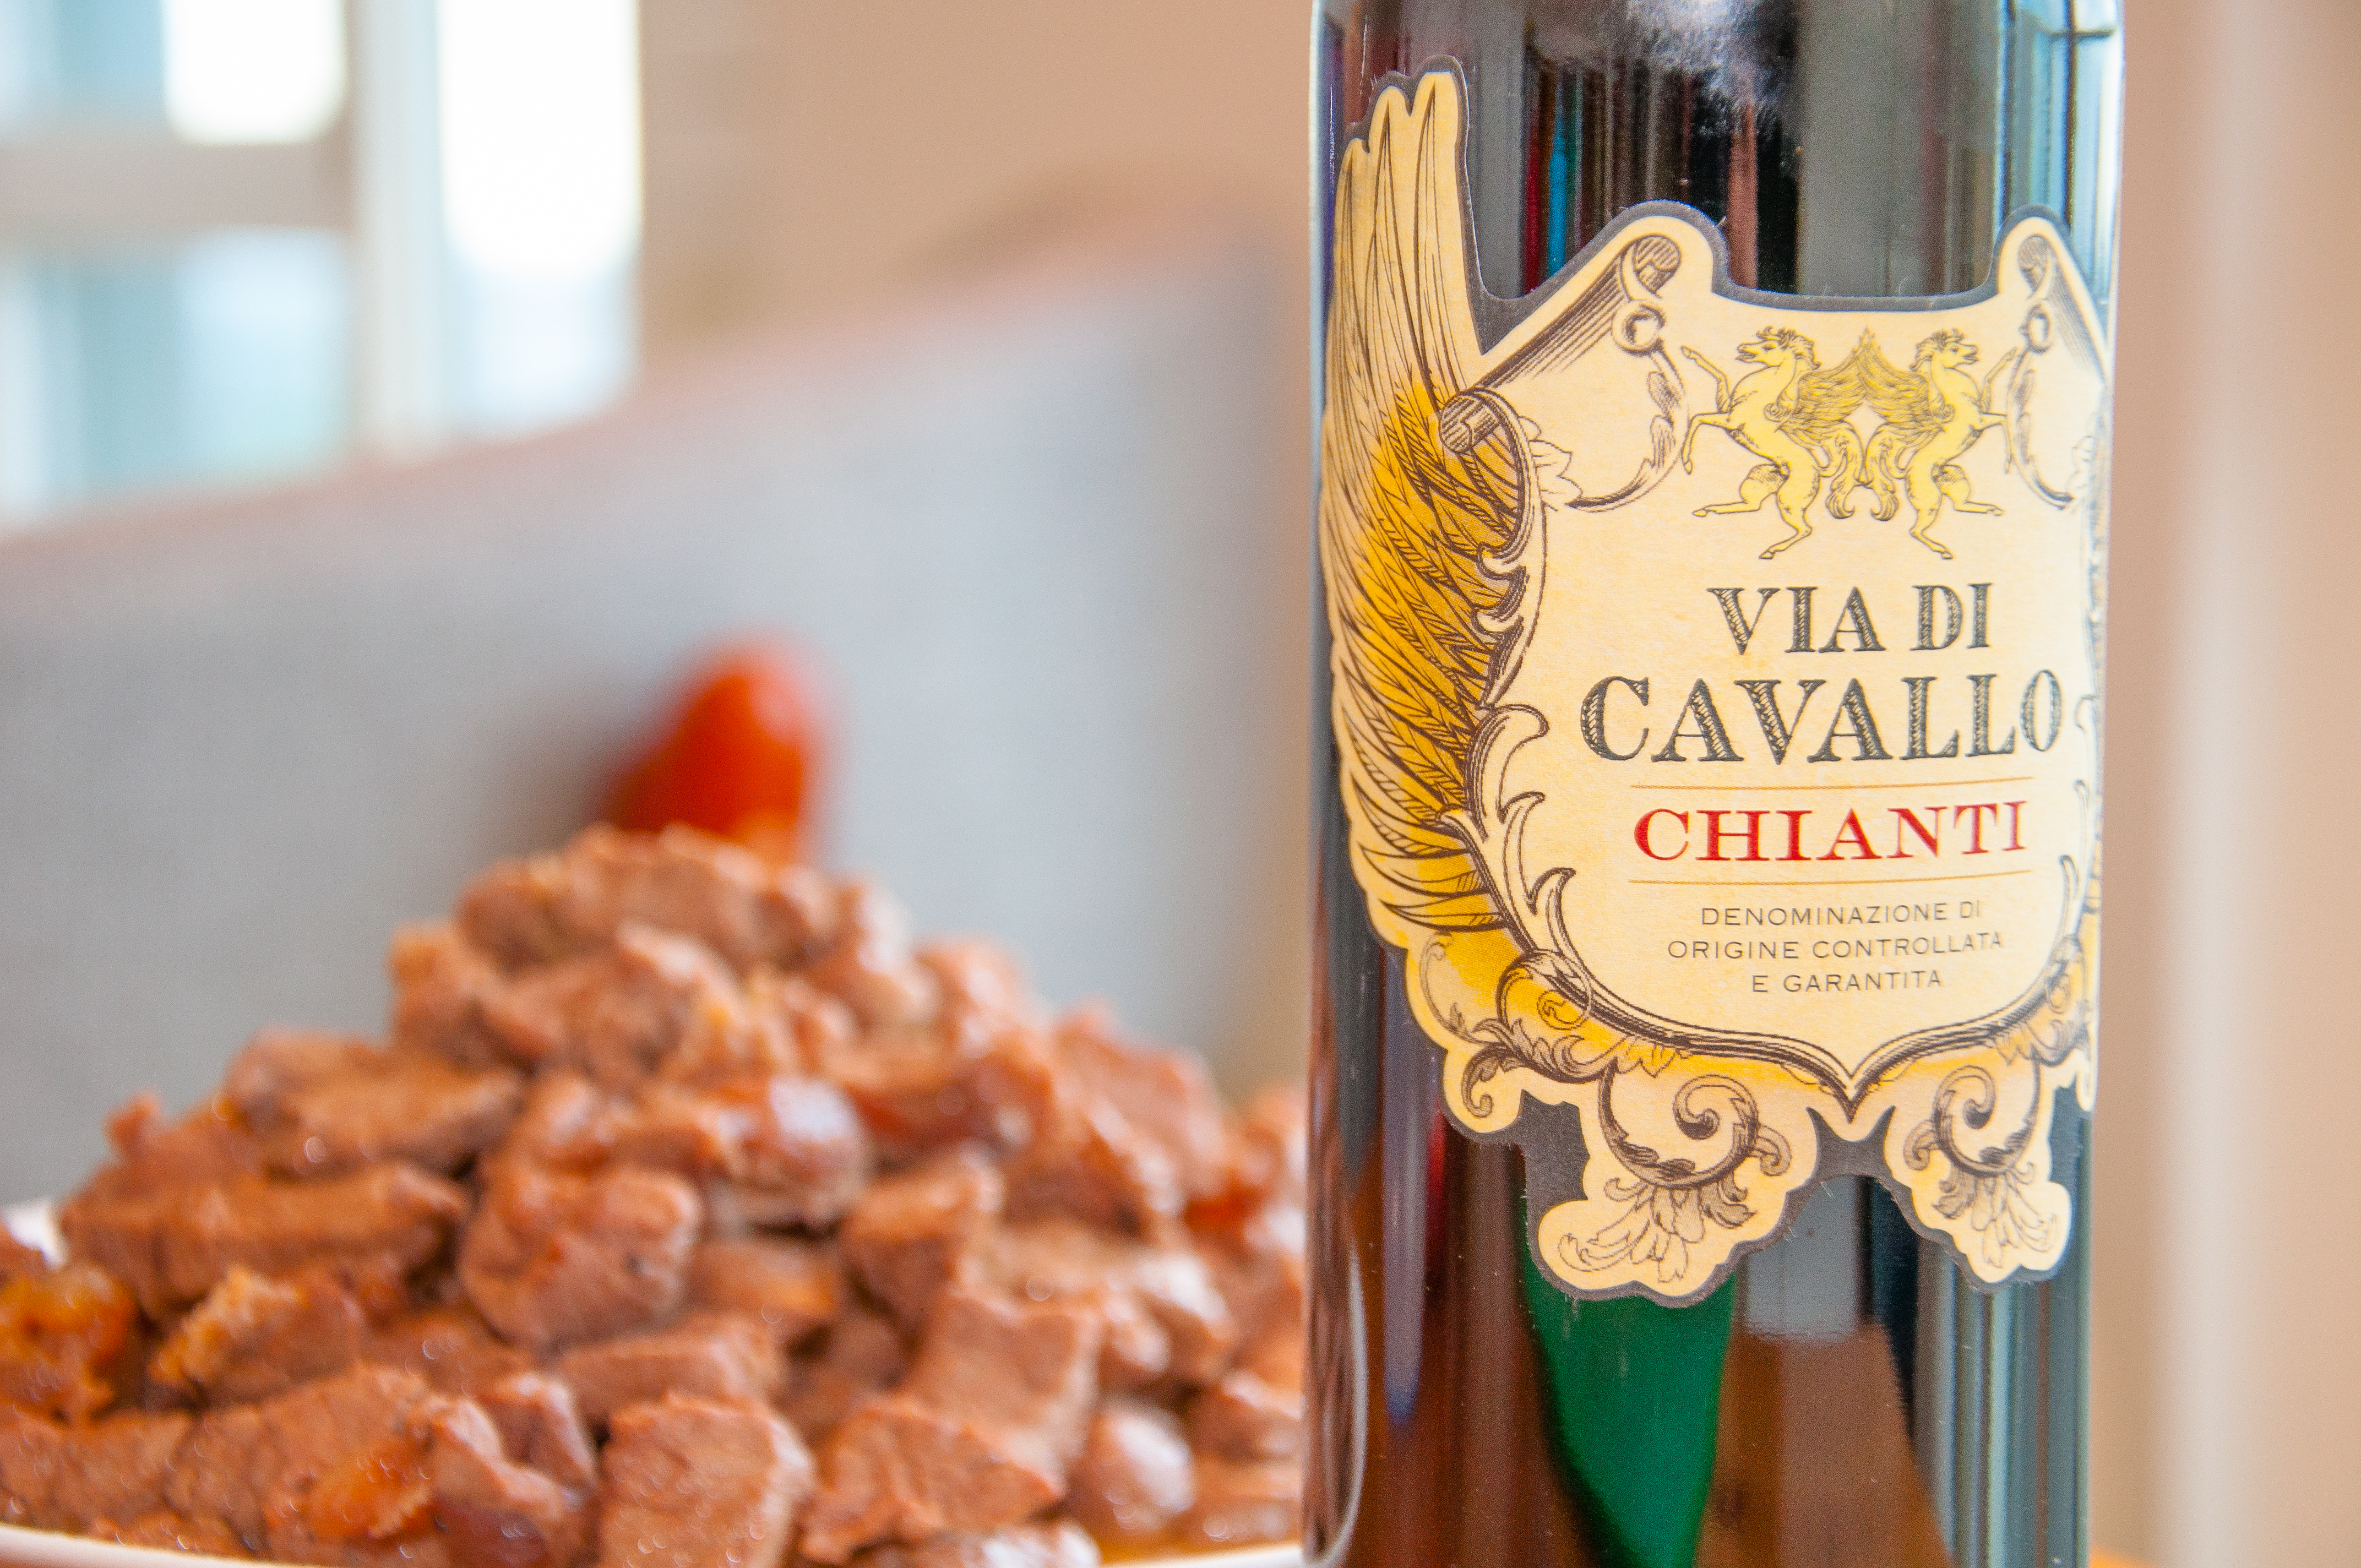
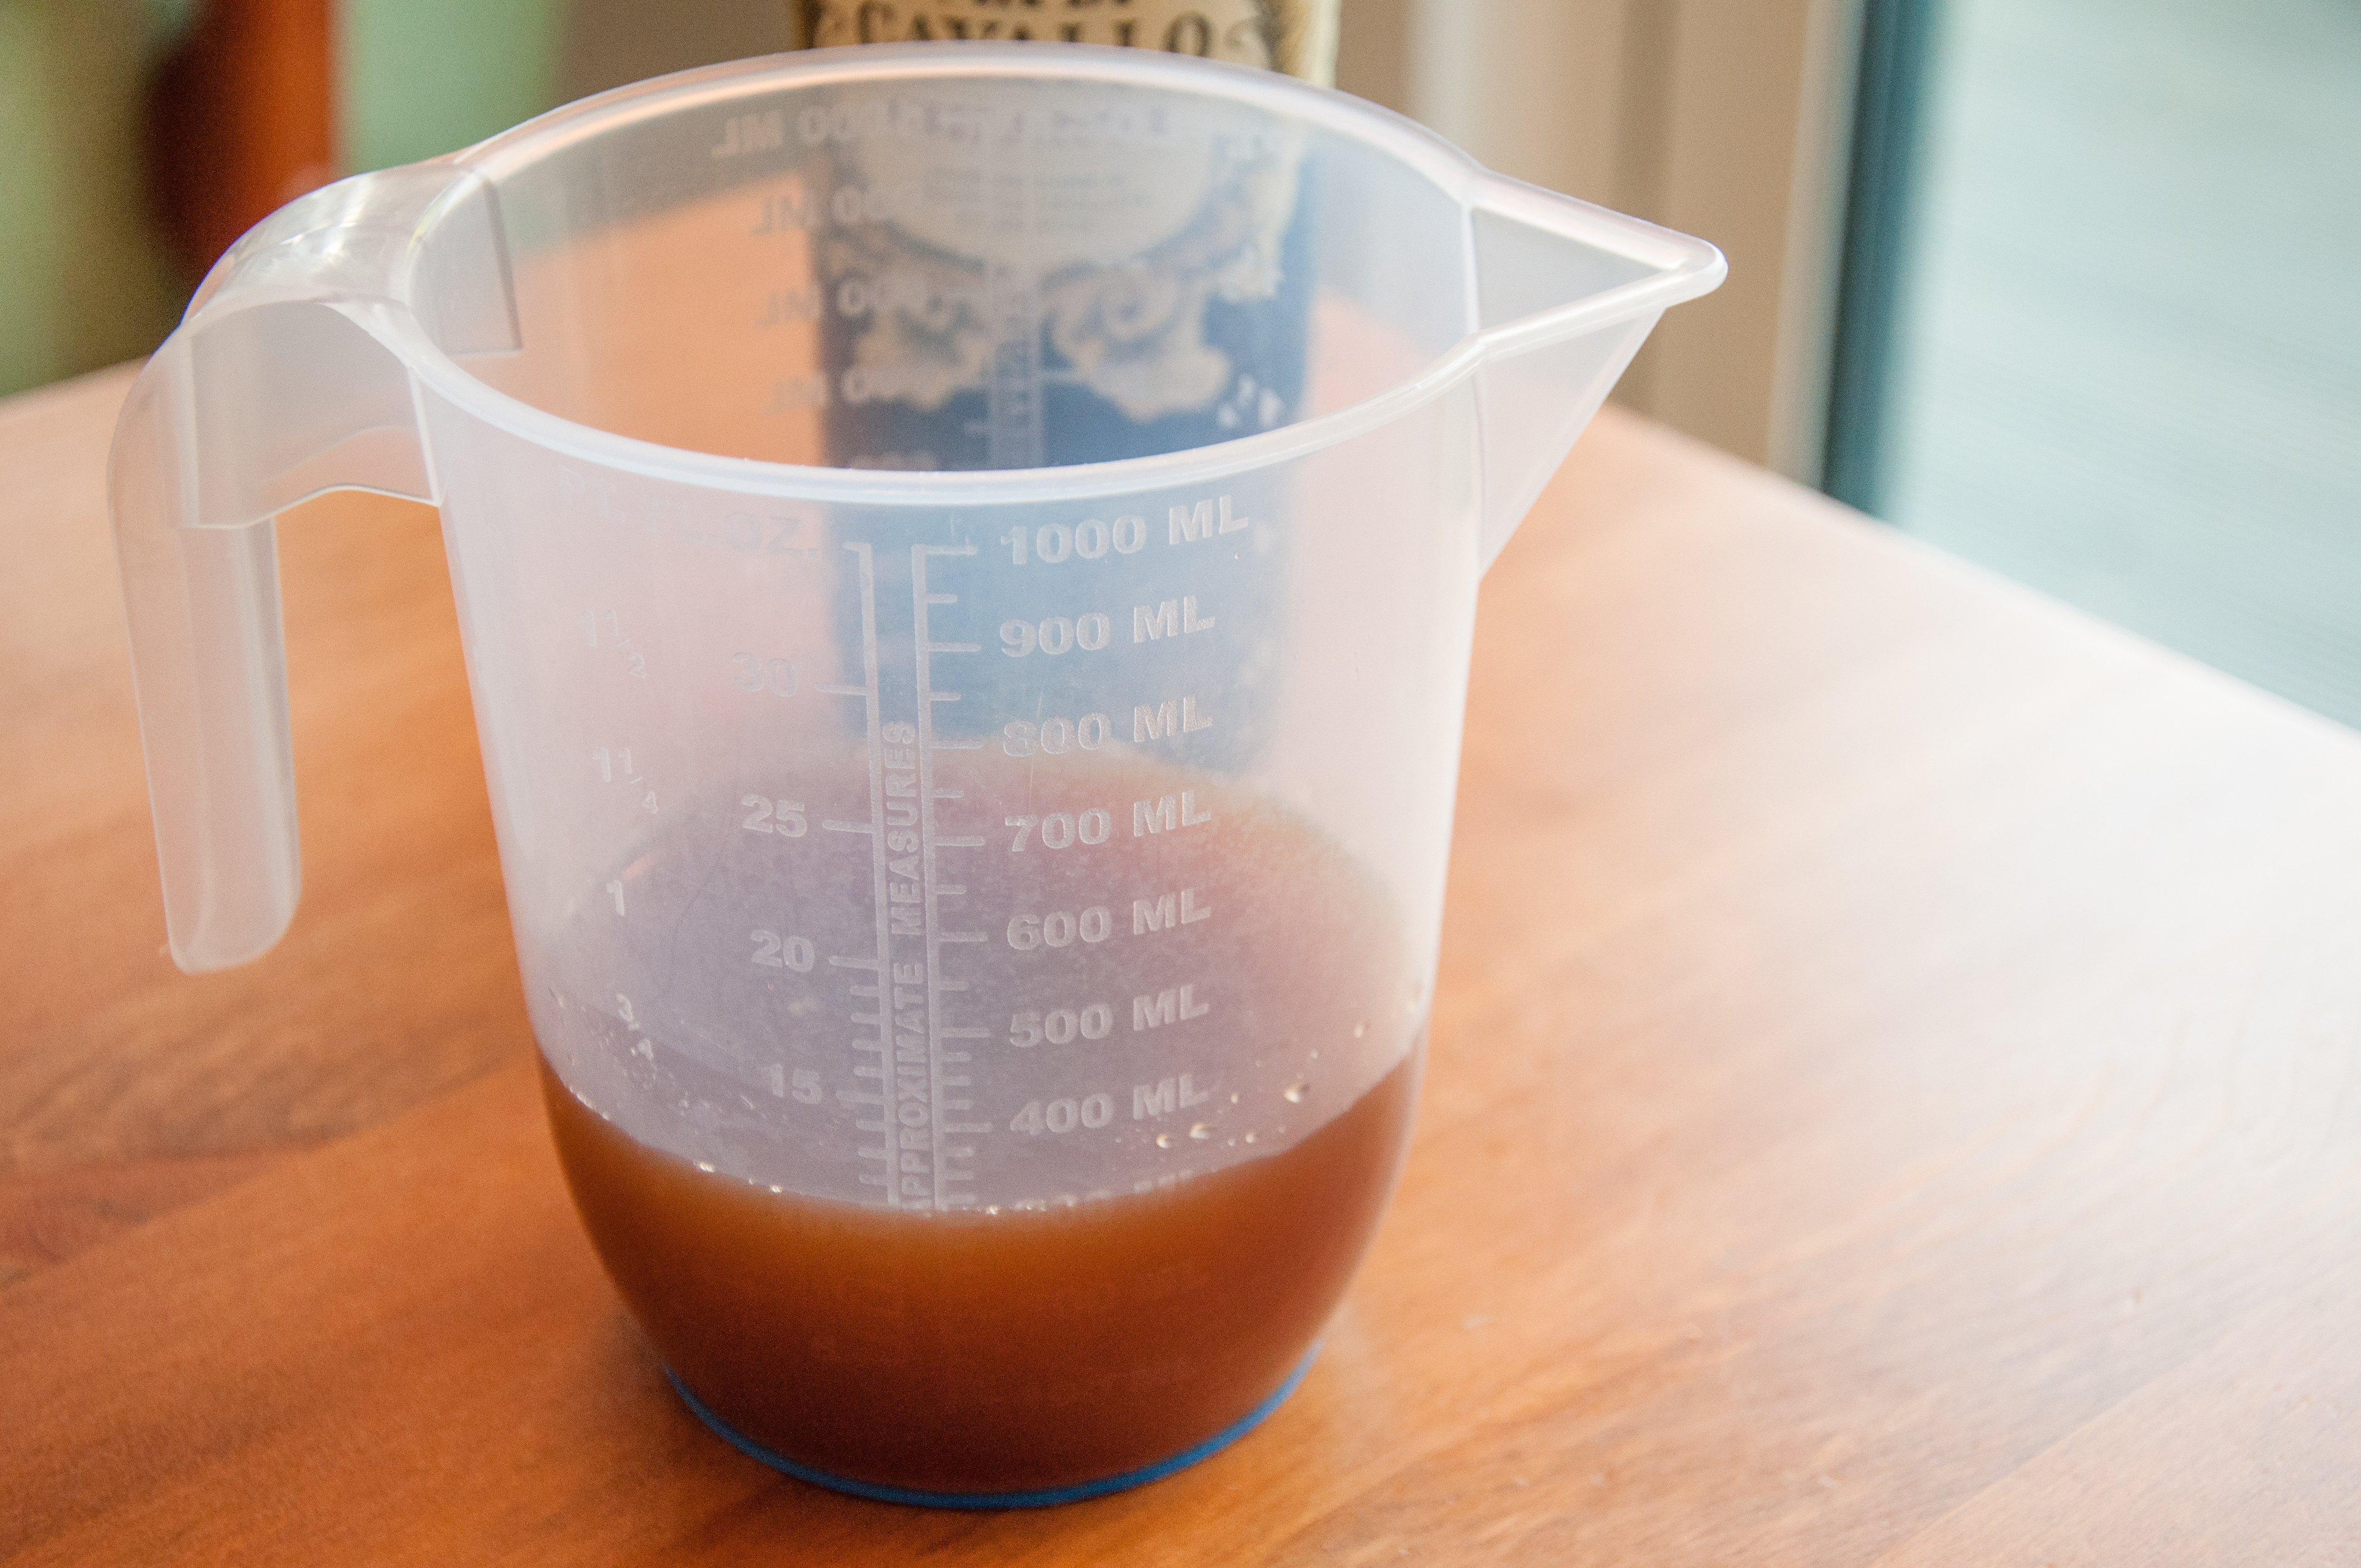
- 500ml Italian red wine
- 600ml beef stock
- 2 tbsp tomato purée
- 1 tbsp brown sugar
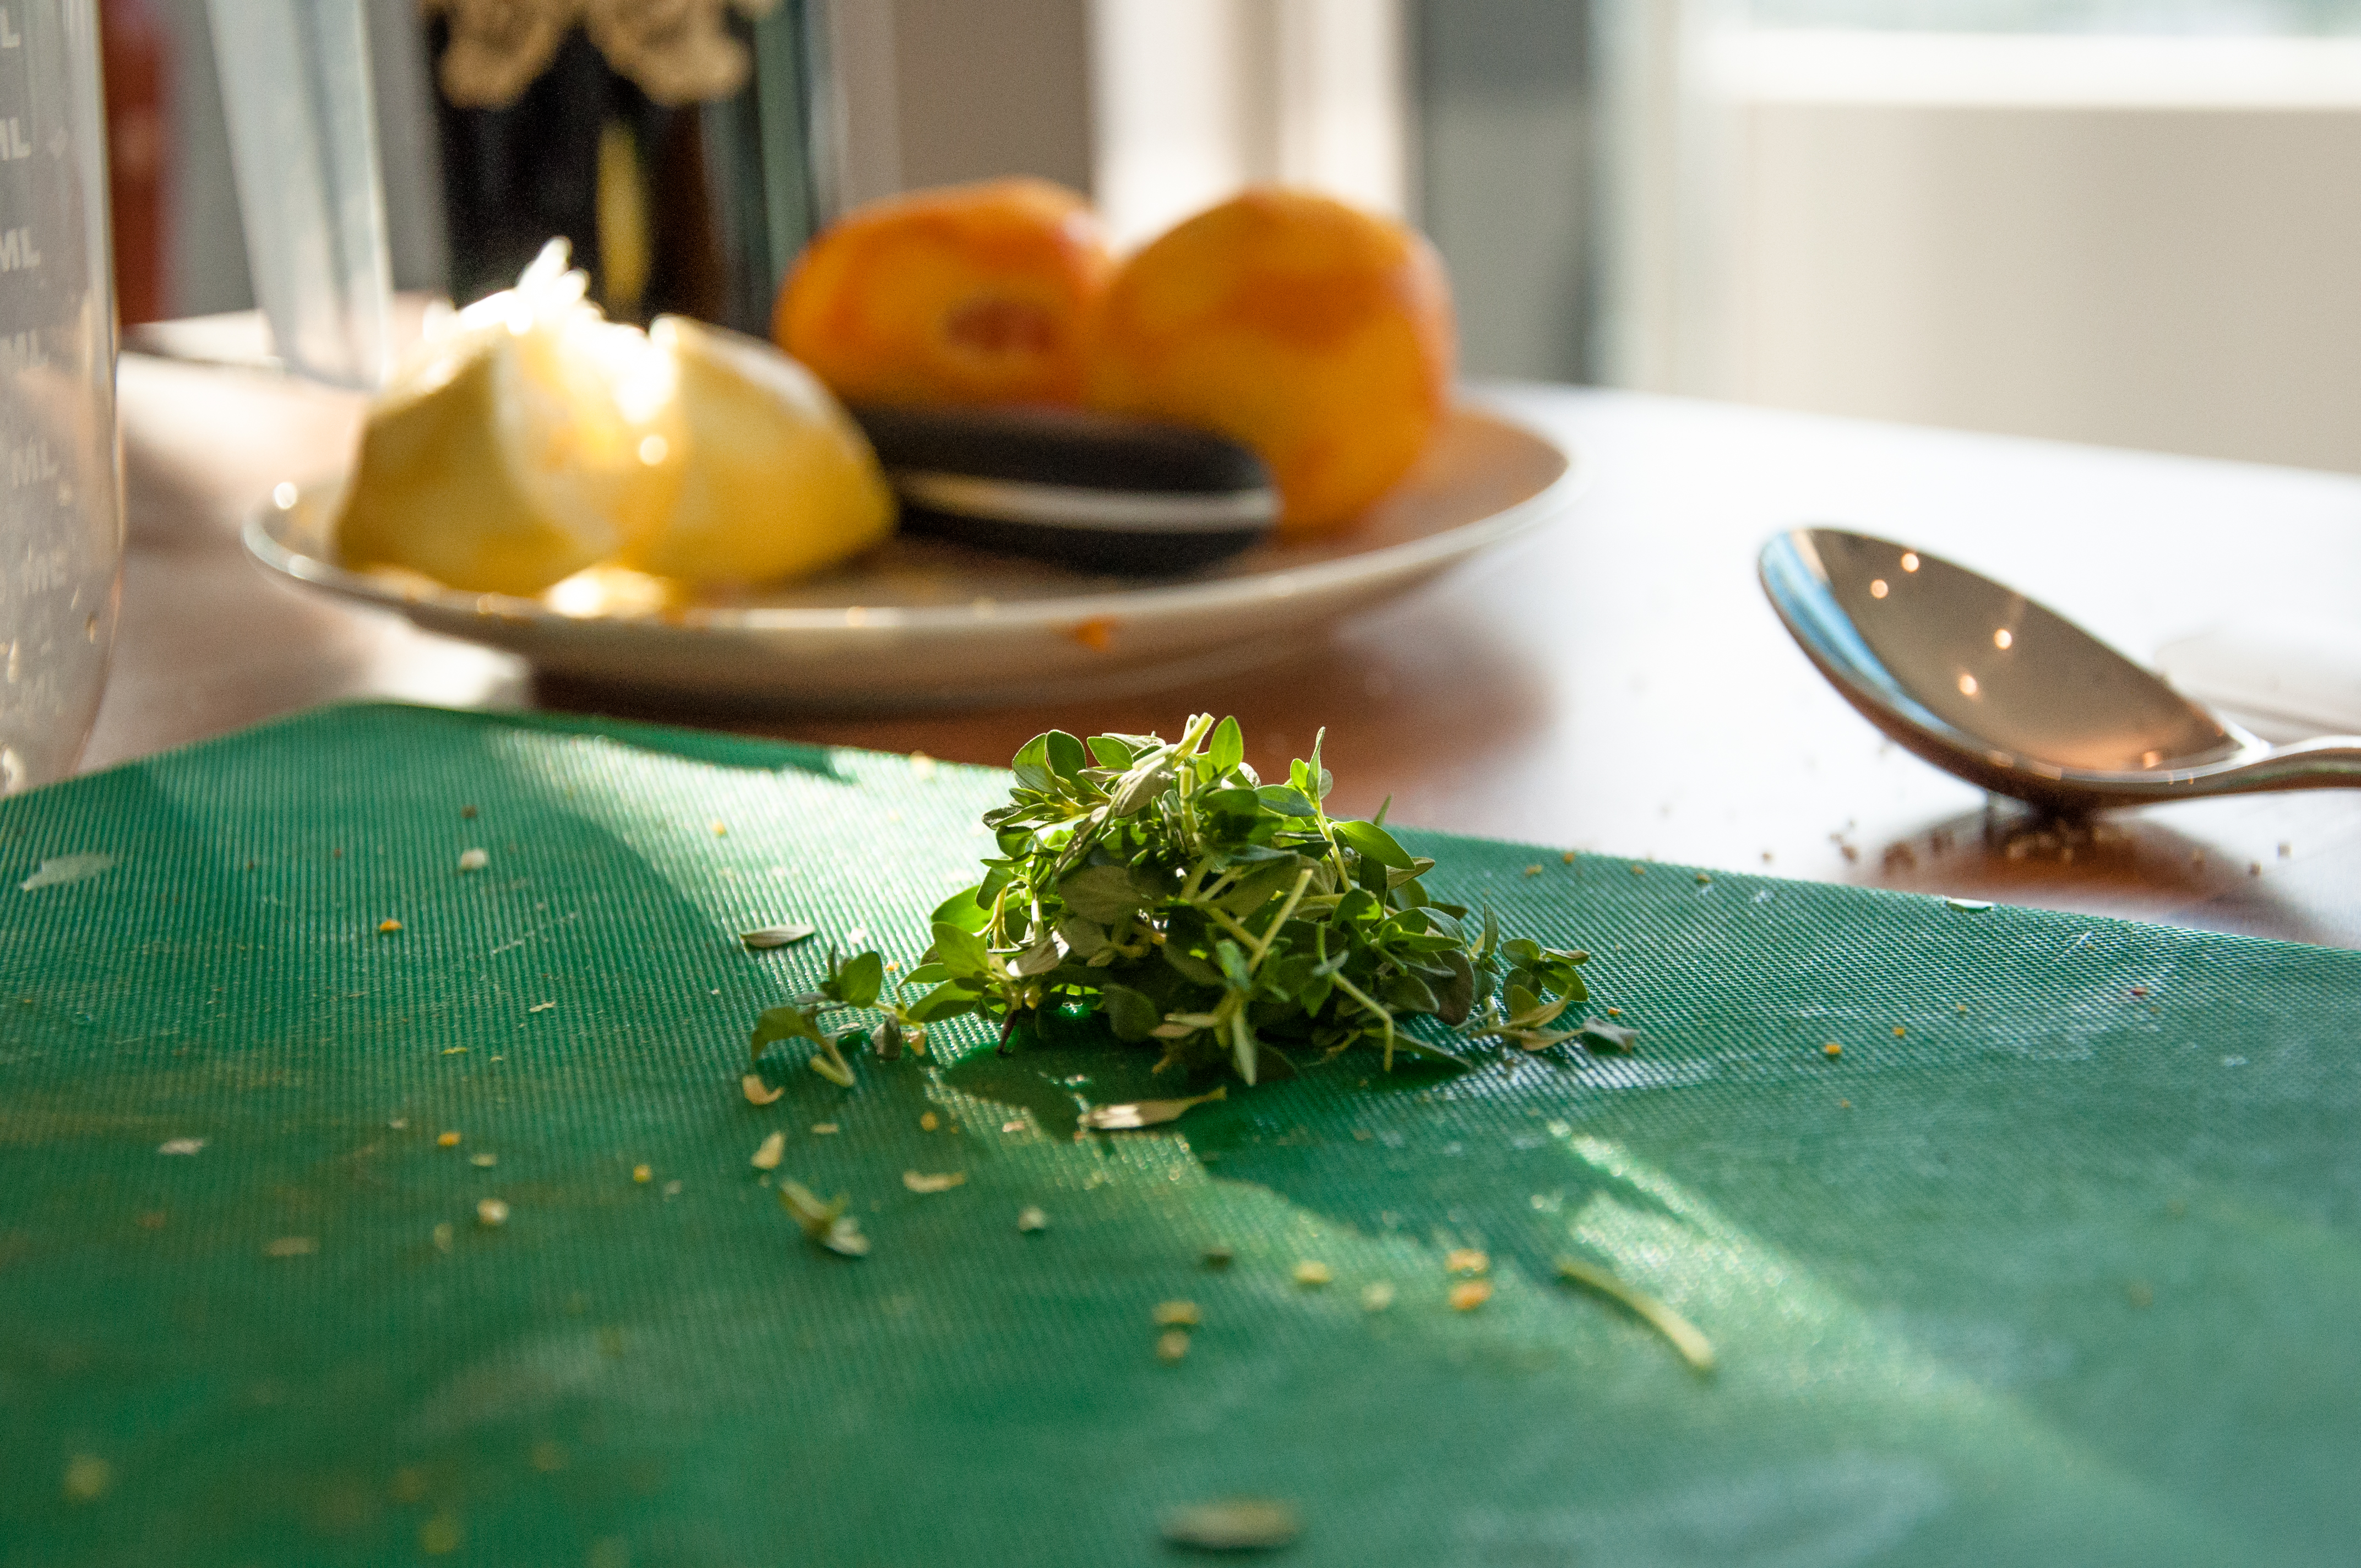
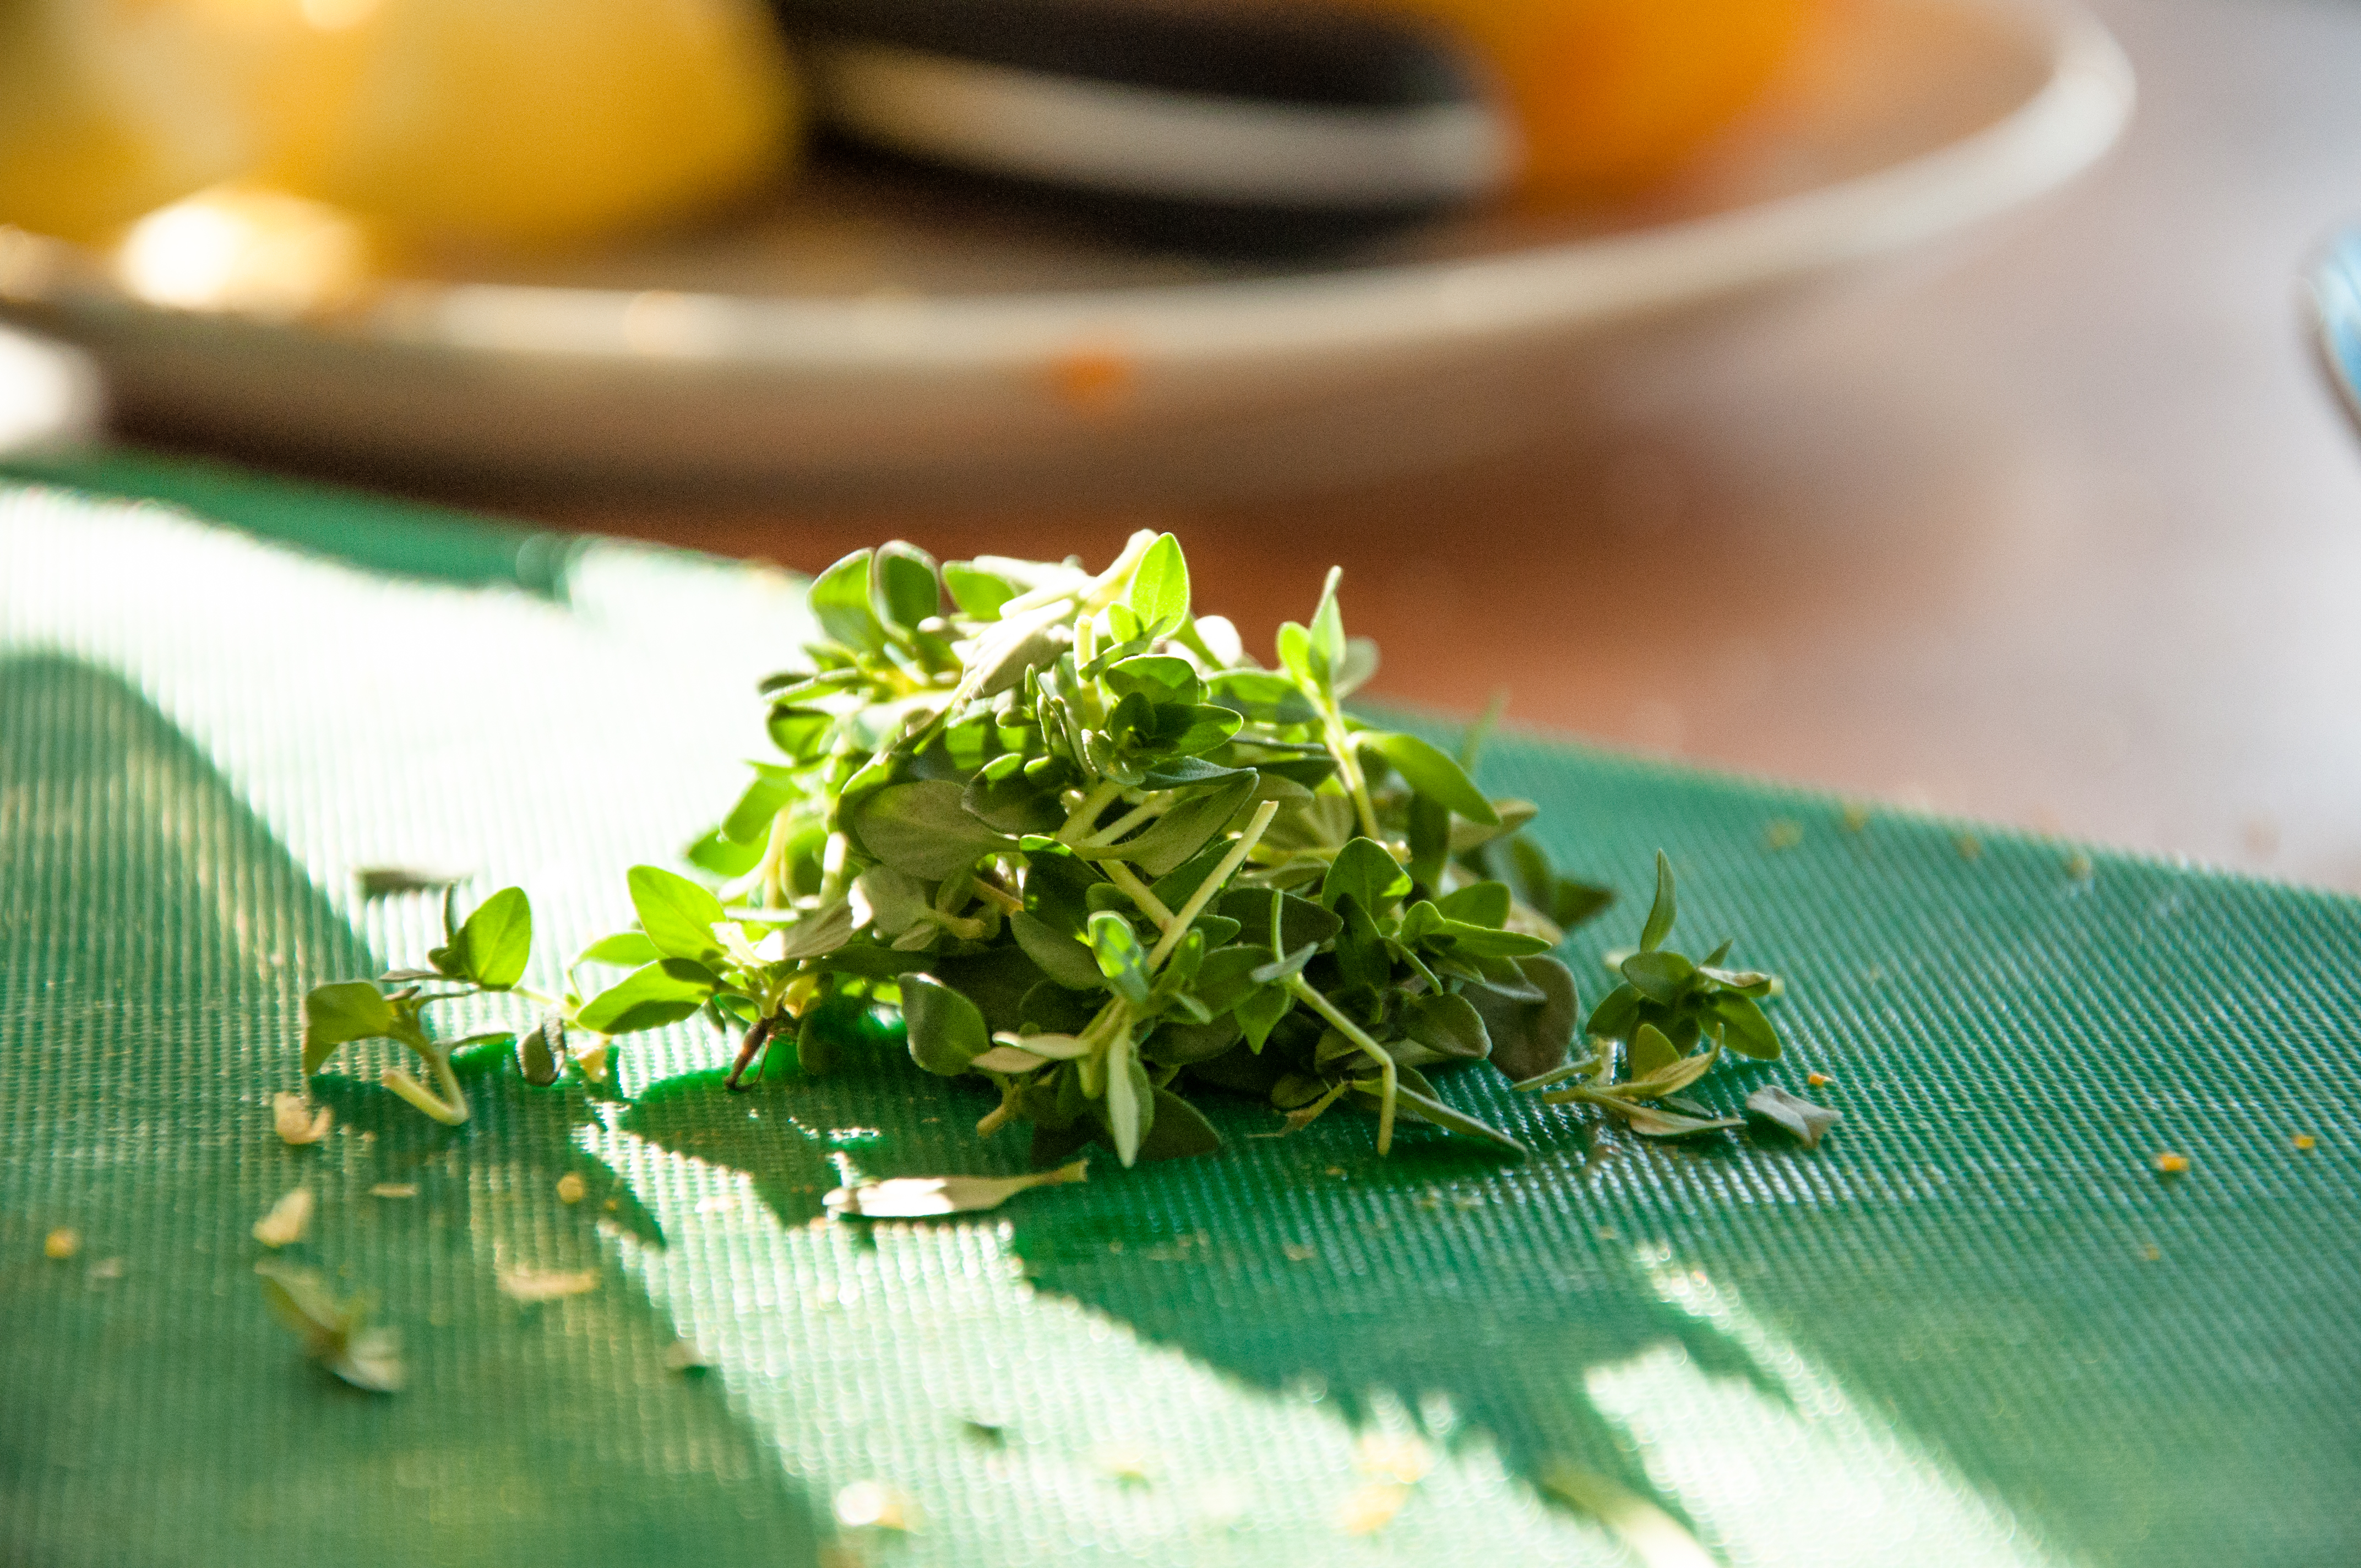
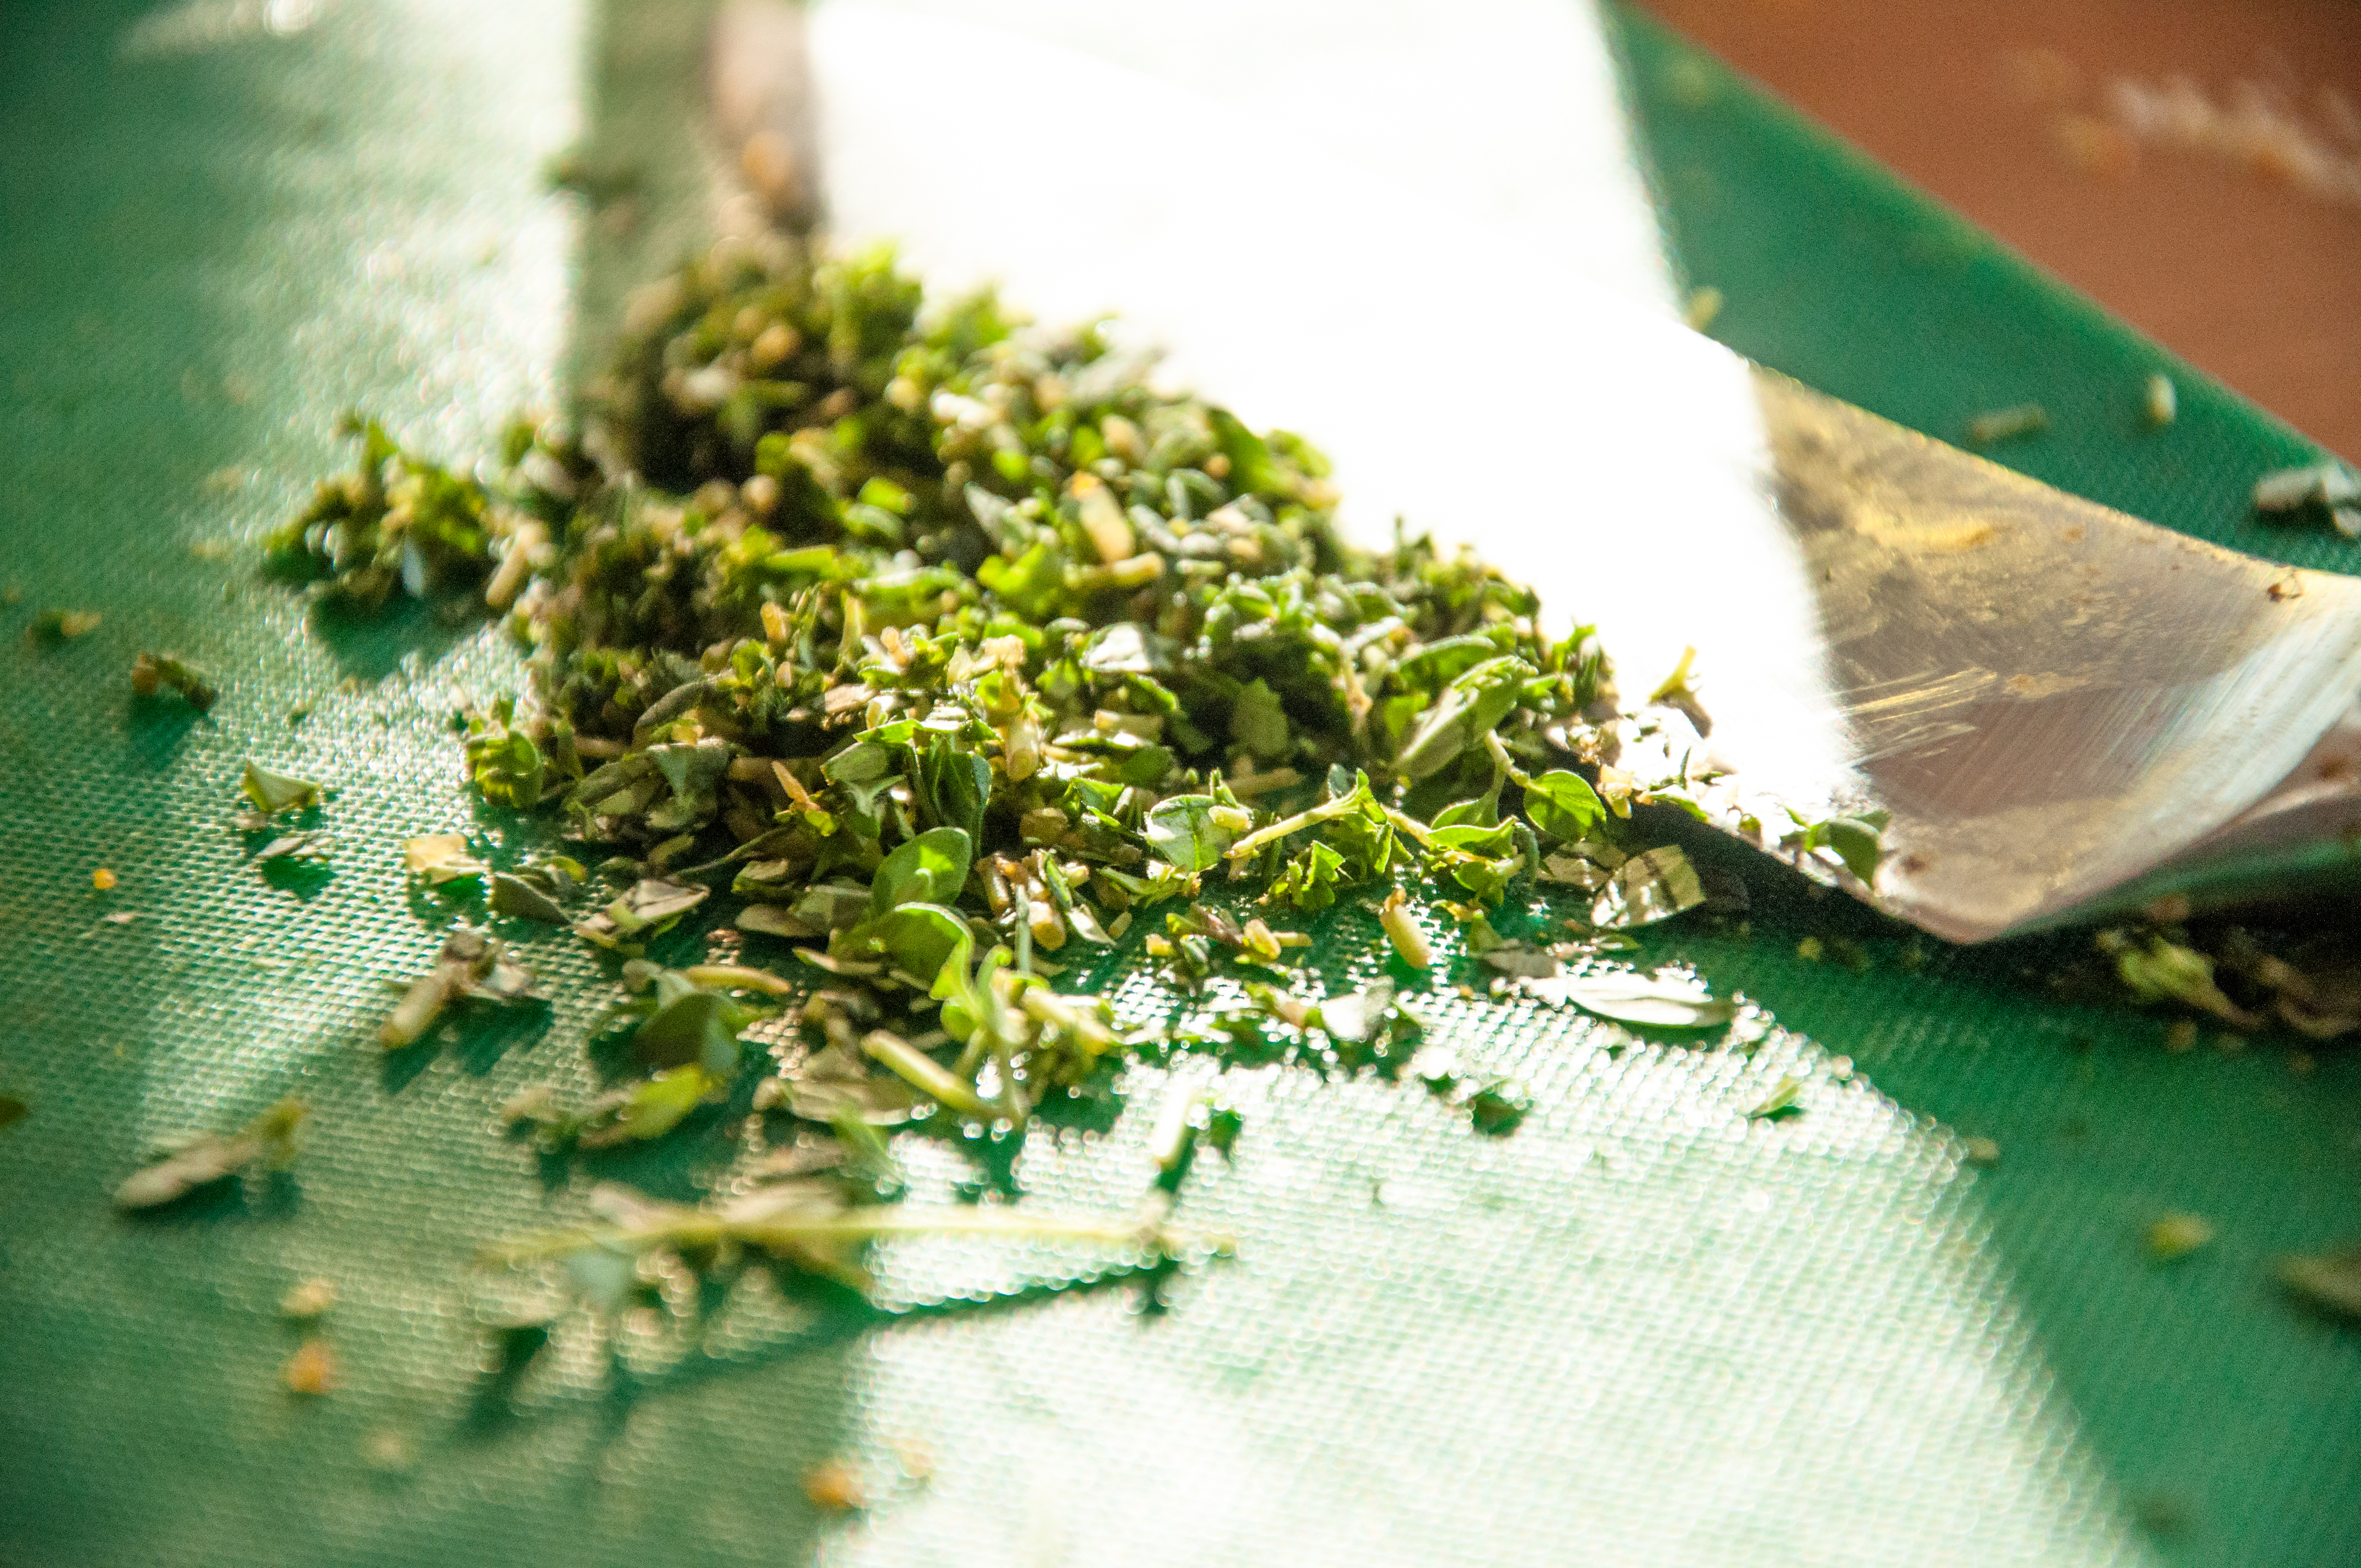
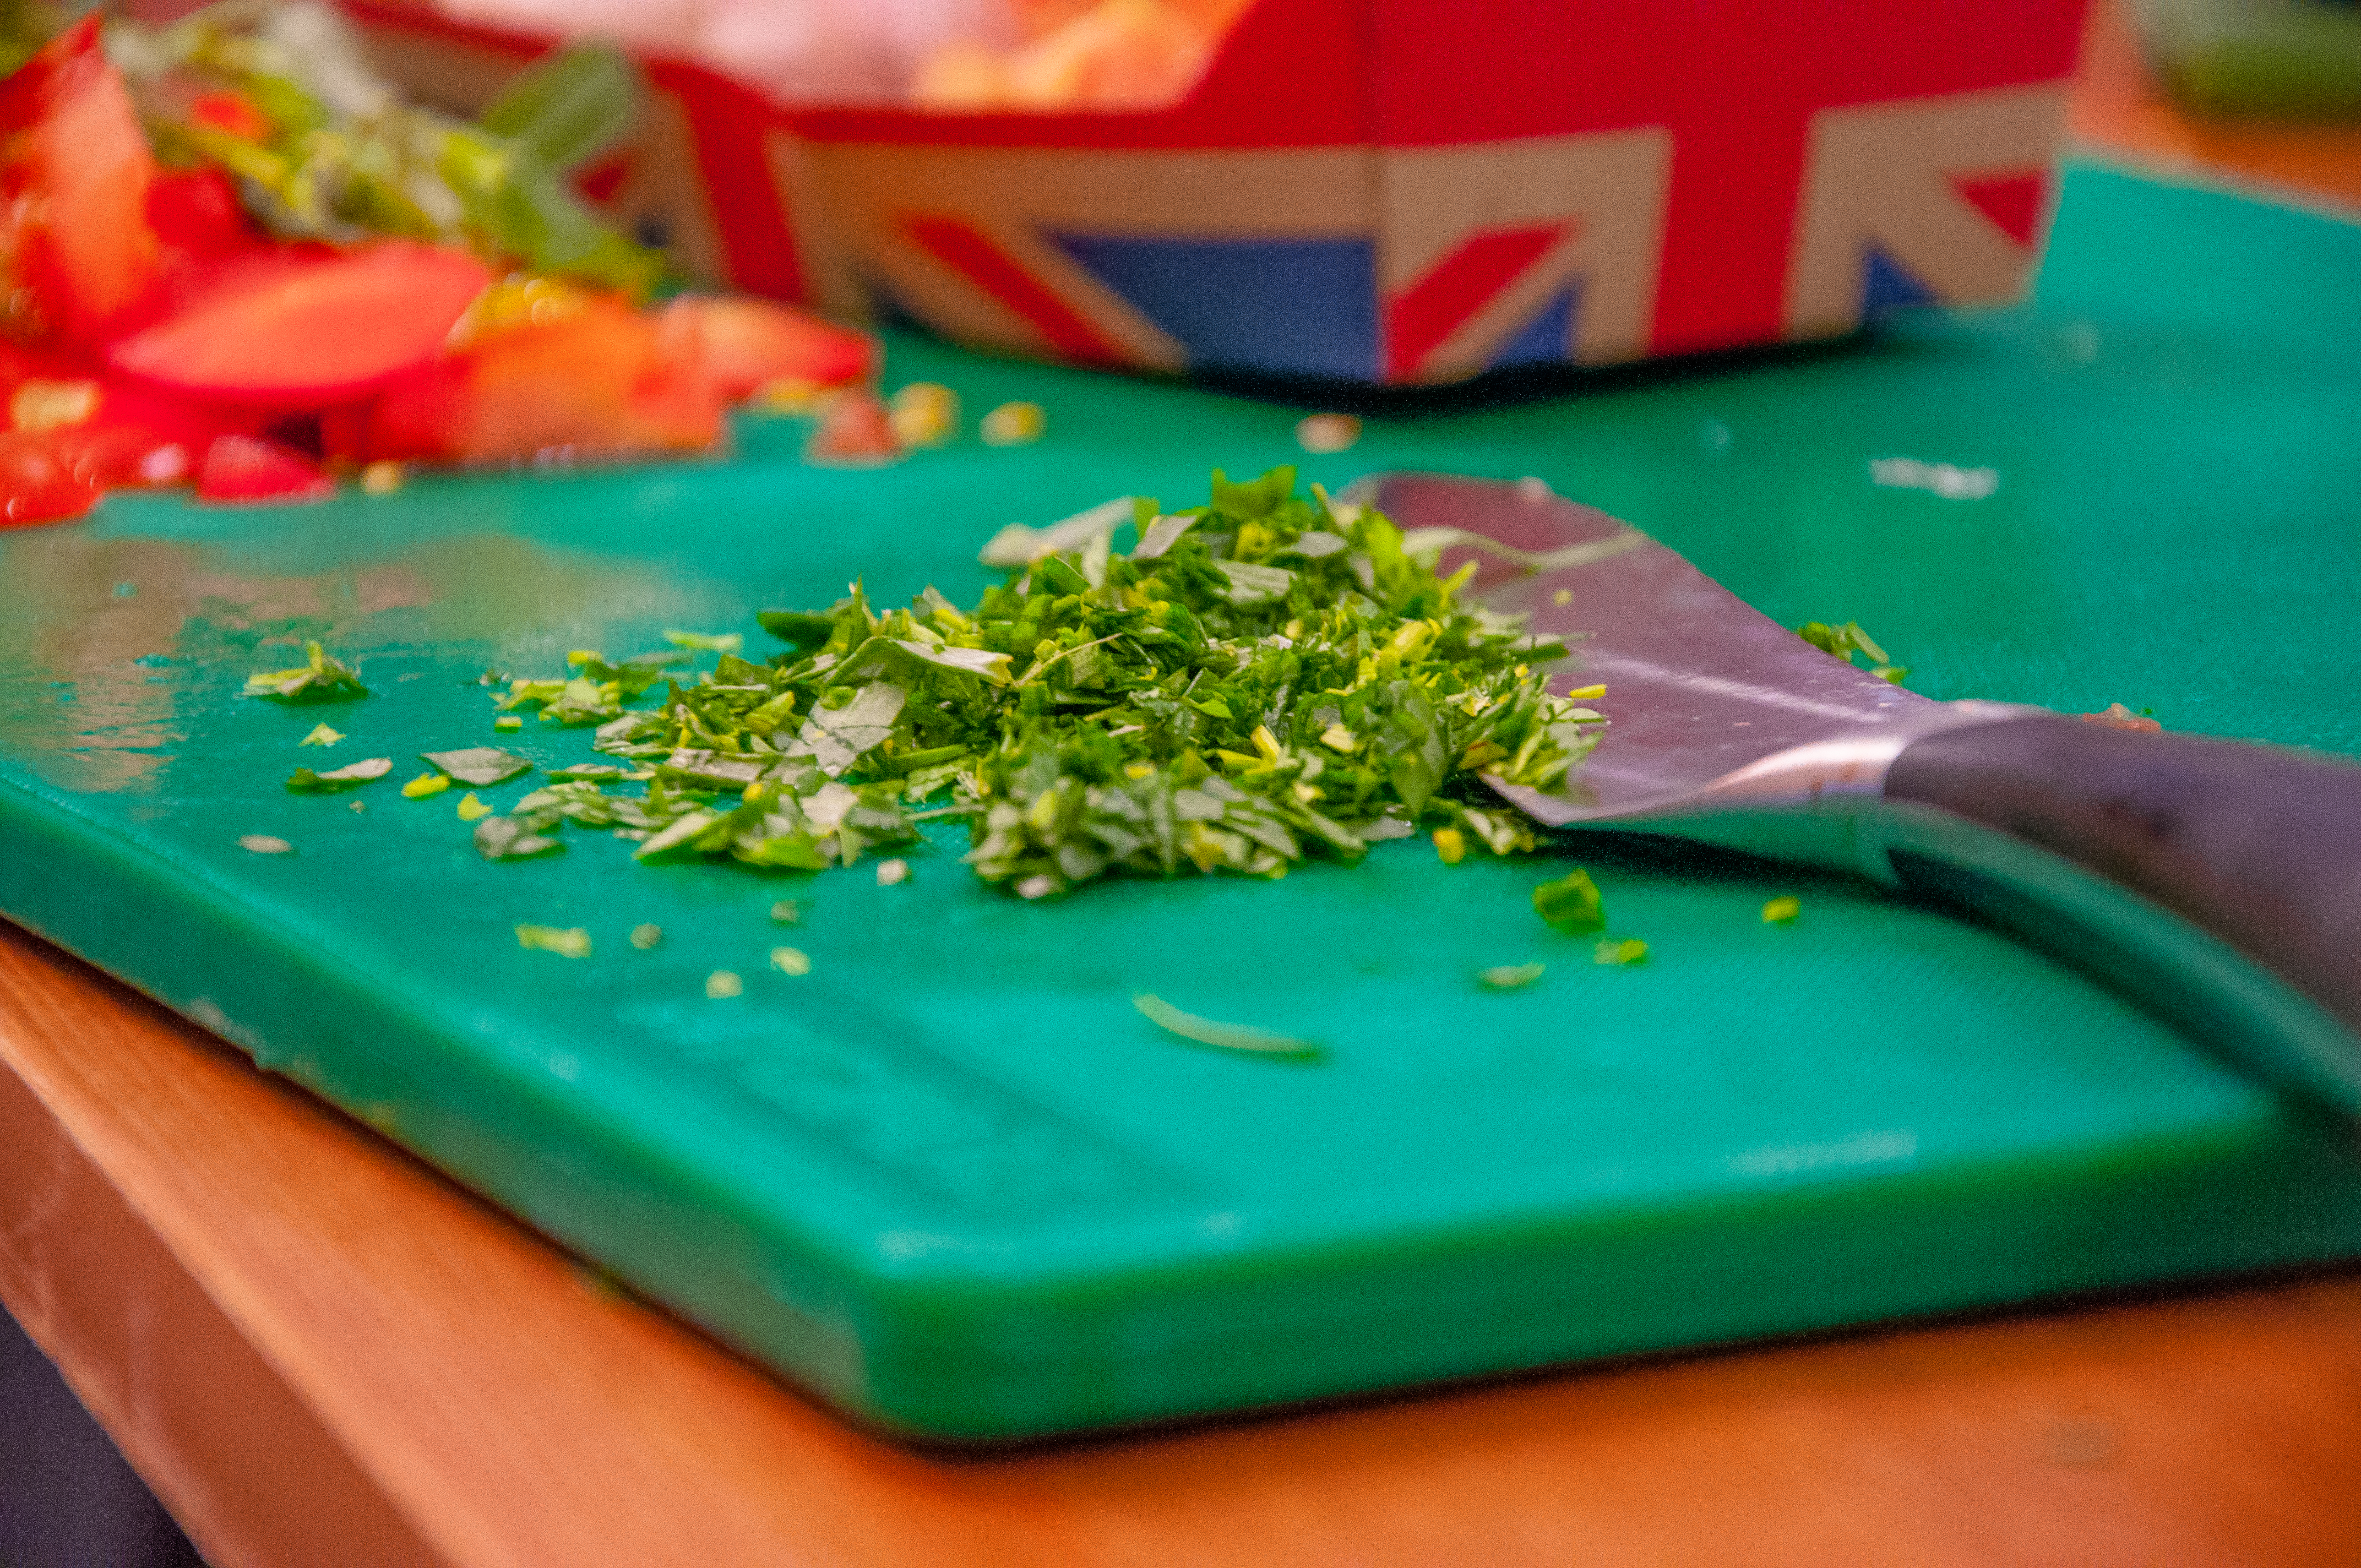
- 4 sprigs Lemon Thyme, leaves picked and roughly chopped
- 4 sprigs Tarragon, leaves picked and roughly chopped

Preparation method
- Preheat the oven to 160C/300F/Gas 2.
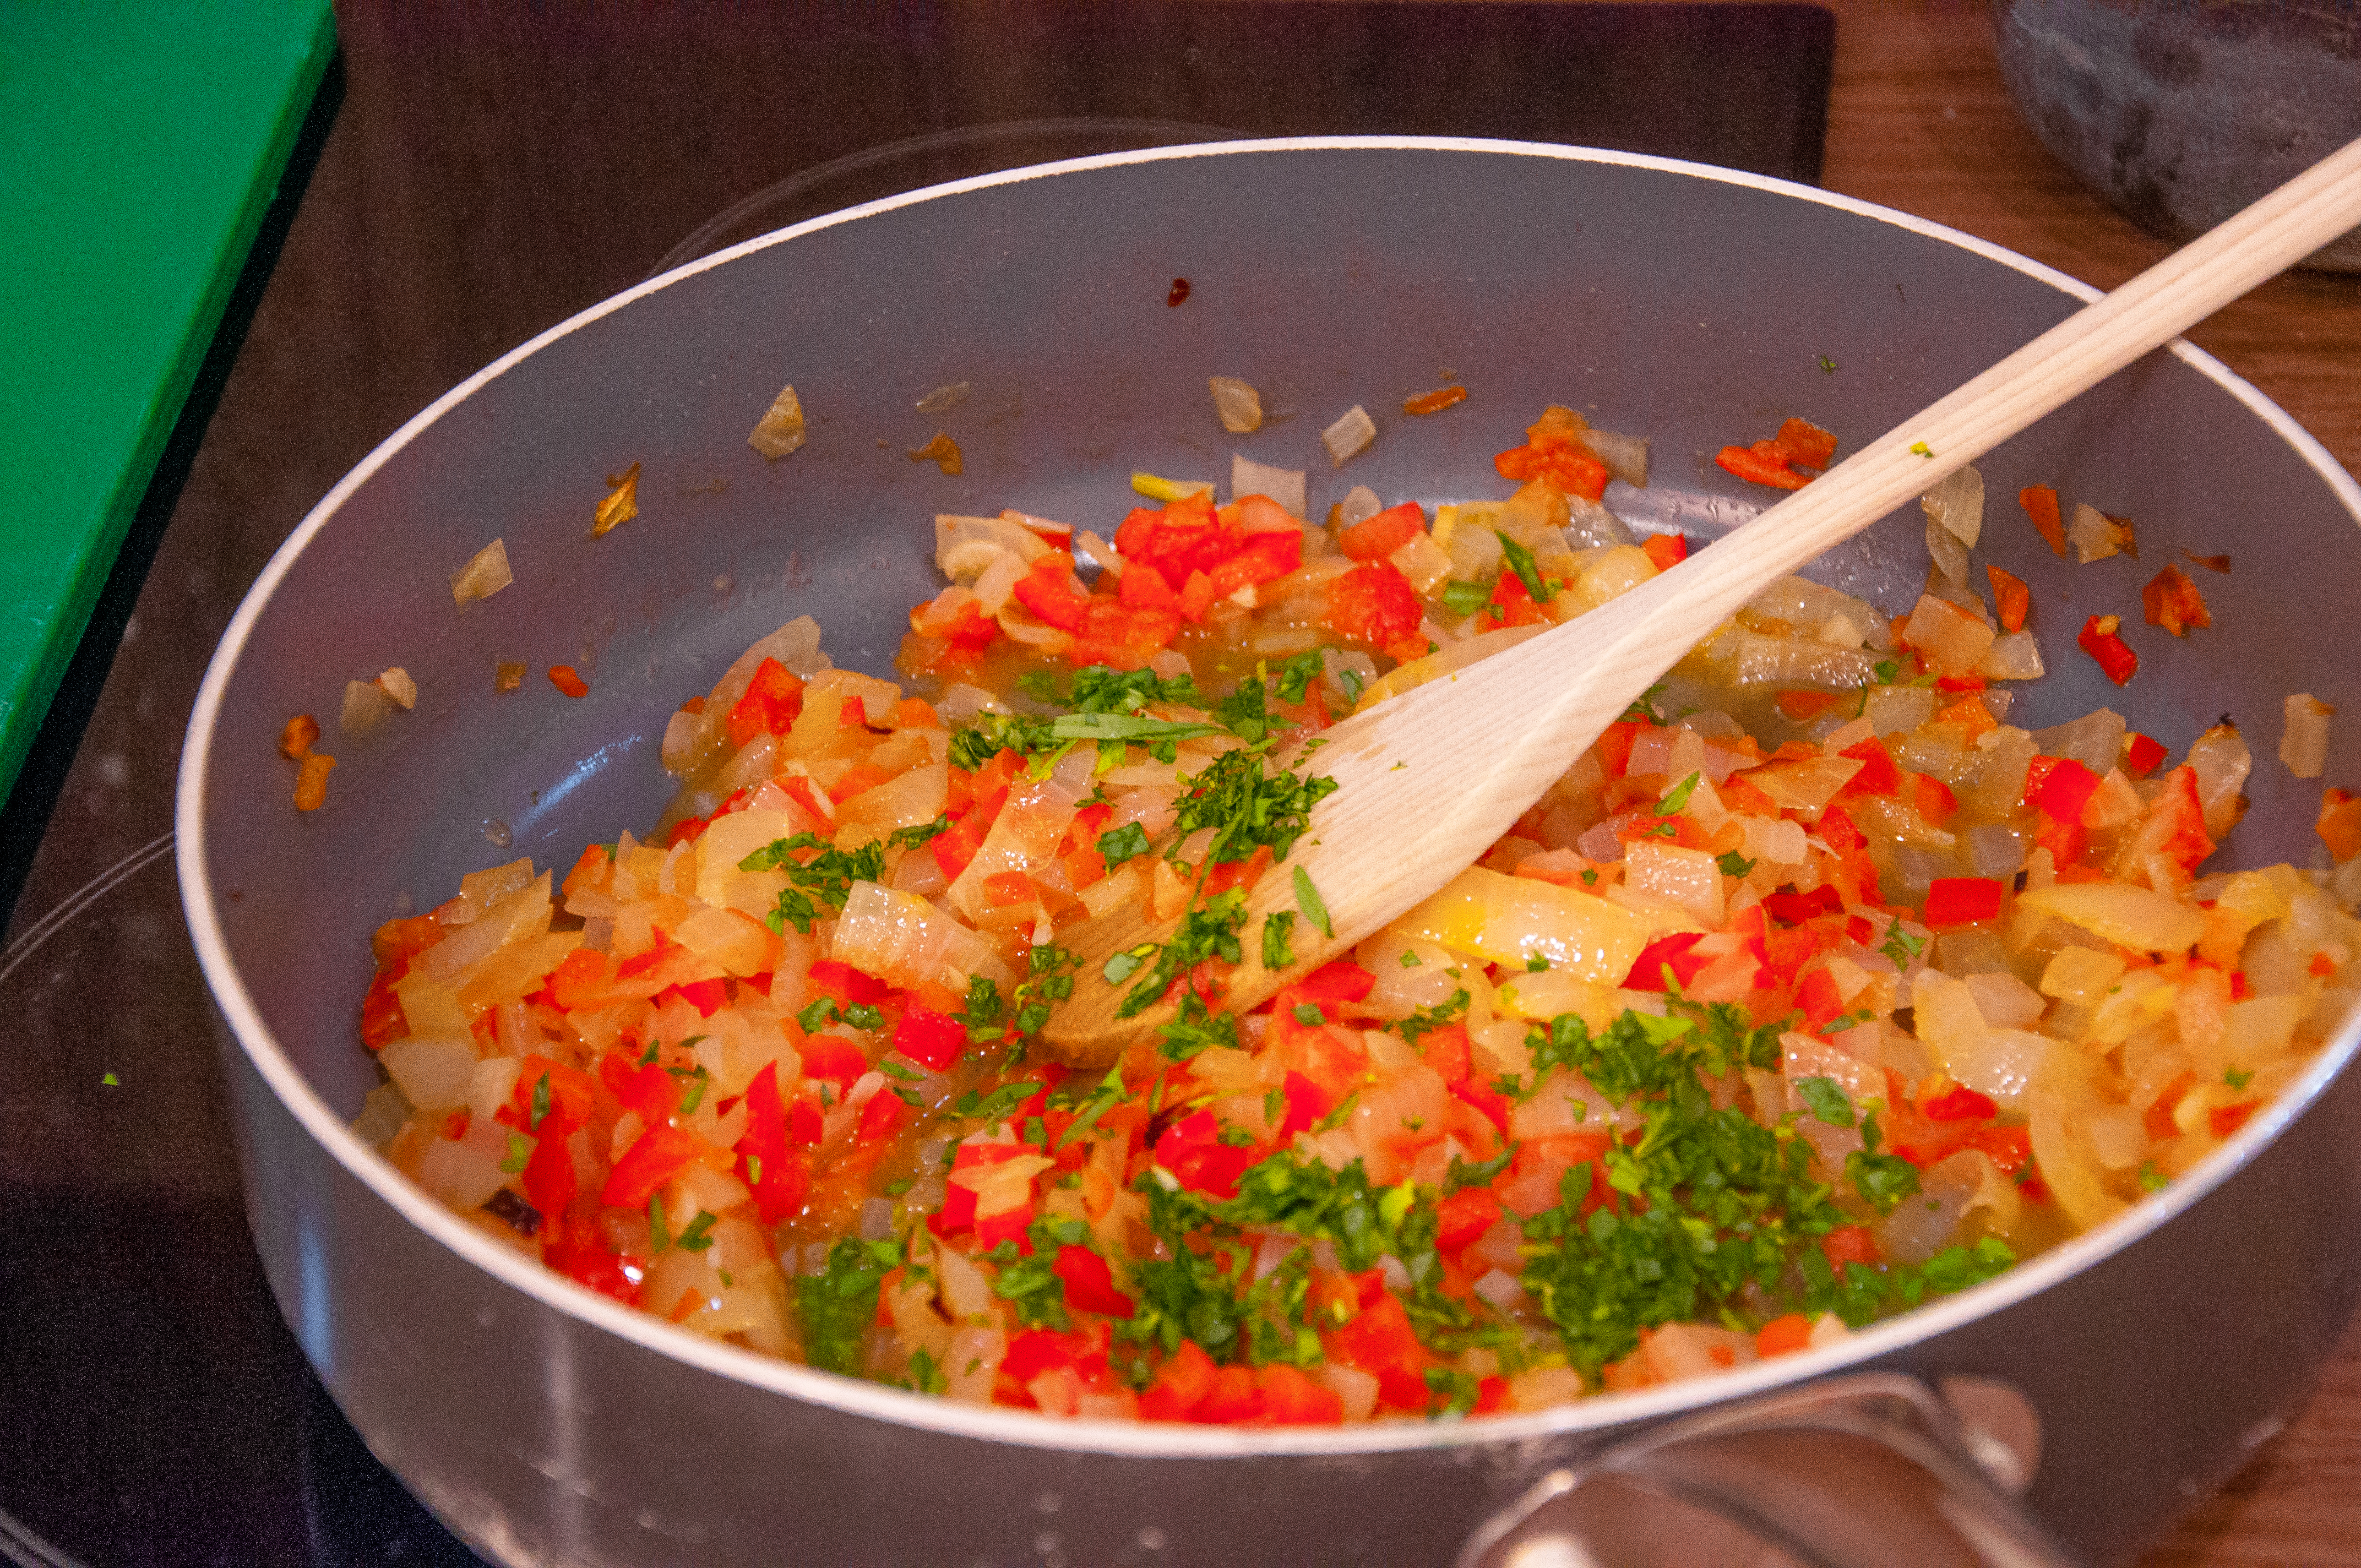
- Prep your veg – rough chop the carrots and celery, dice the onions and de-seed/chop the tomatoes.
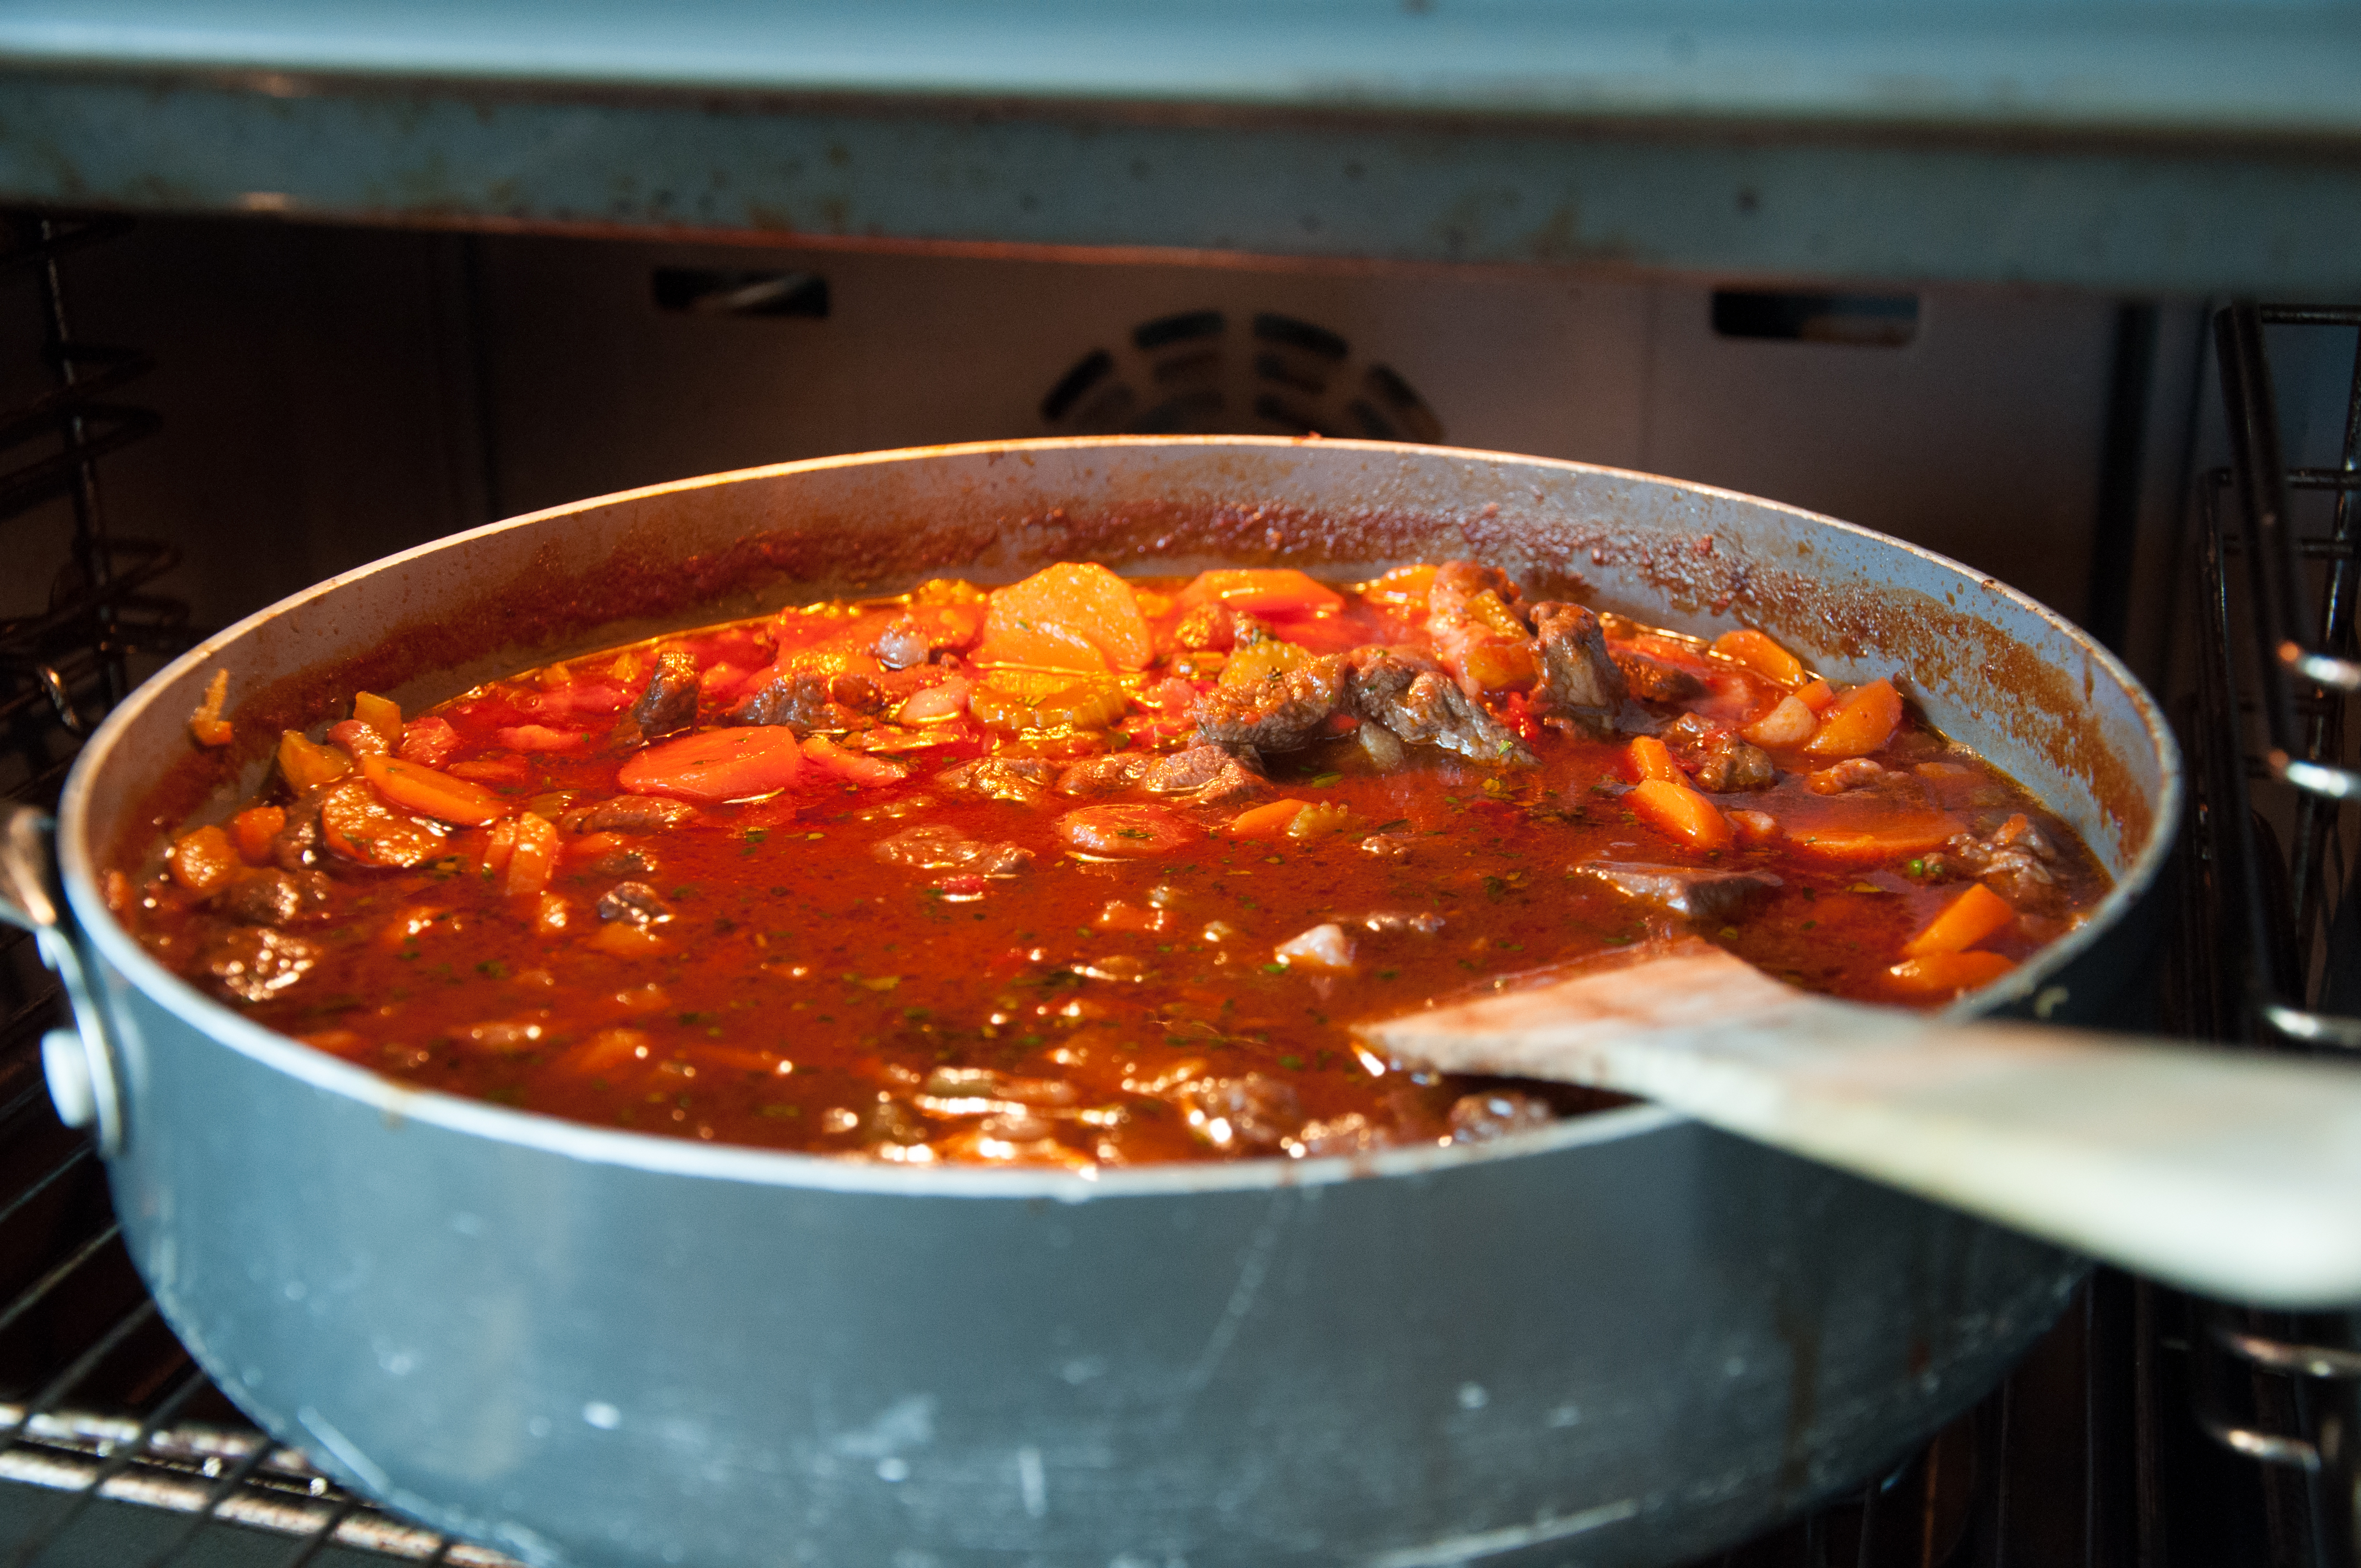
- Add some oil to an ovenproof, heavy-based pan set over a high heat and add the beef pieces. Fry until the meat is golden-brown on all over – this may have to be done in batches to avoid overcrowding the pan.
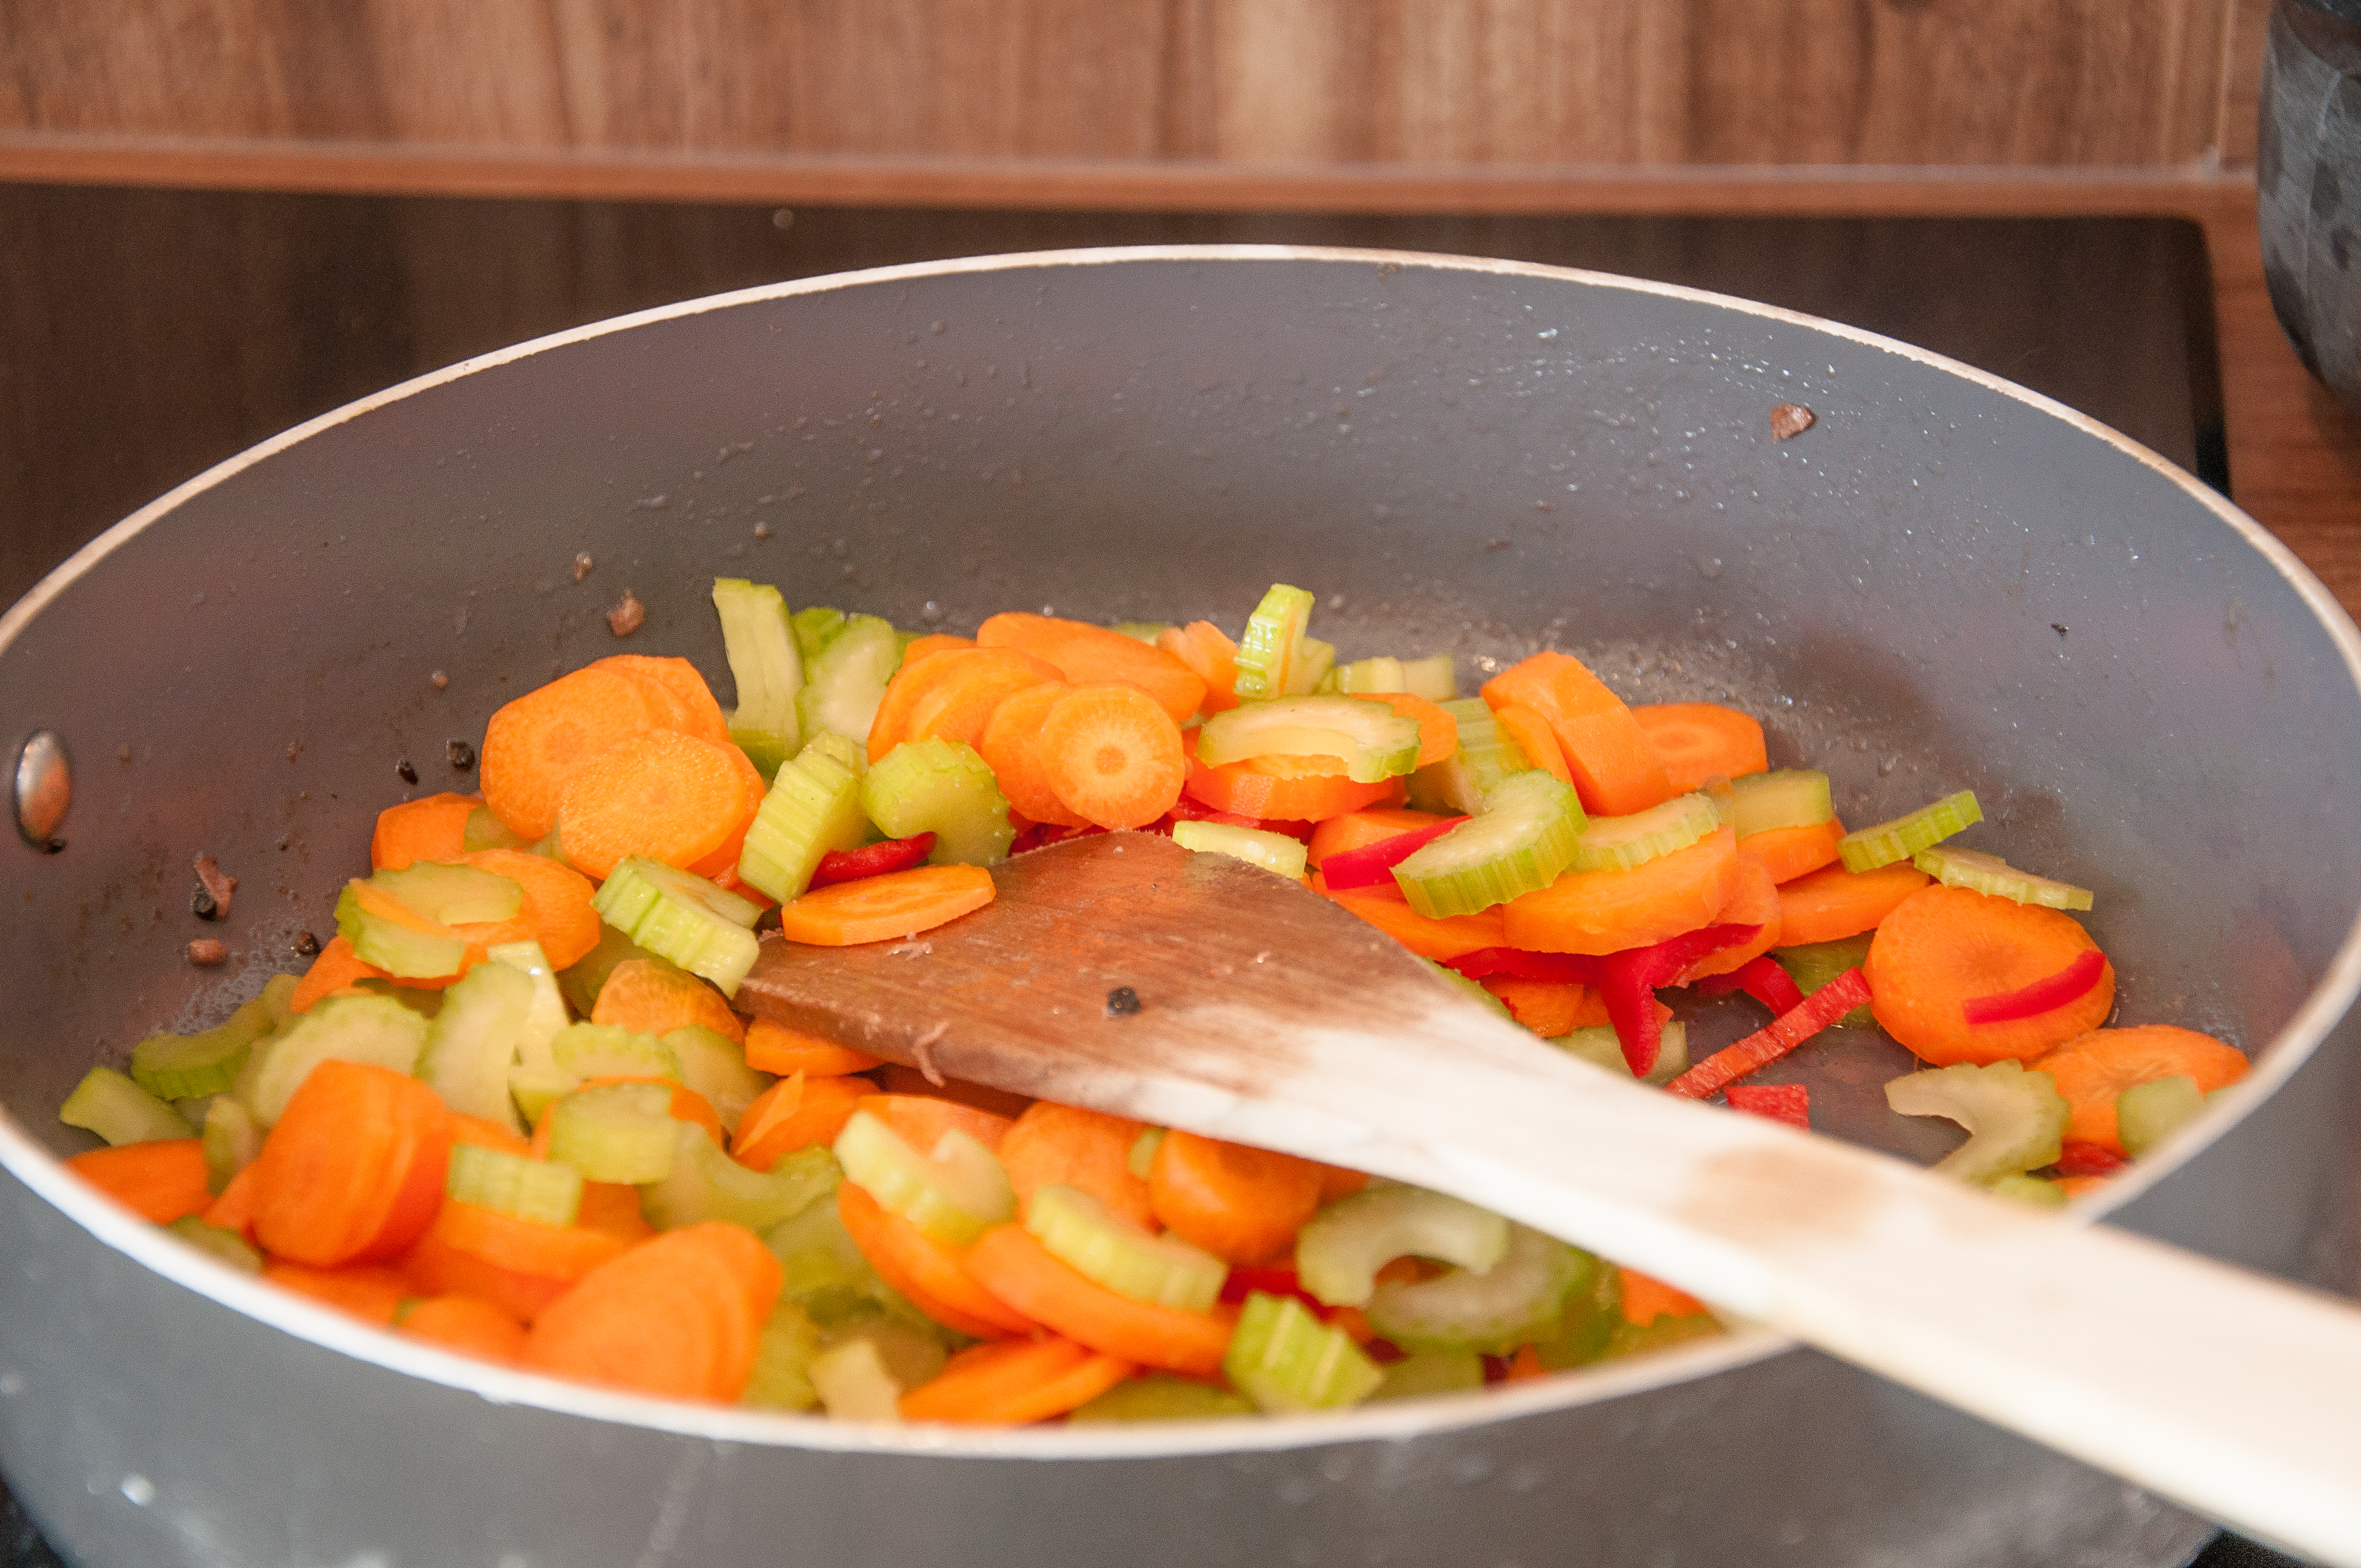
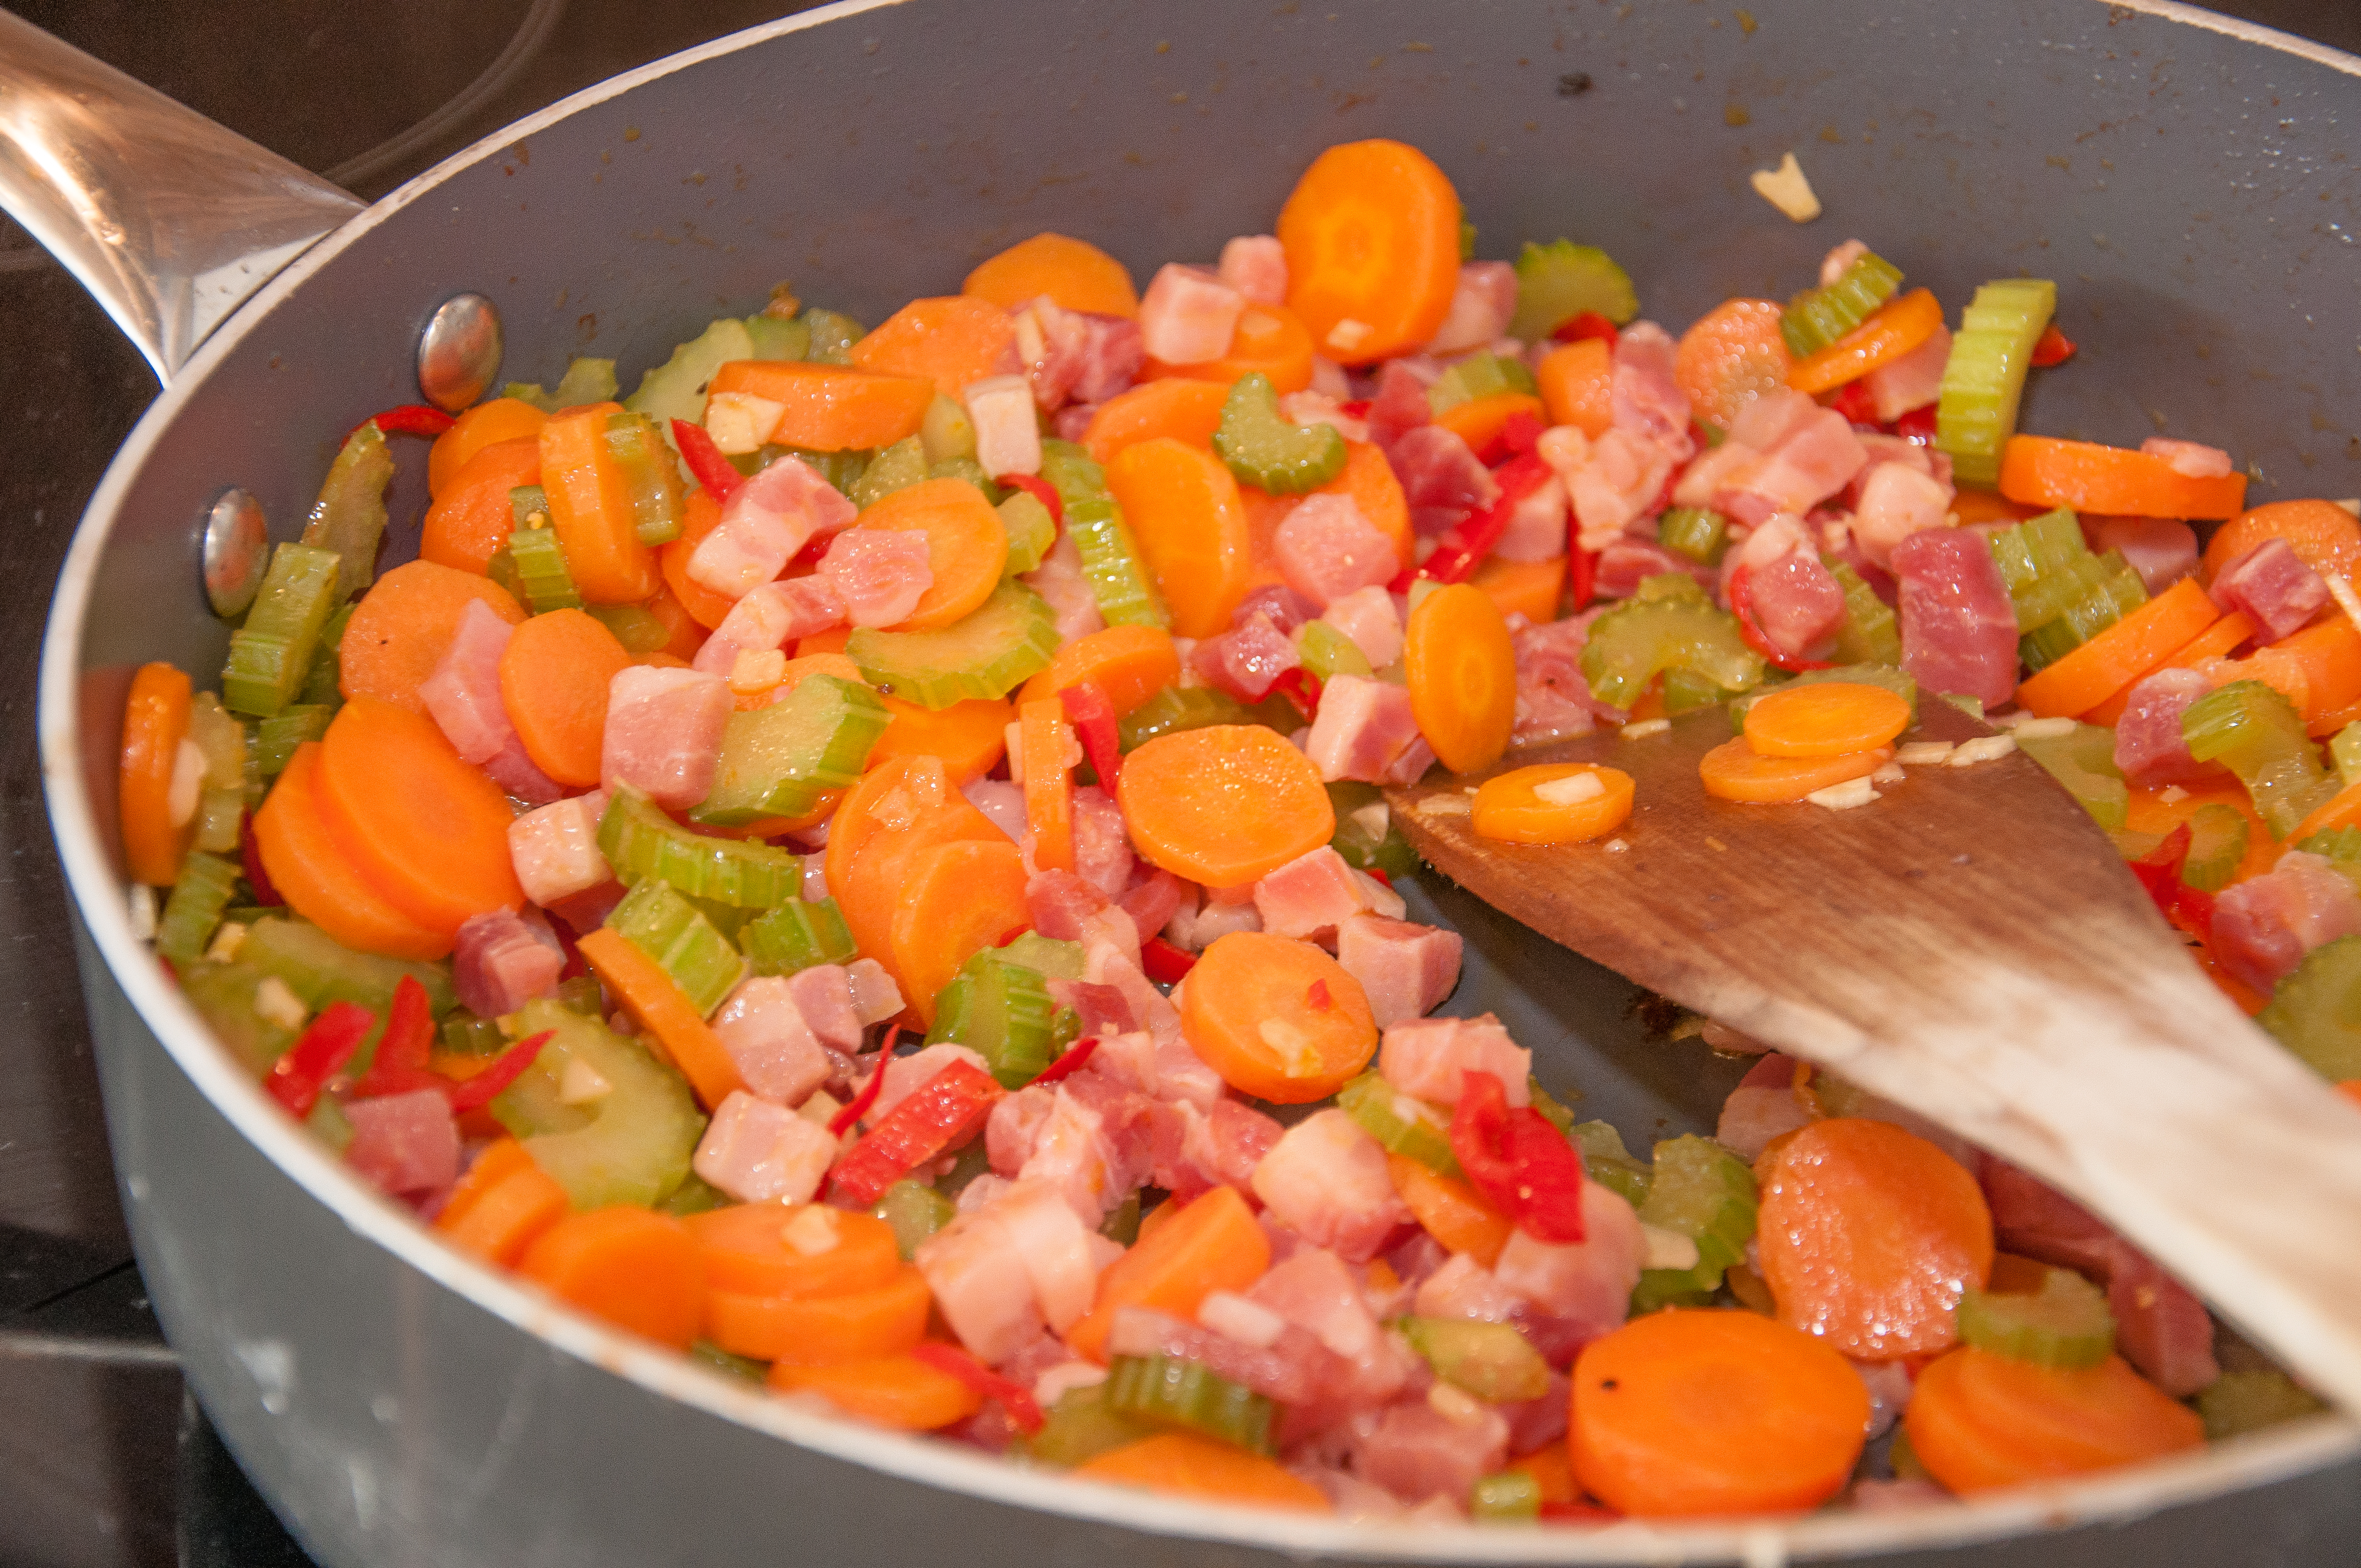
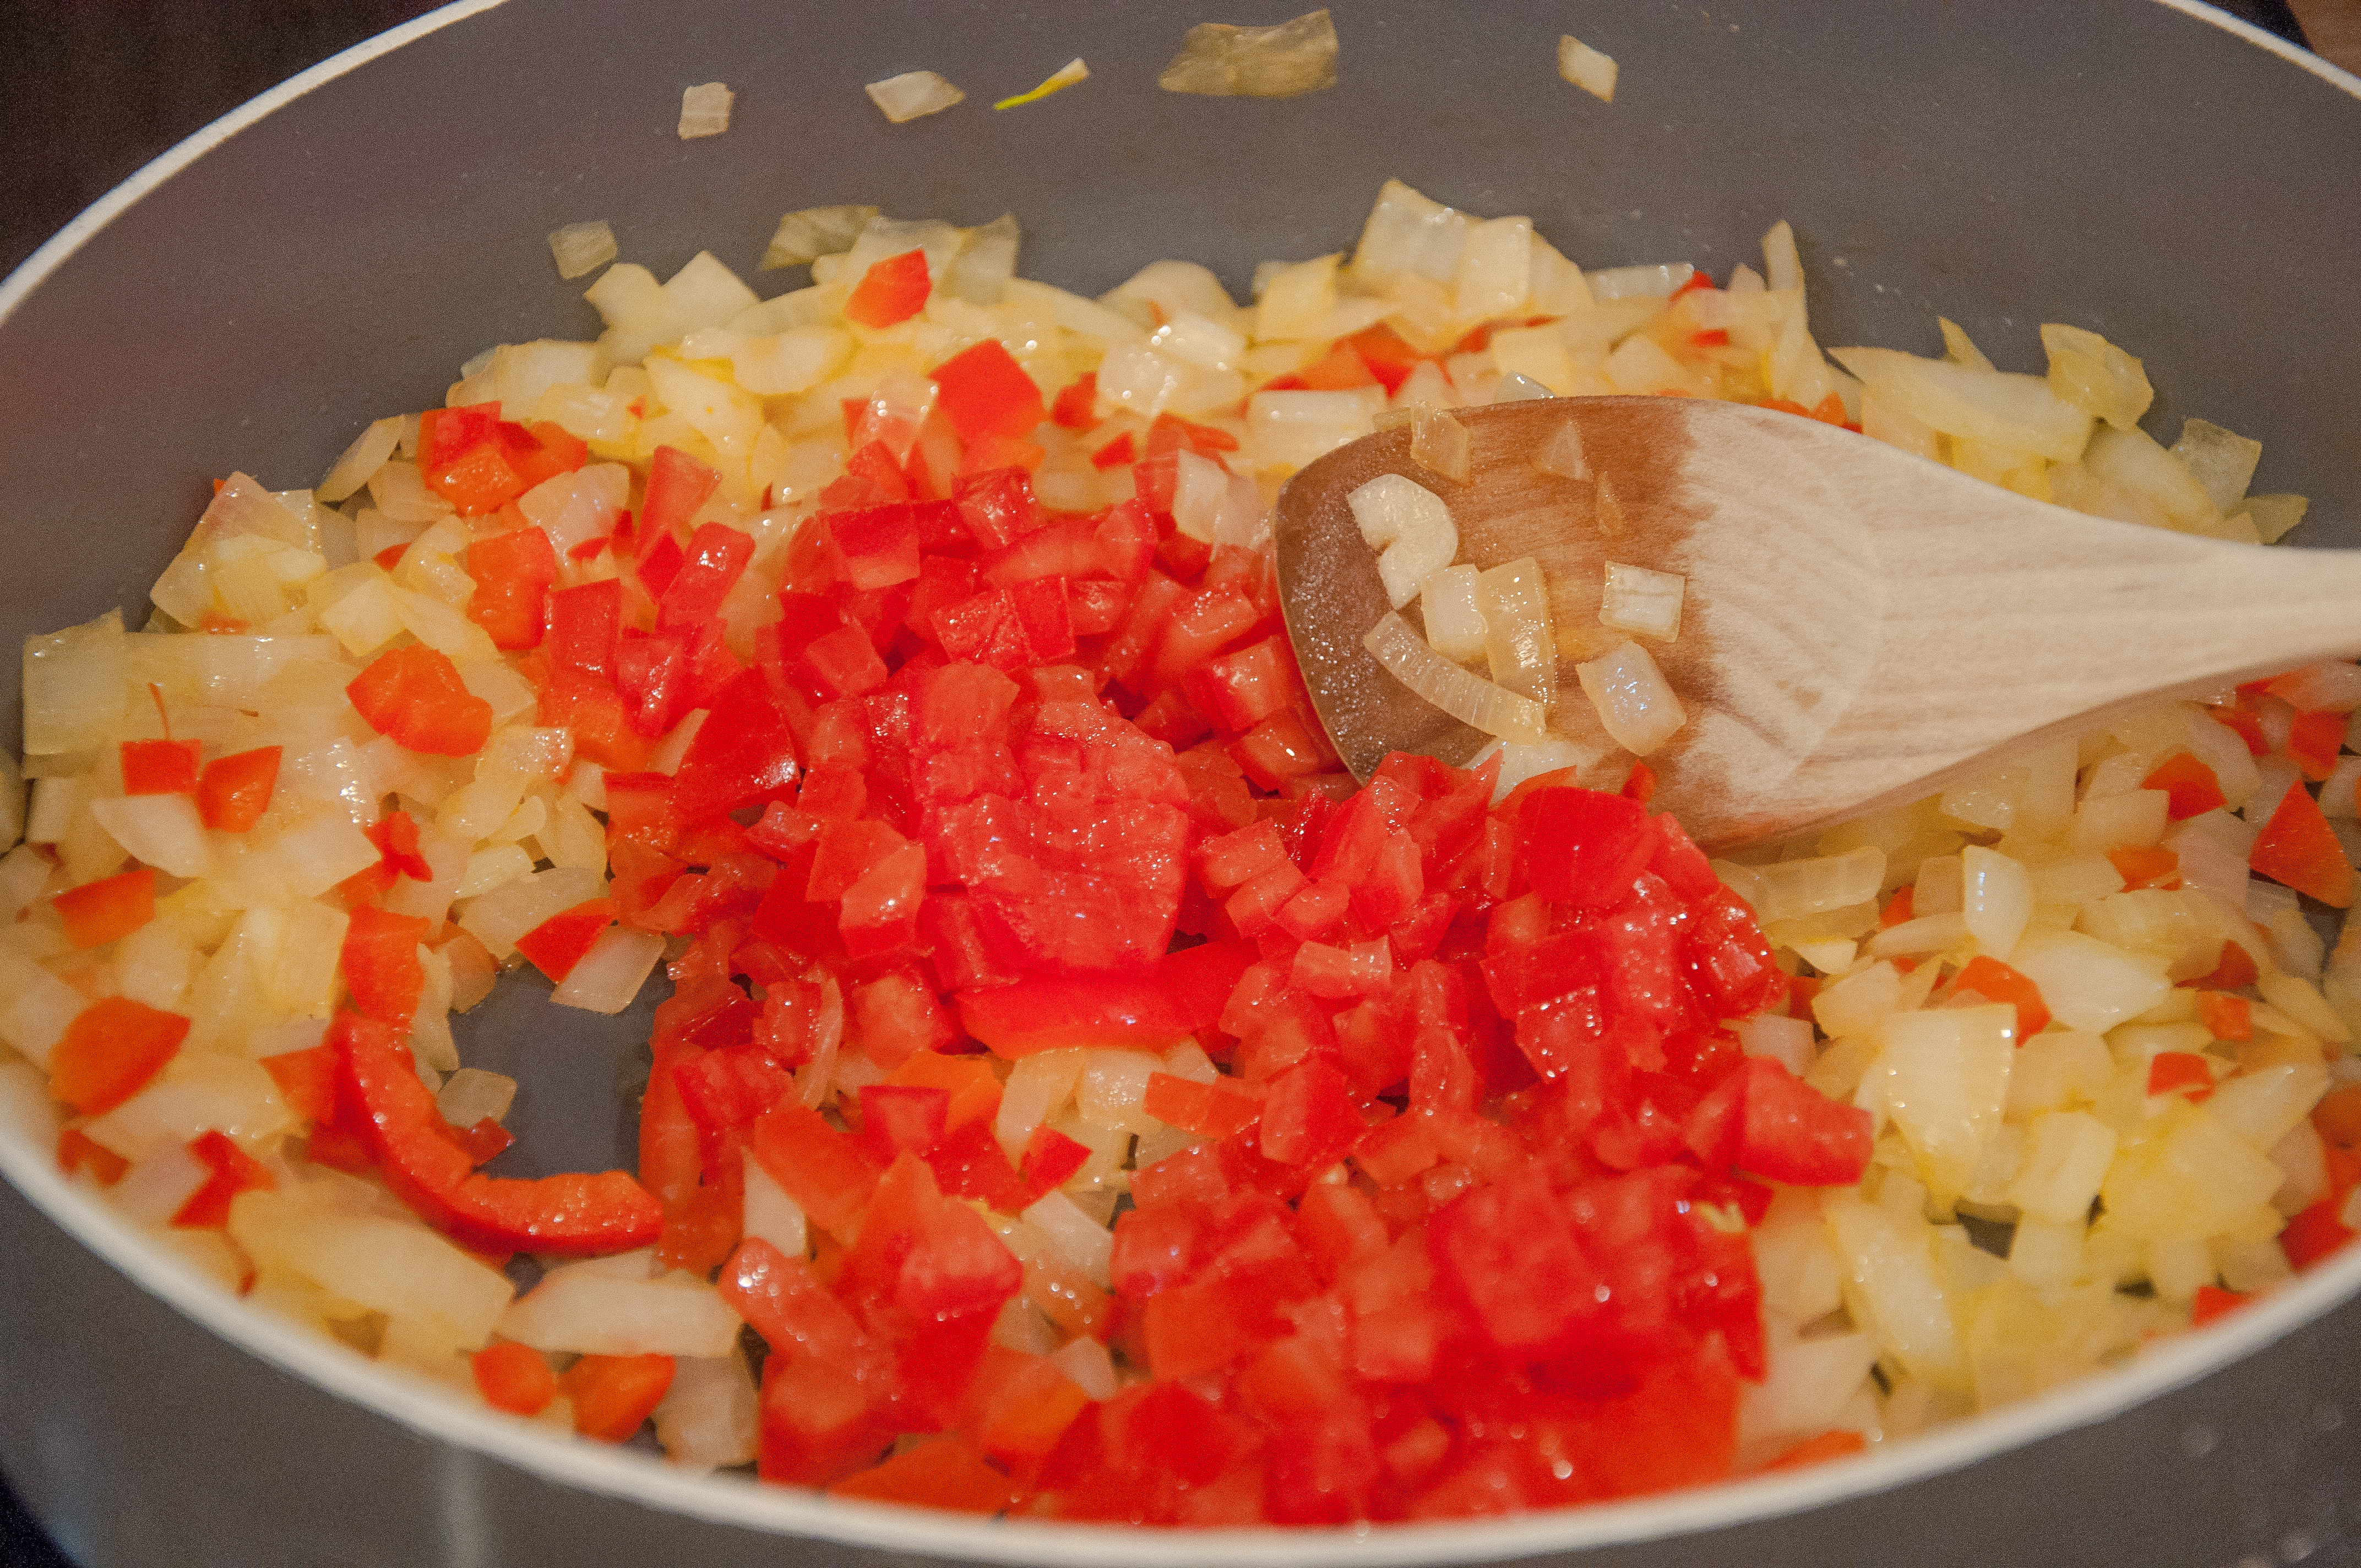
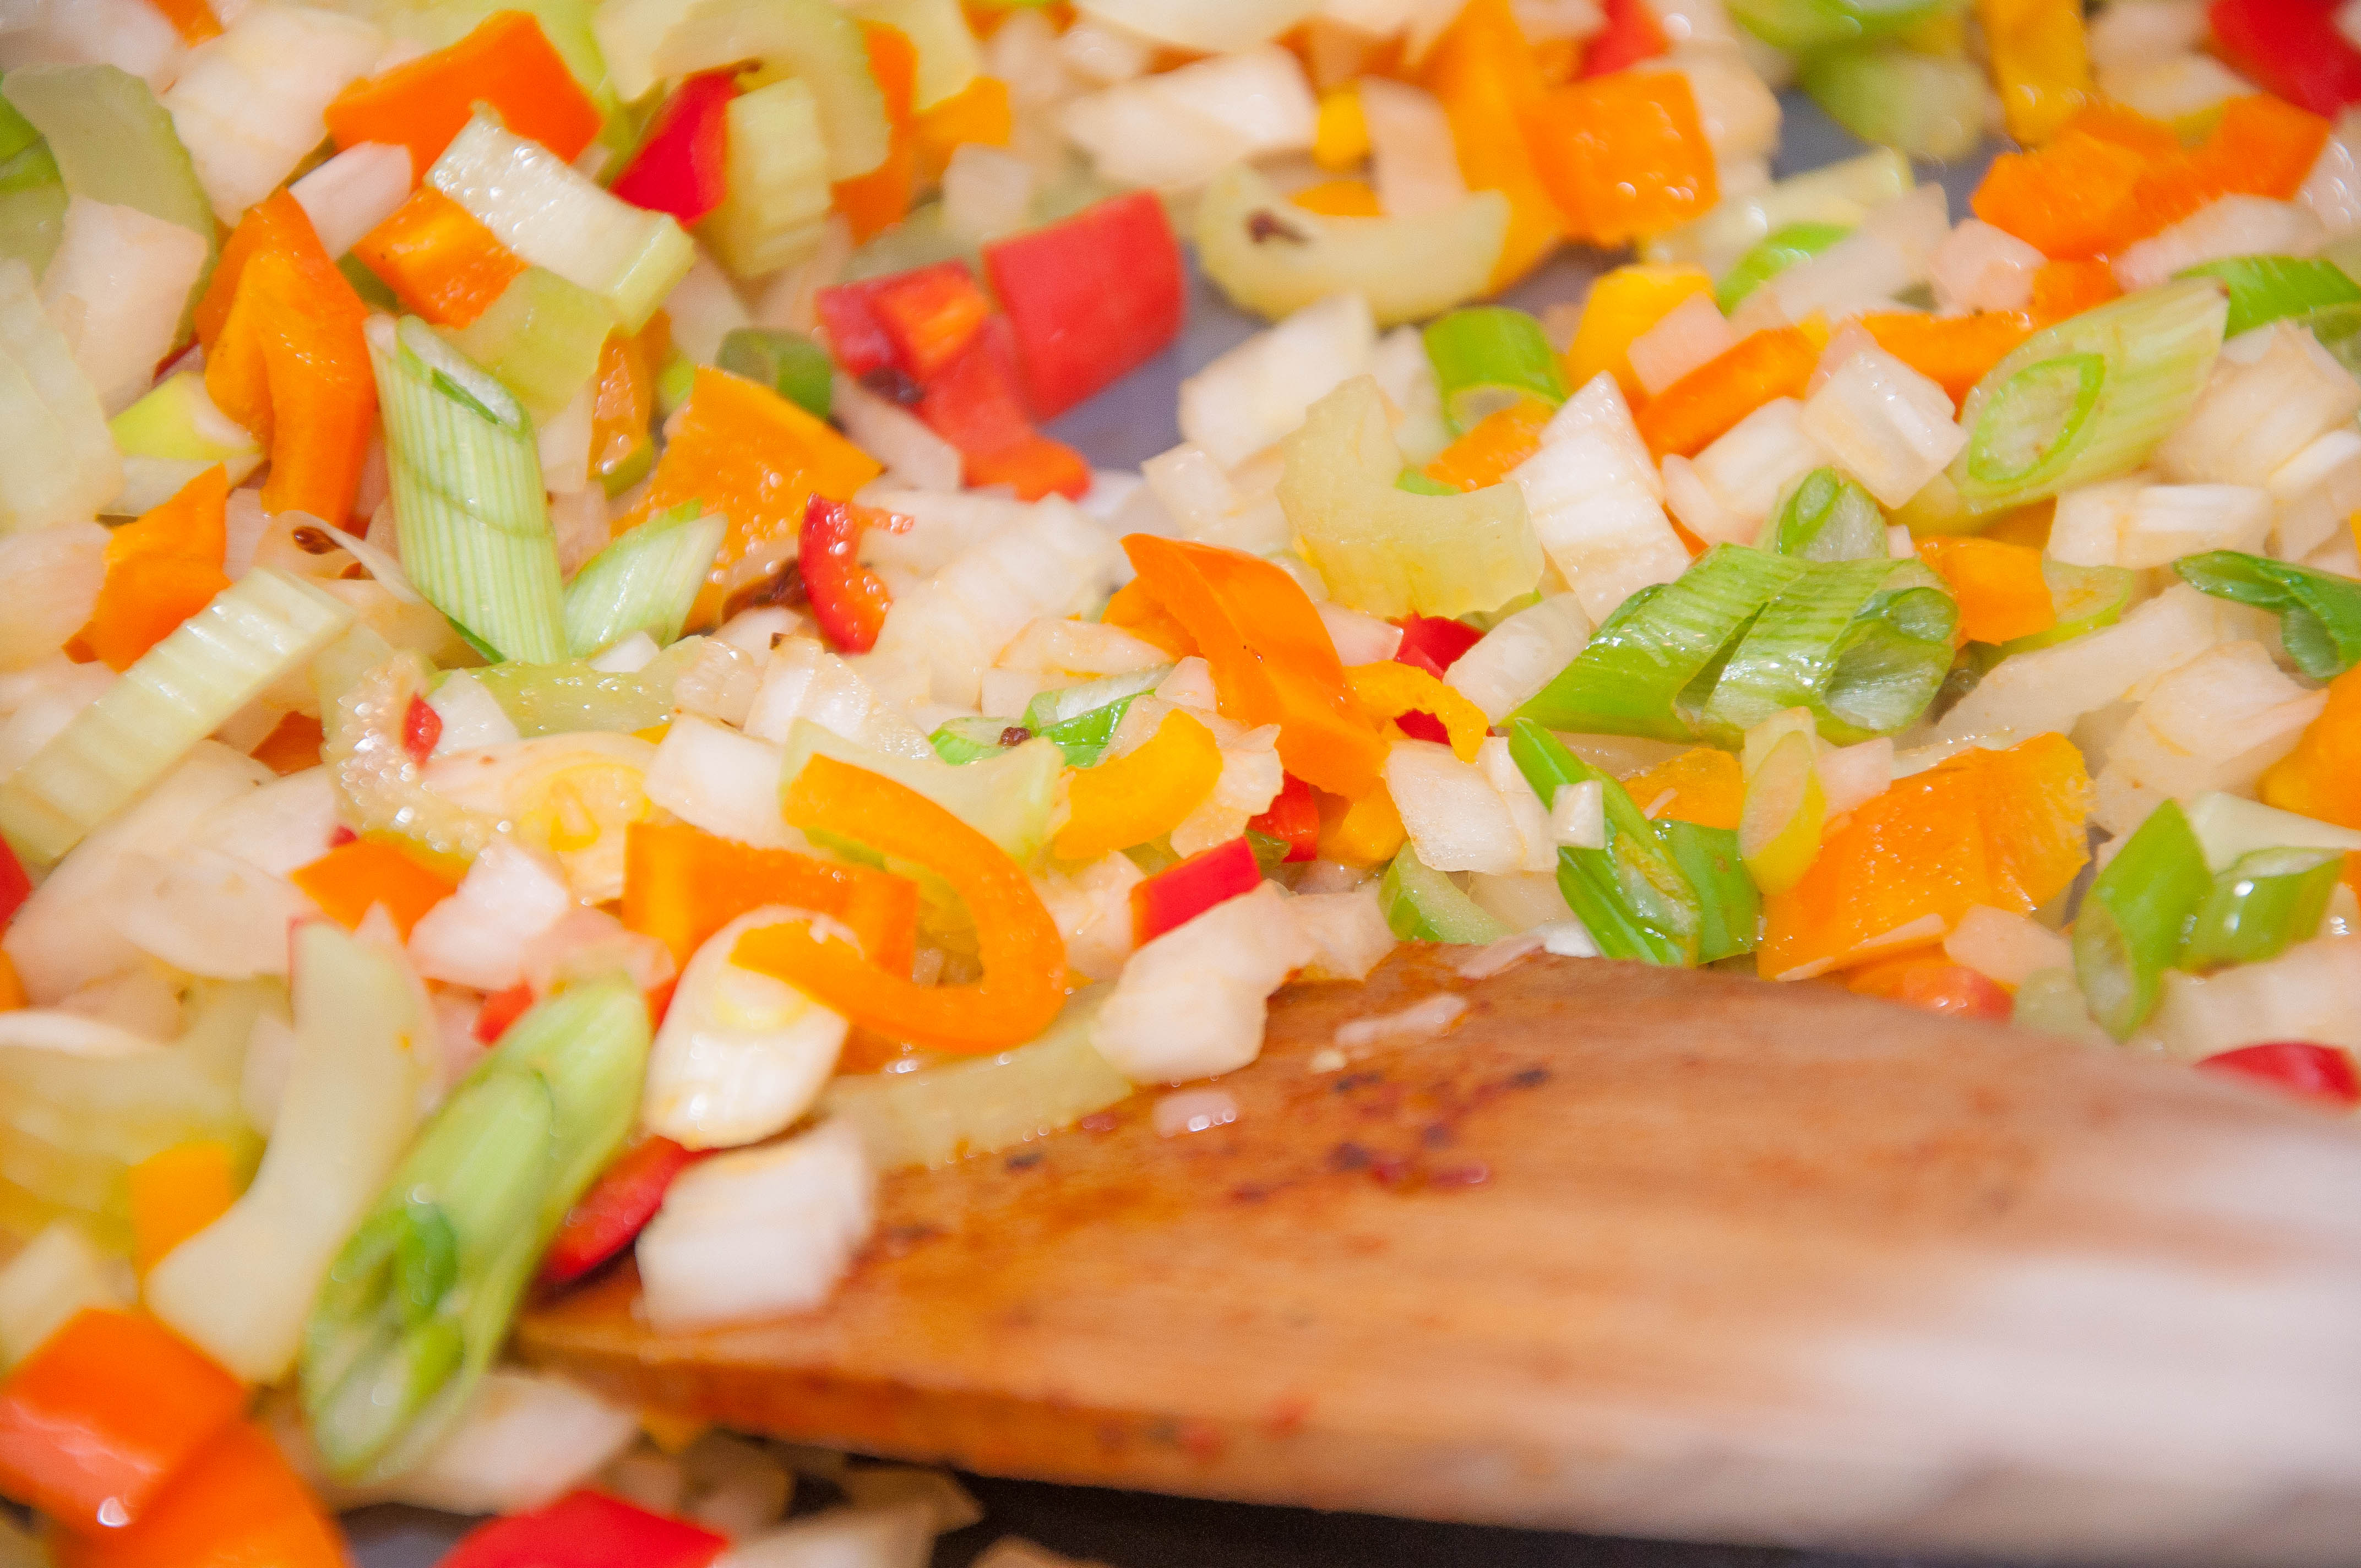
- Remove the meat from the pan and set a side. Reduce to a medium heat and add the onion, carrot, celery.
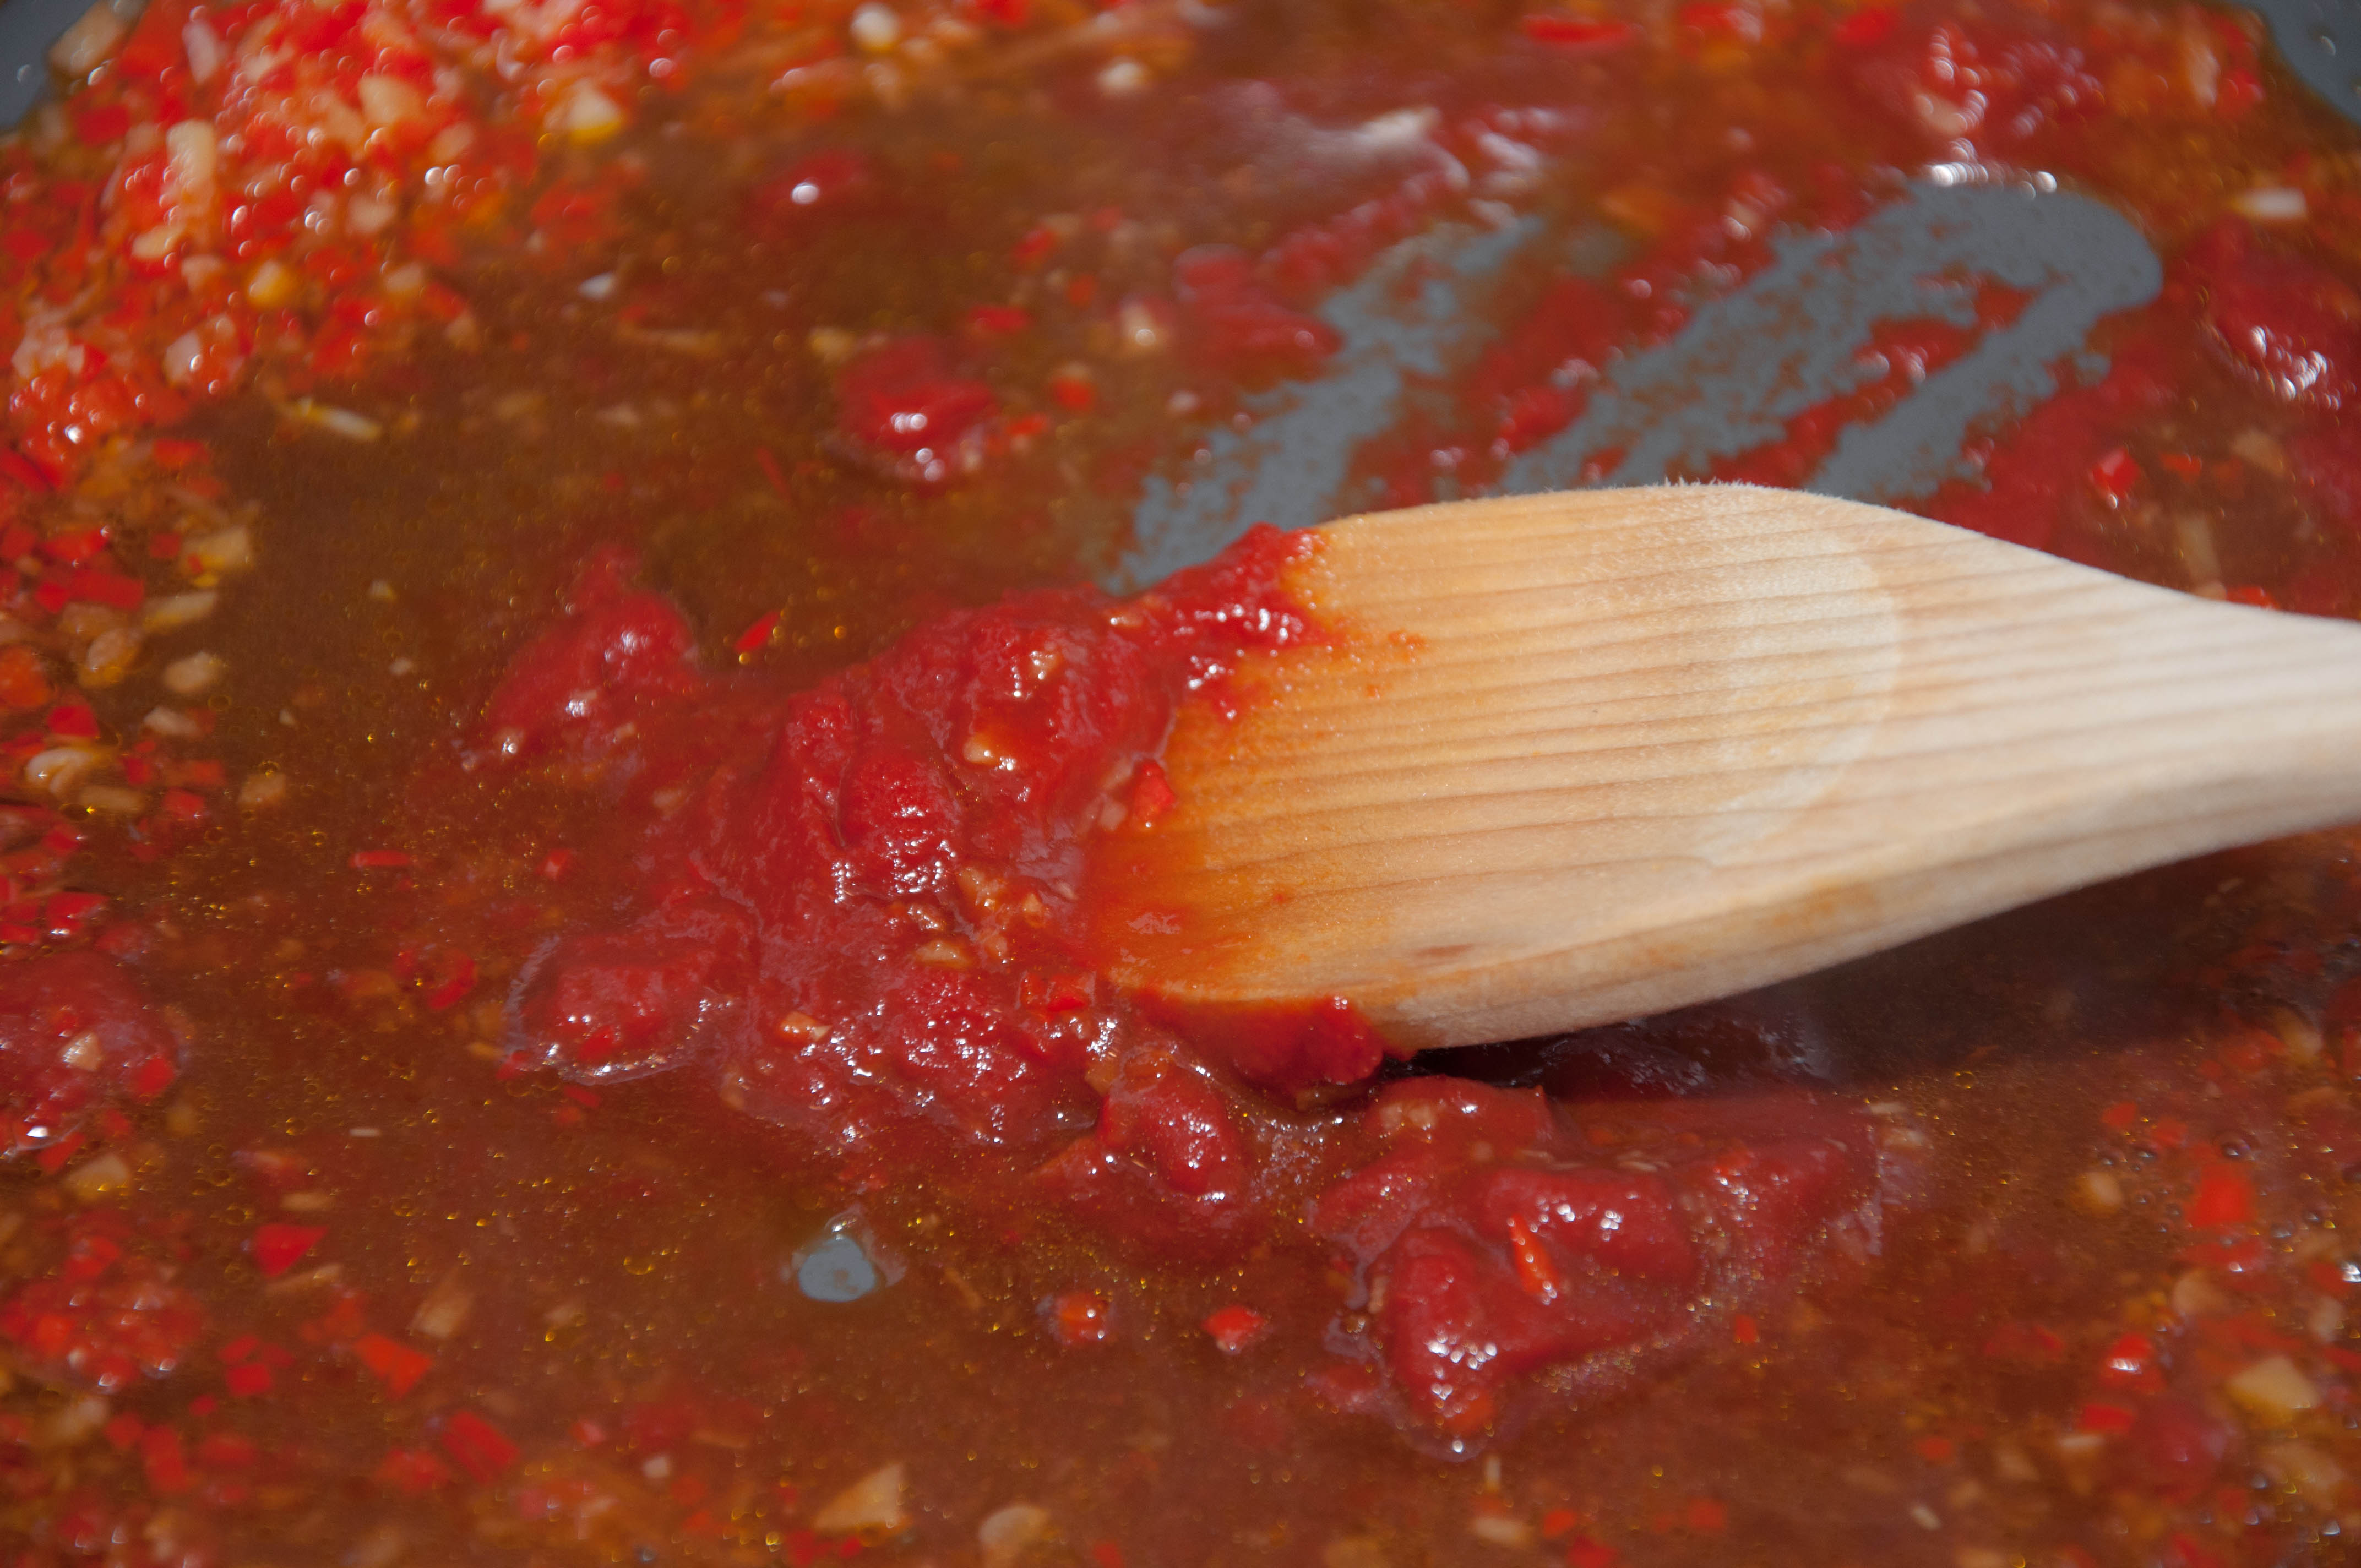
- When the vegetables have softened, add the pancetta, chilli and garlic to the pan. Cook for about five minutes until much of the pancetta fat has melted and the vegetables have browned a little around the edges.
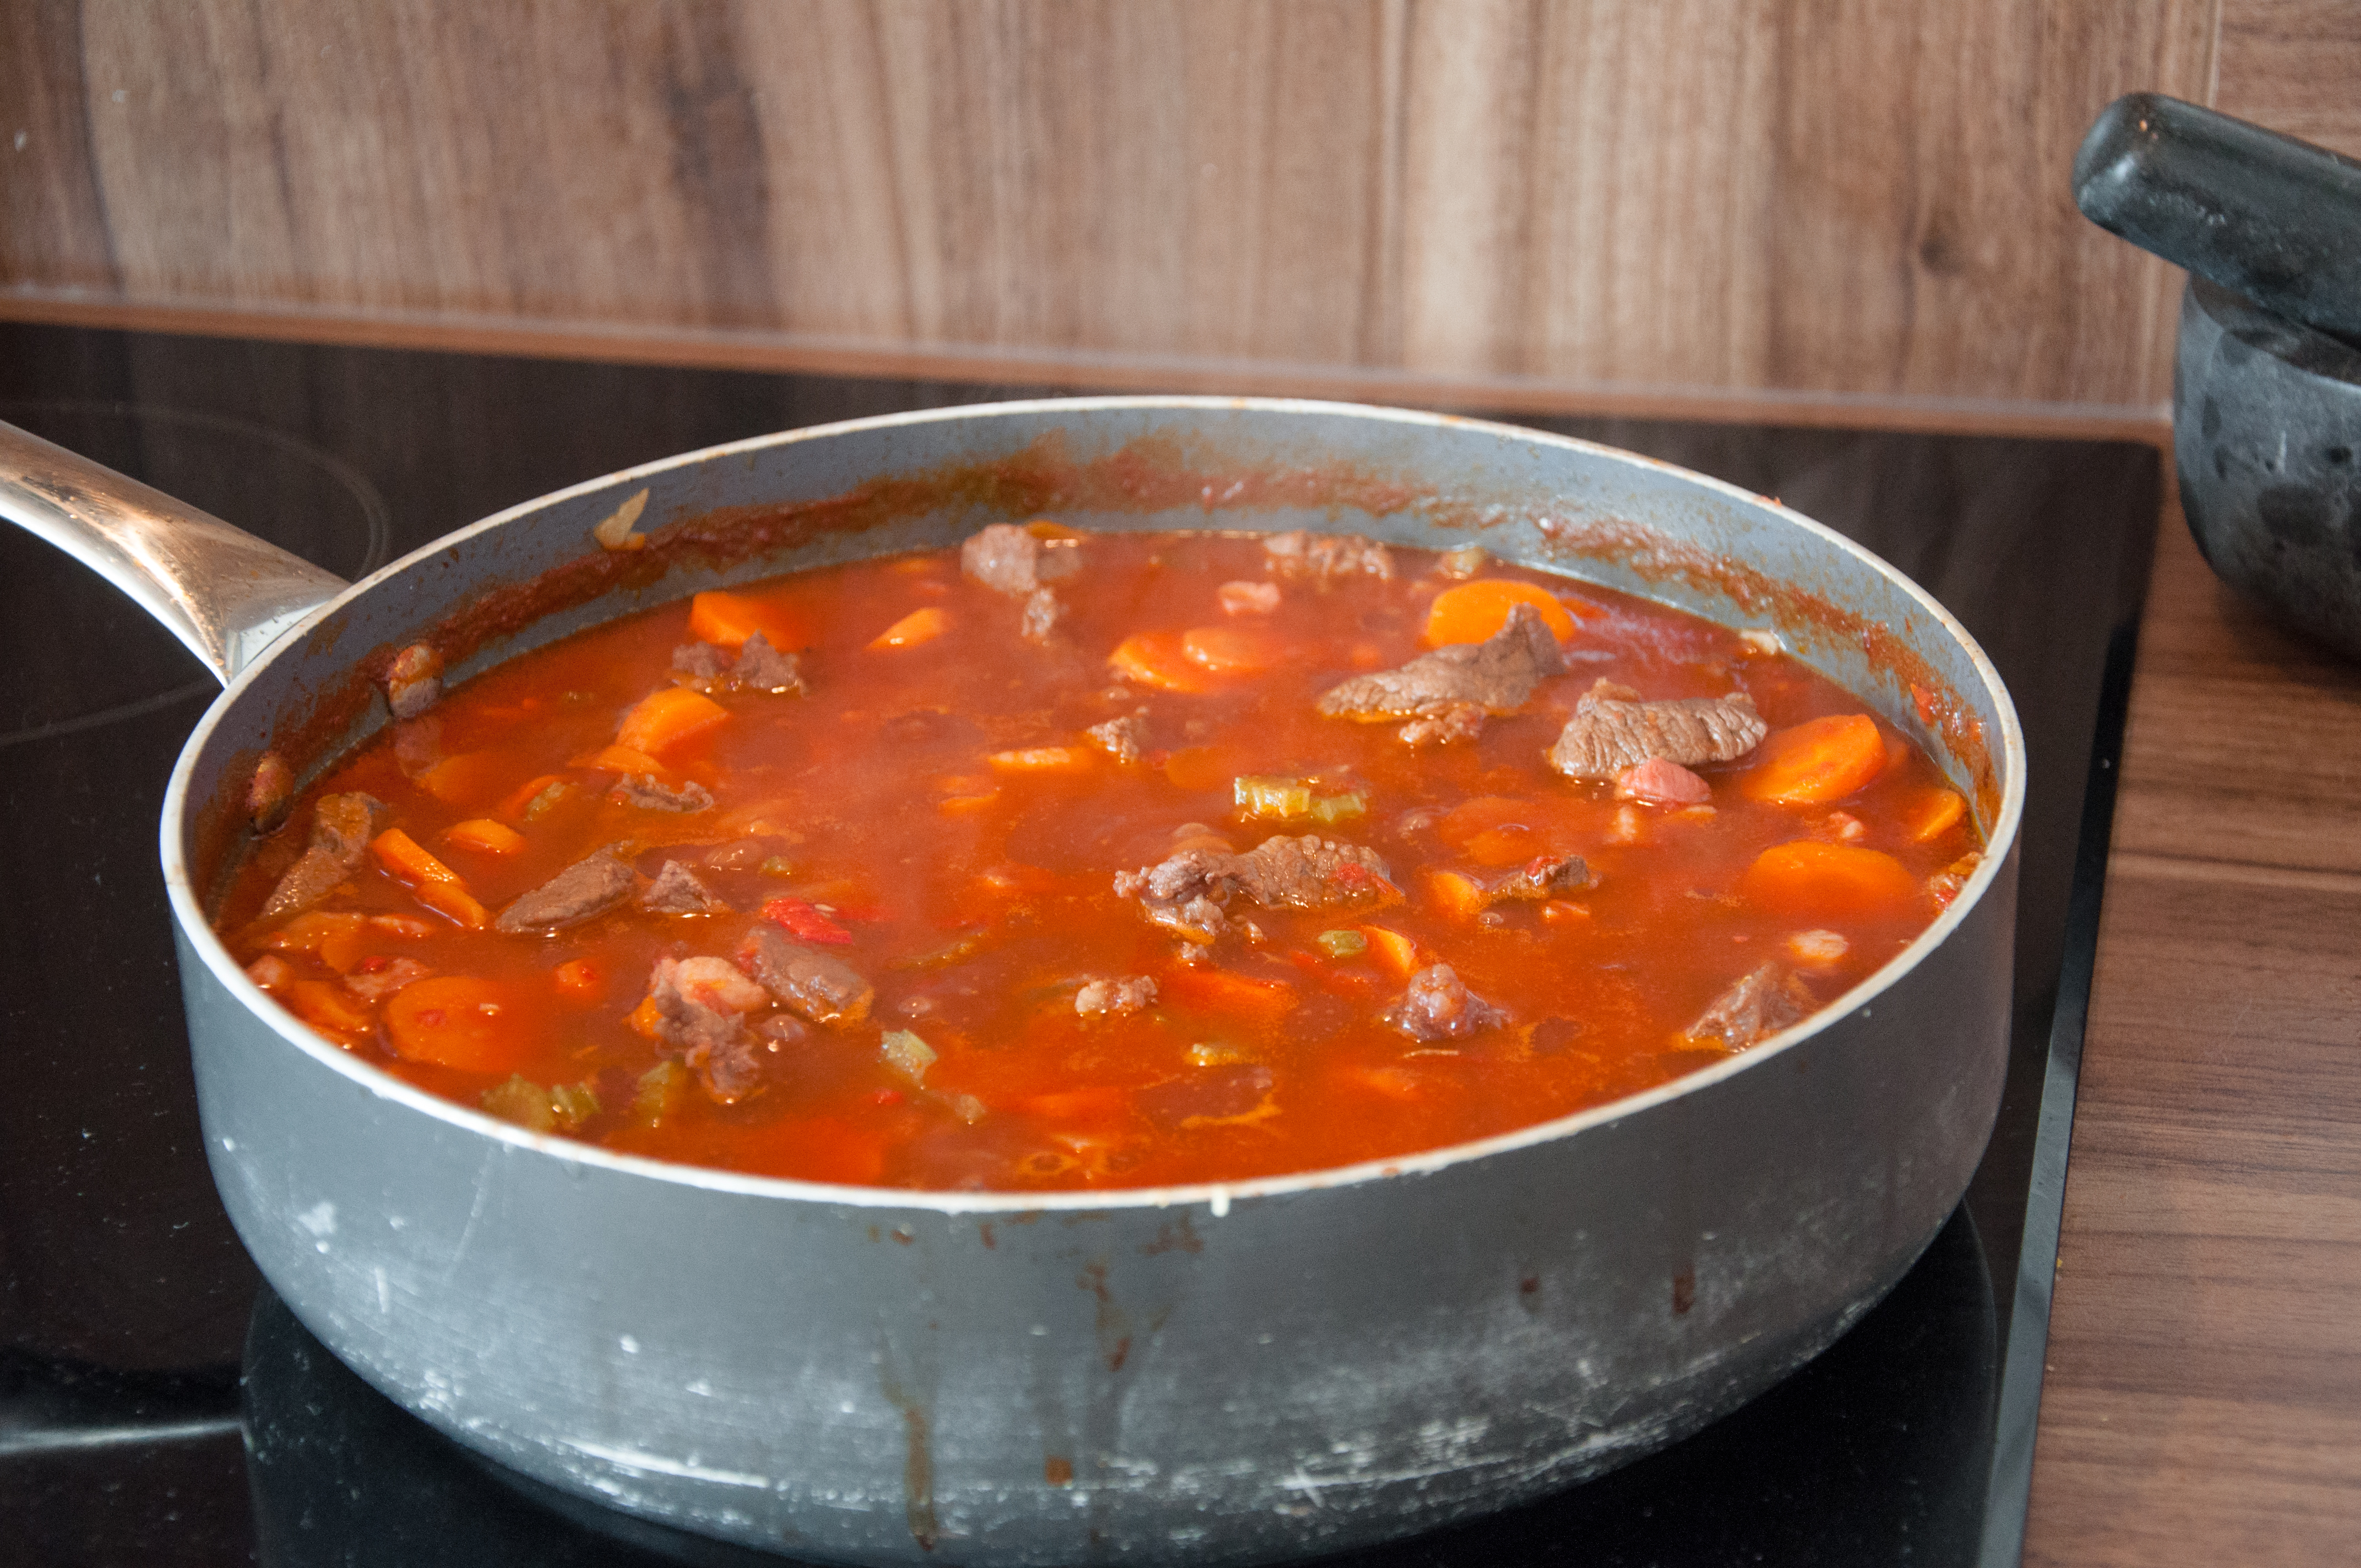
- Add the browned beef to the vegetables. Pour the red wine into the frying pan. Cook over a medium heat, scraping the bottom of the pan to deglaze it.
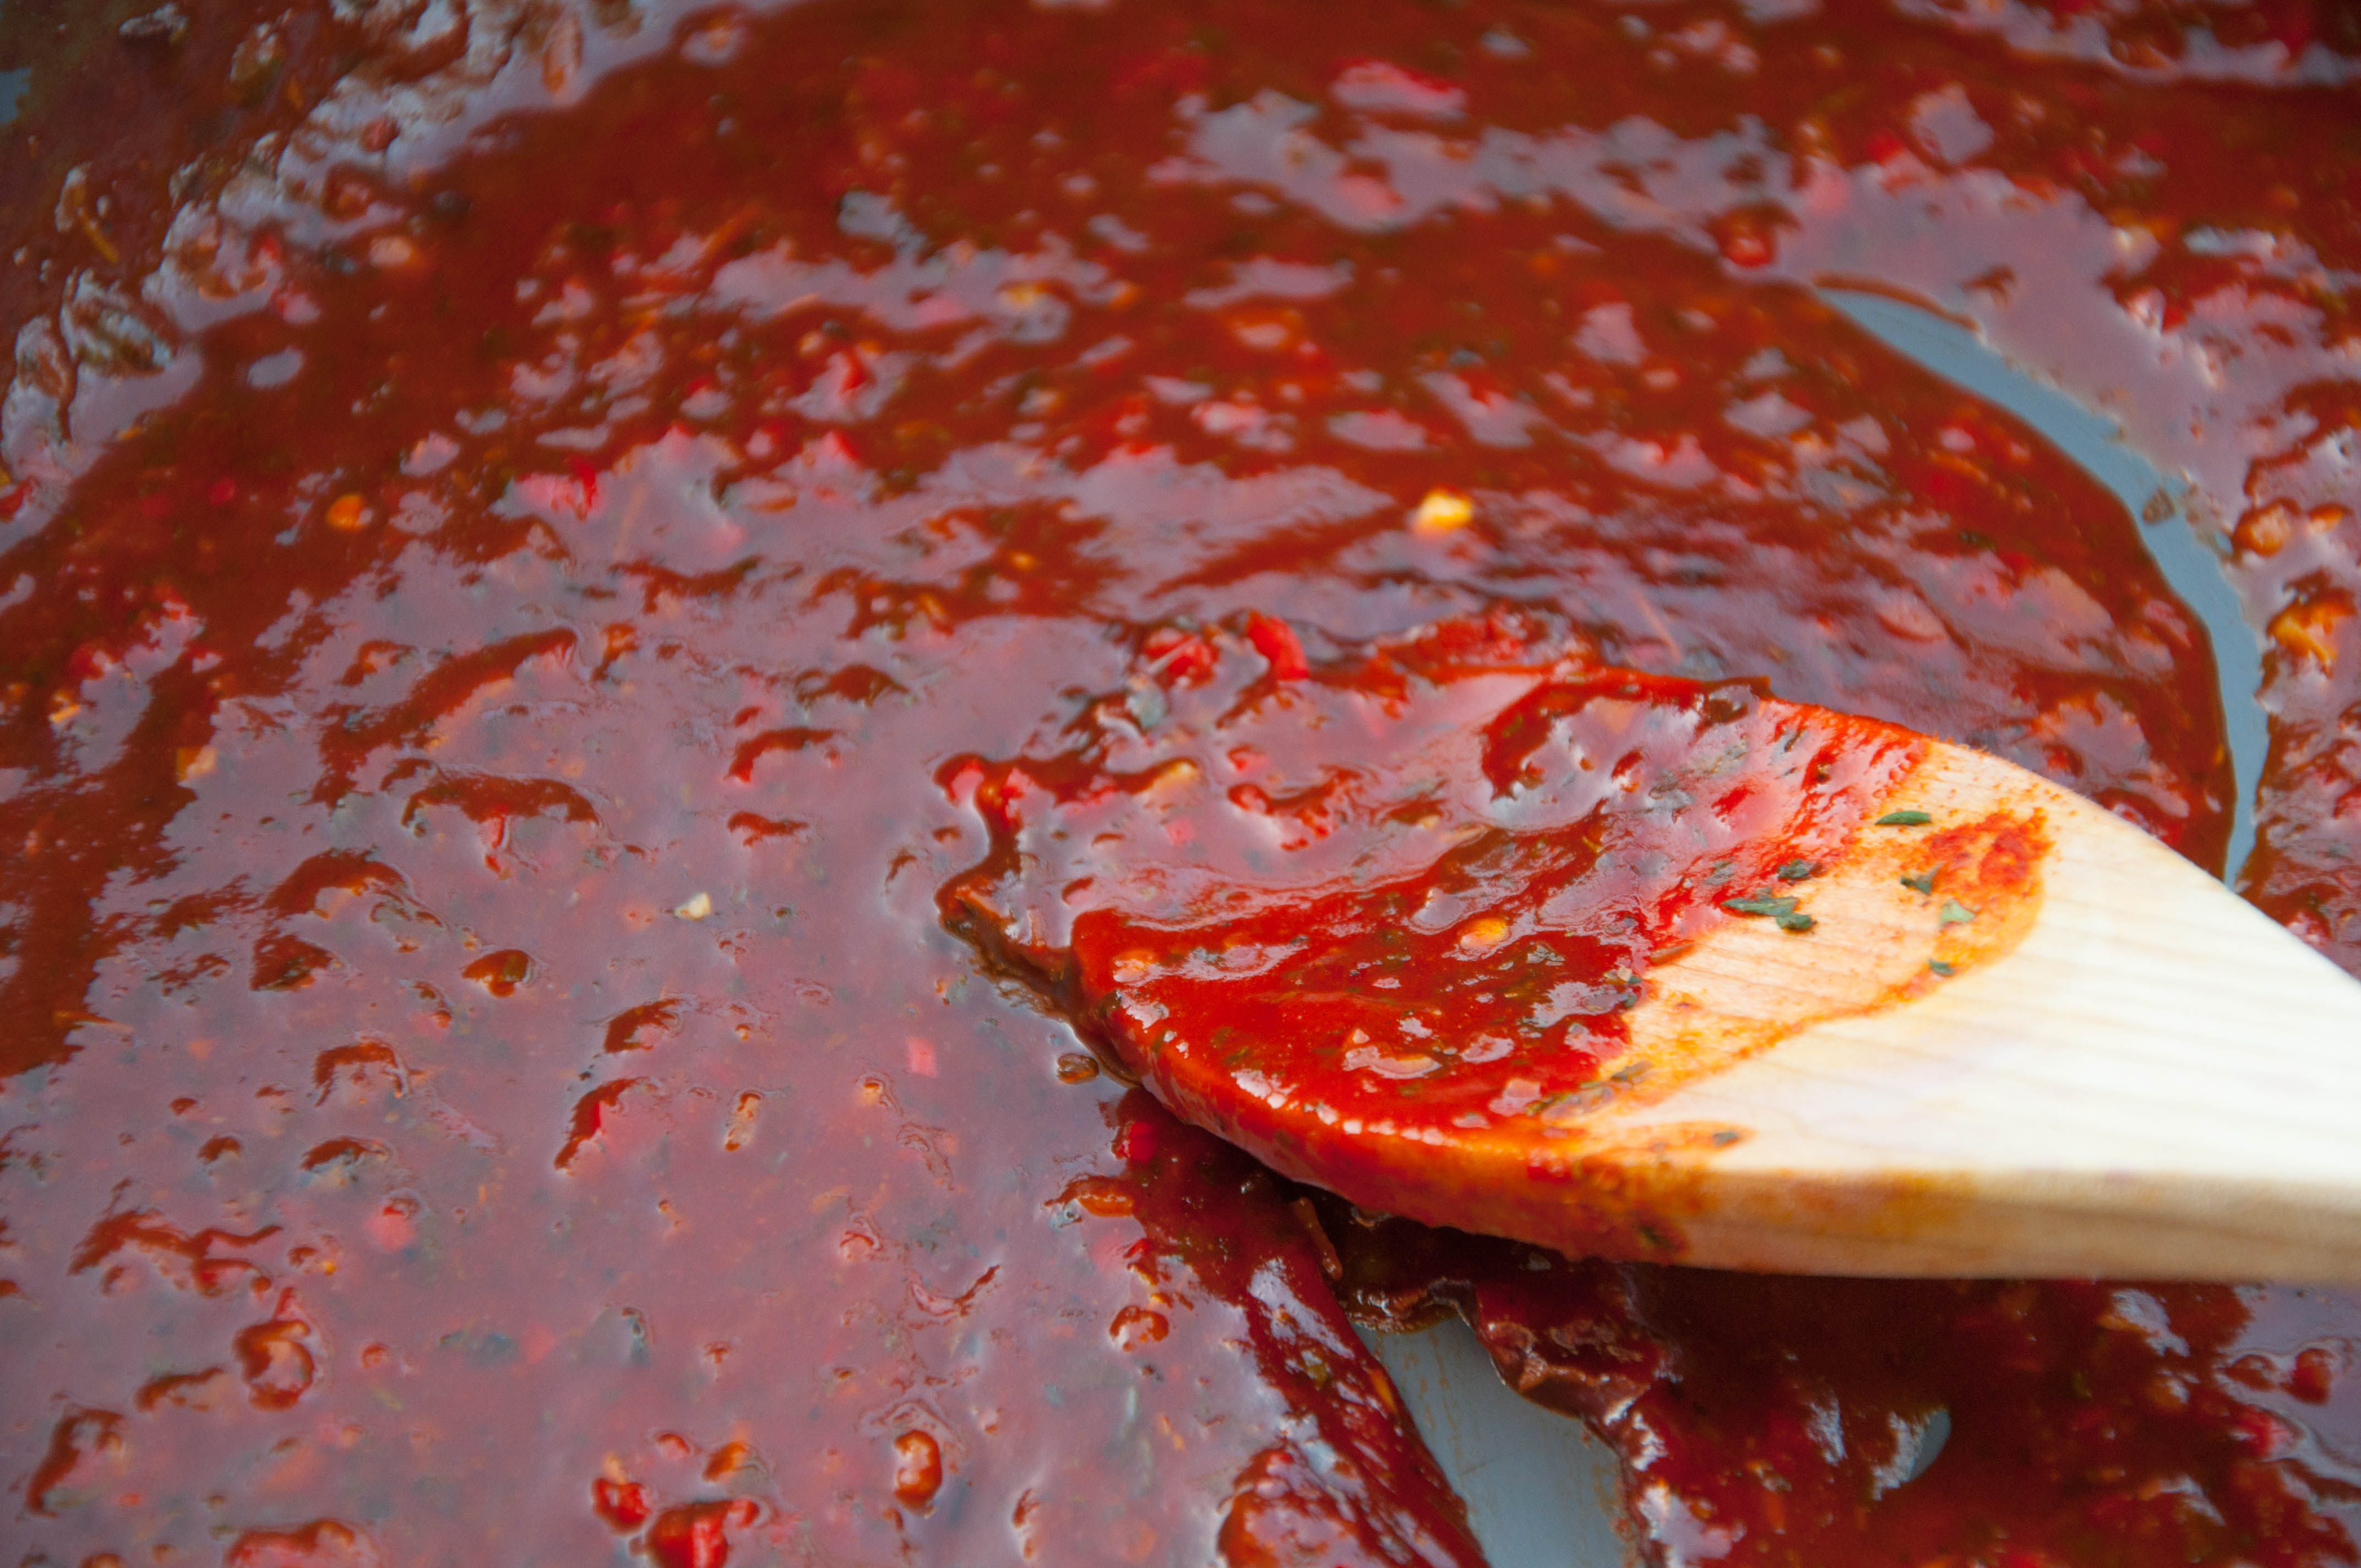
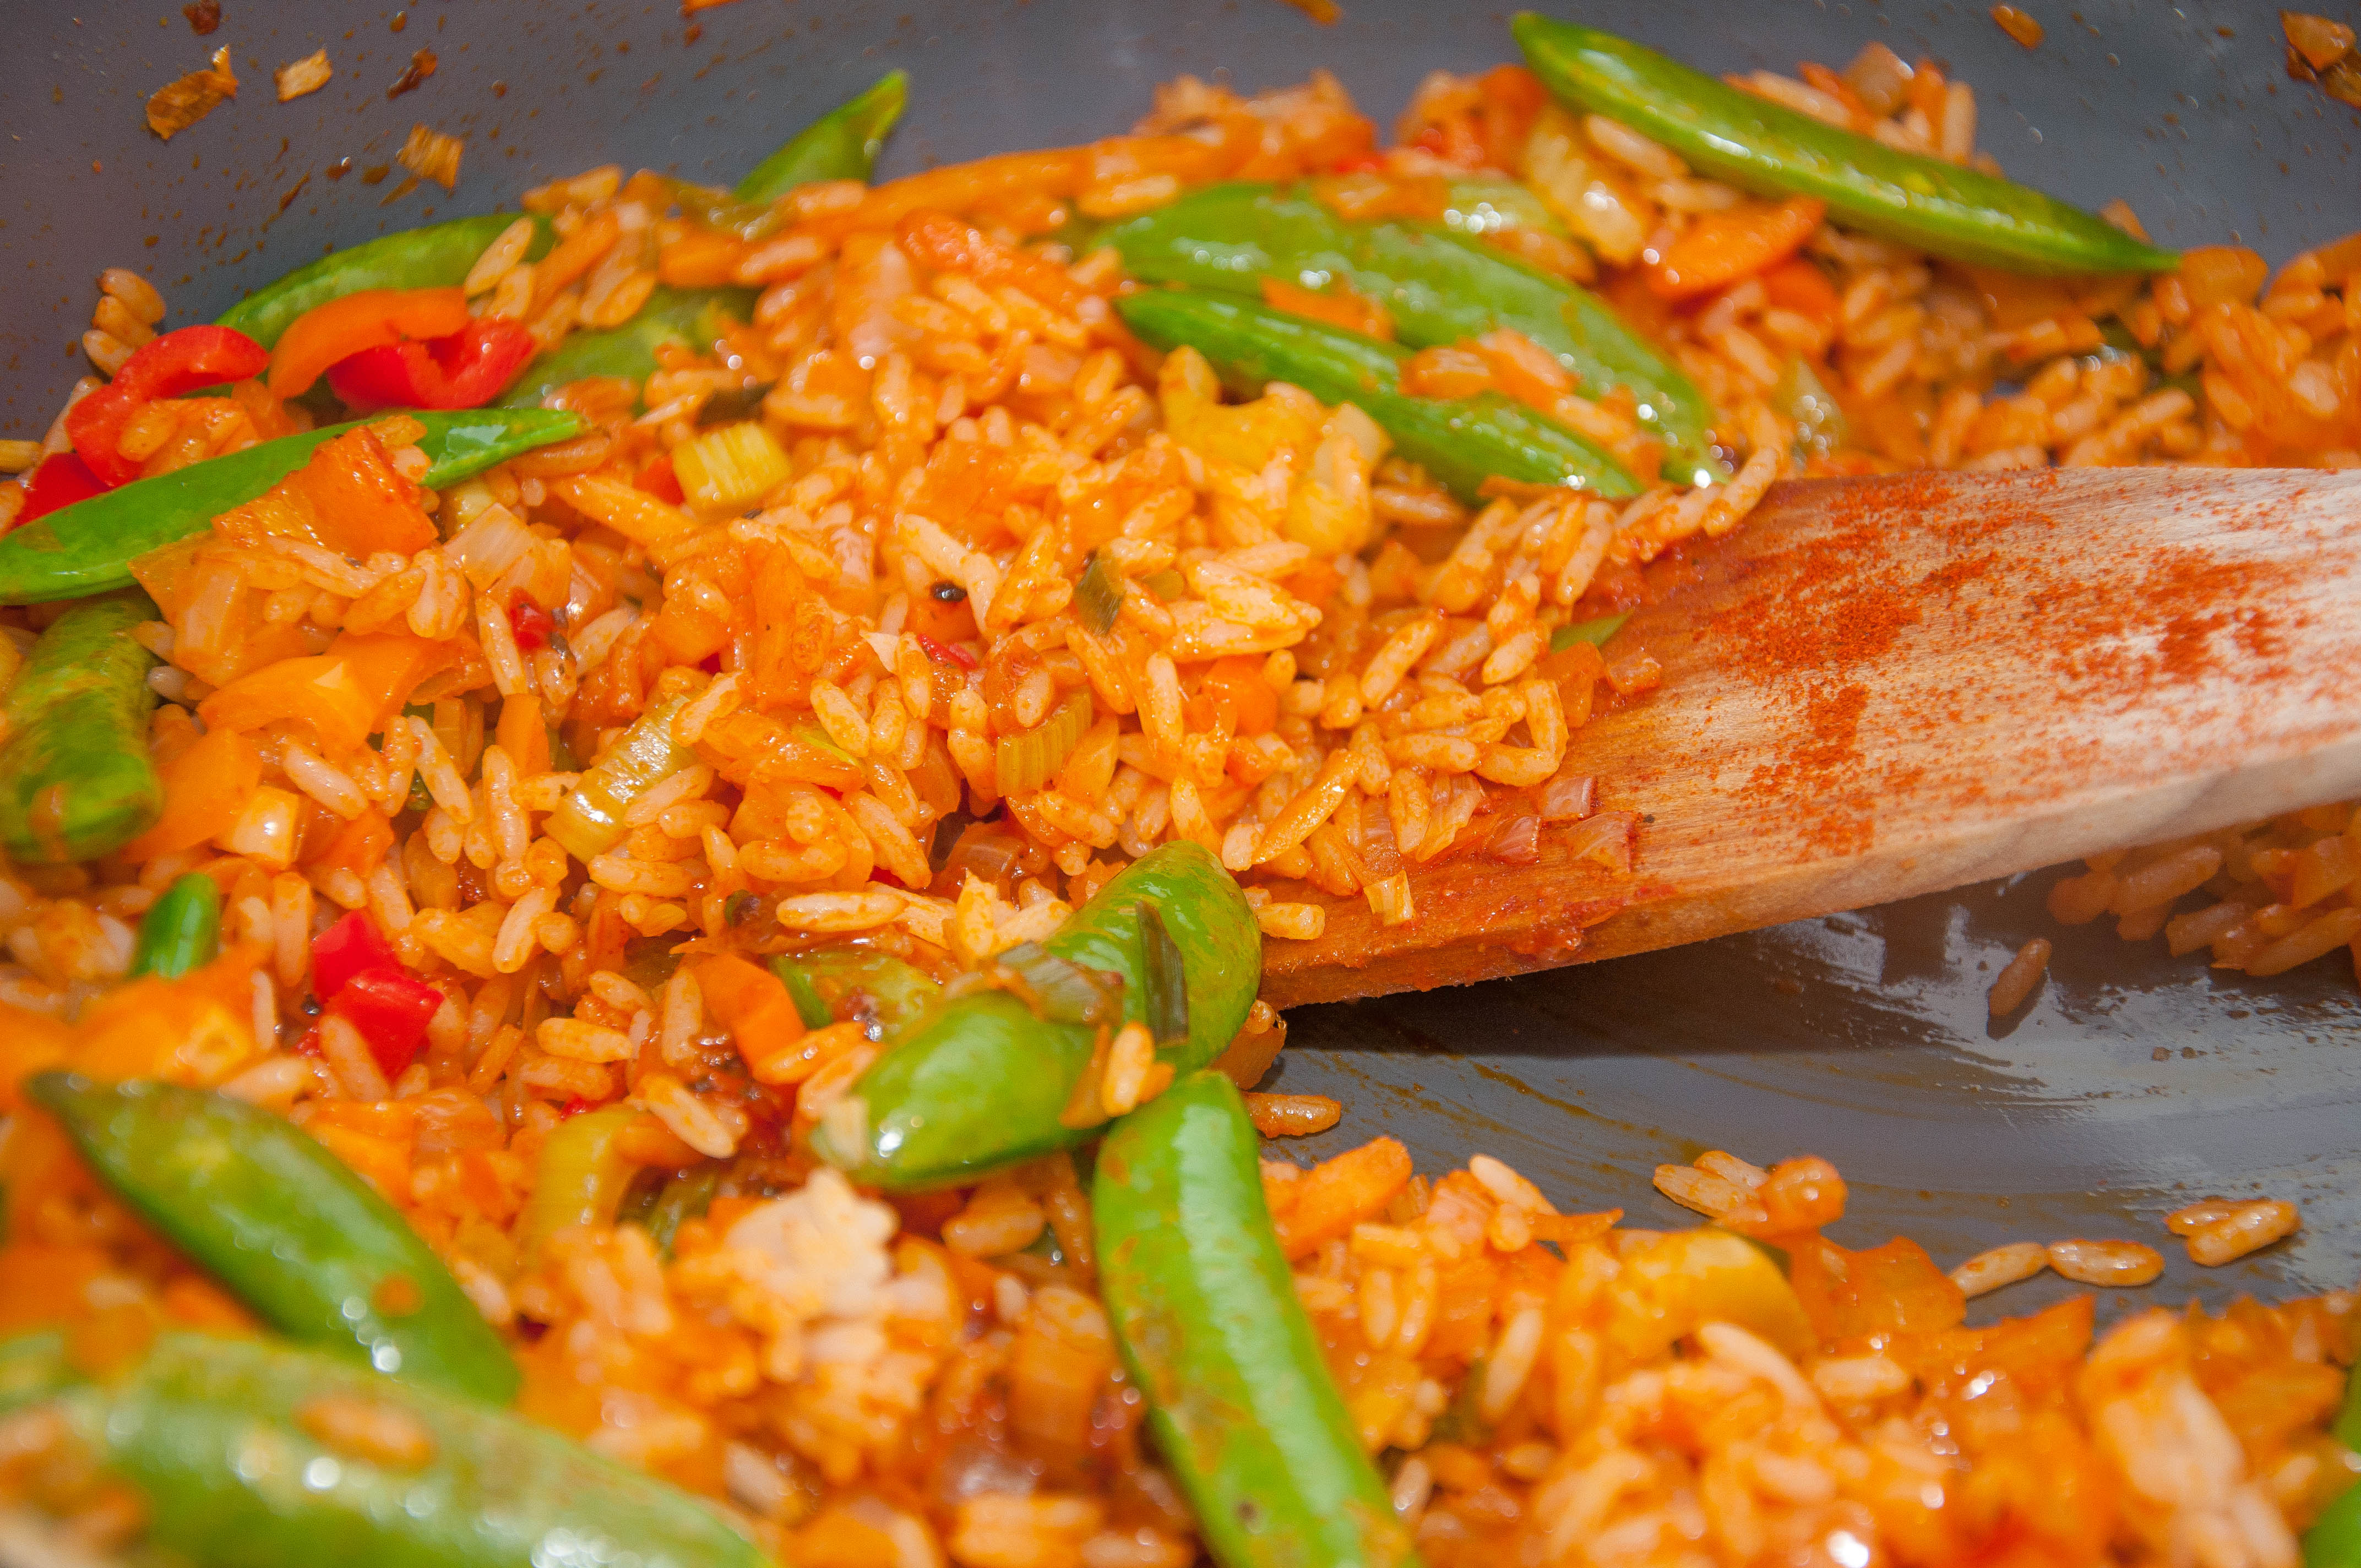
- Add the tomato purée and chopped tomatoes to the ragú and stir through. Cook for a couple of minutes stirring regularly to avoid burning
- Add the beef stock and bring to a simmer
- Add the grated citrus zest and stir through. If you like your ragù with a bit of a zesty kick like I do you can use the zest of 2 oranges instead of one
- Squeeze the juice from the lemon into the ragù
- Take 4-5 anchovies and finely chop. Add, then stir well.
- Add the chopped lemon thyme and stir through. Sprinkle in a tbsp of brown sugar
- Put the lid on the pan and place in the preheated oven for 2½ – 3 hours, or until the meat is meltingly tender and the liquid reduced to a lovely thick sauce like consistency. Check JUST once or twice in this time and stir to prevent the meat on the surface drying out. Top up with a very little extra beef stock and wine if you think its needed.
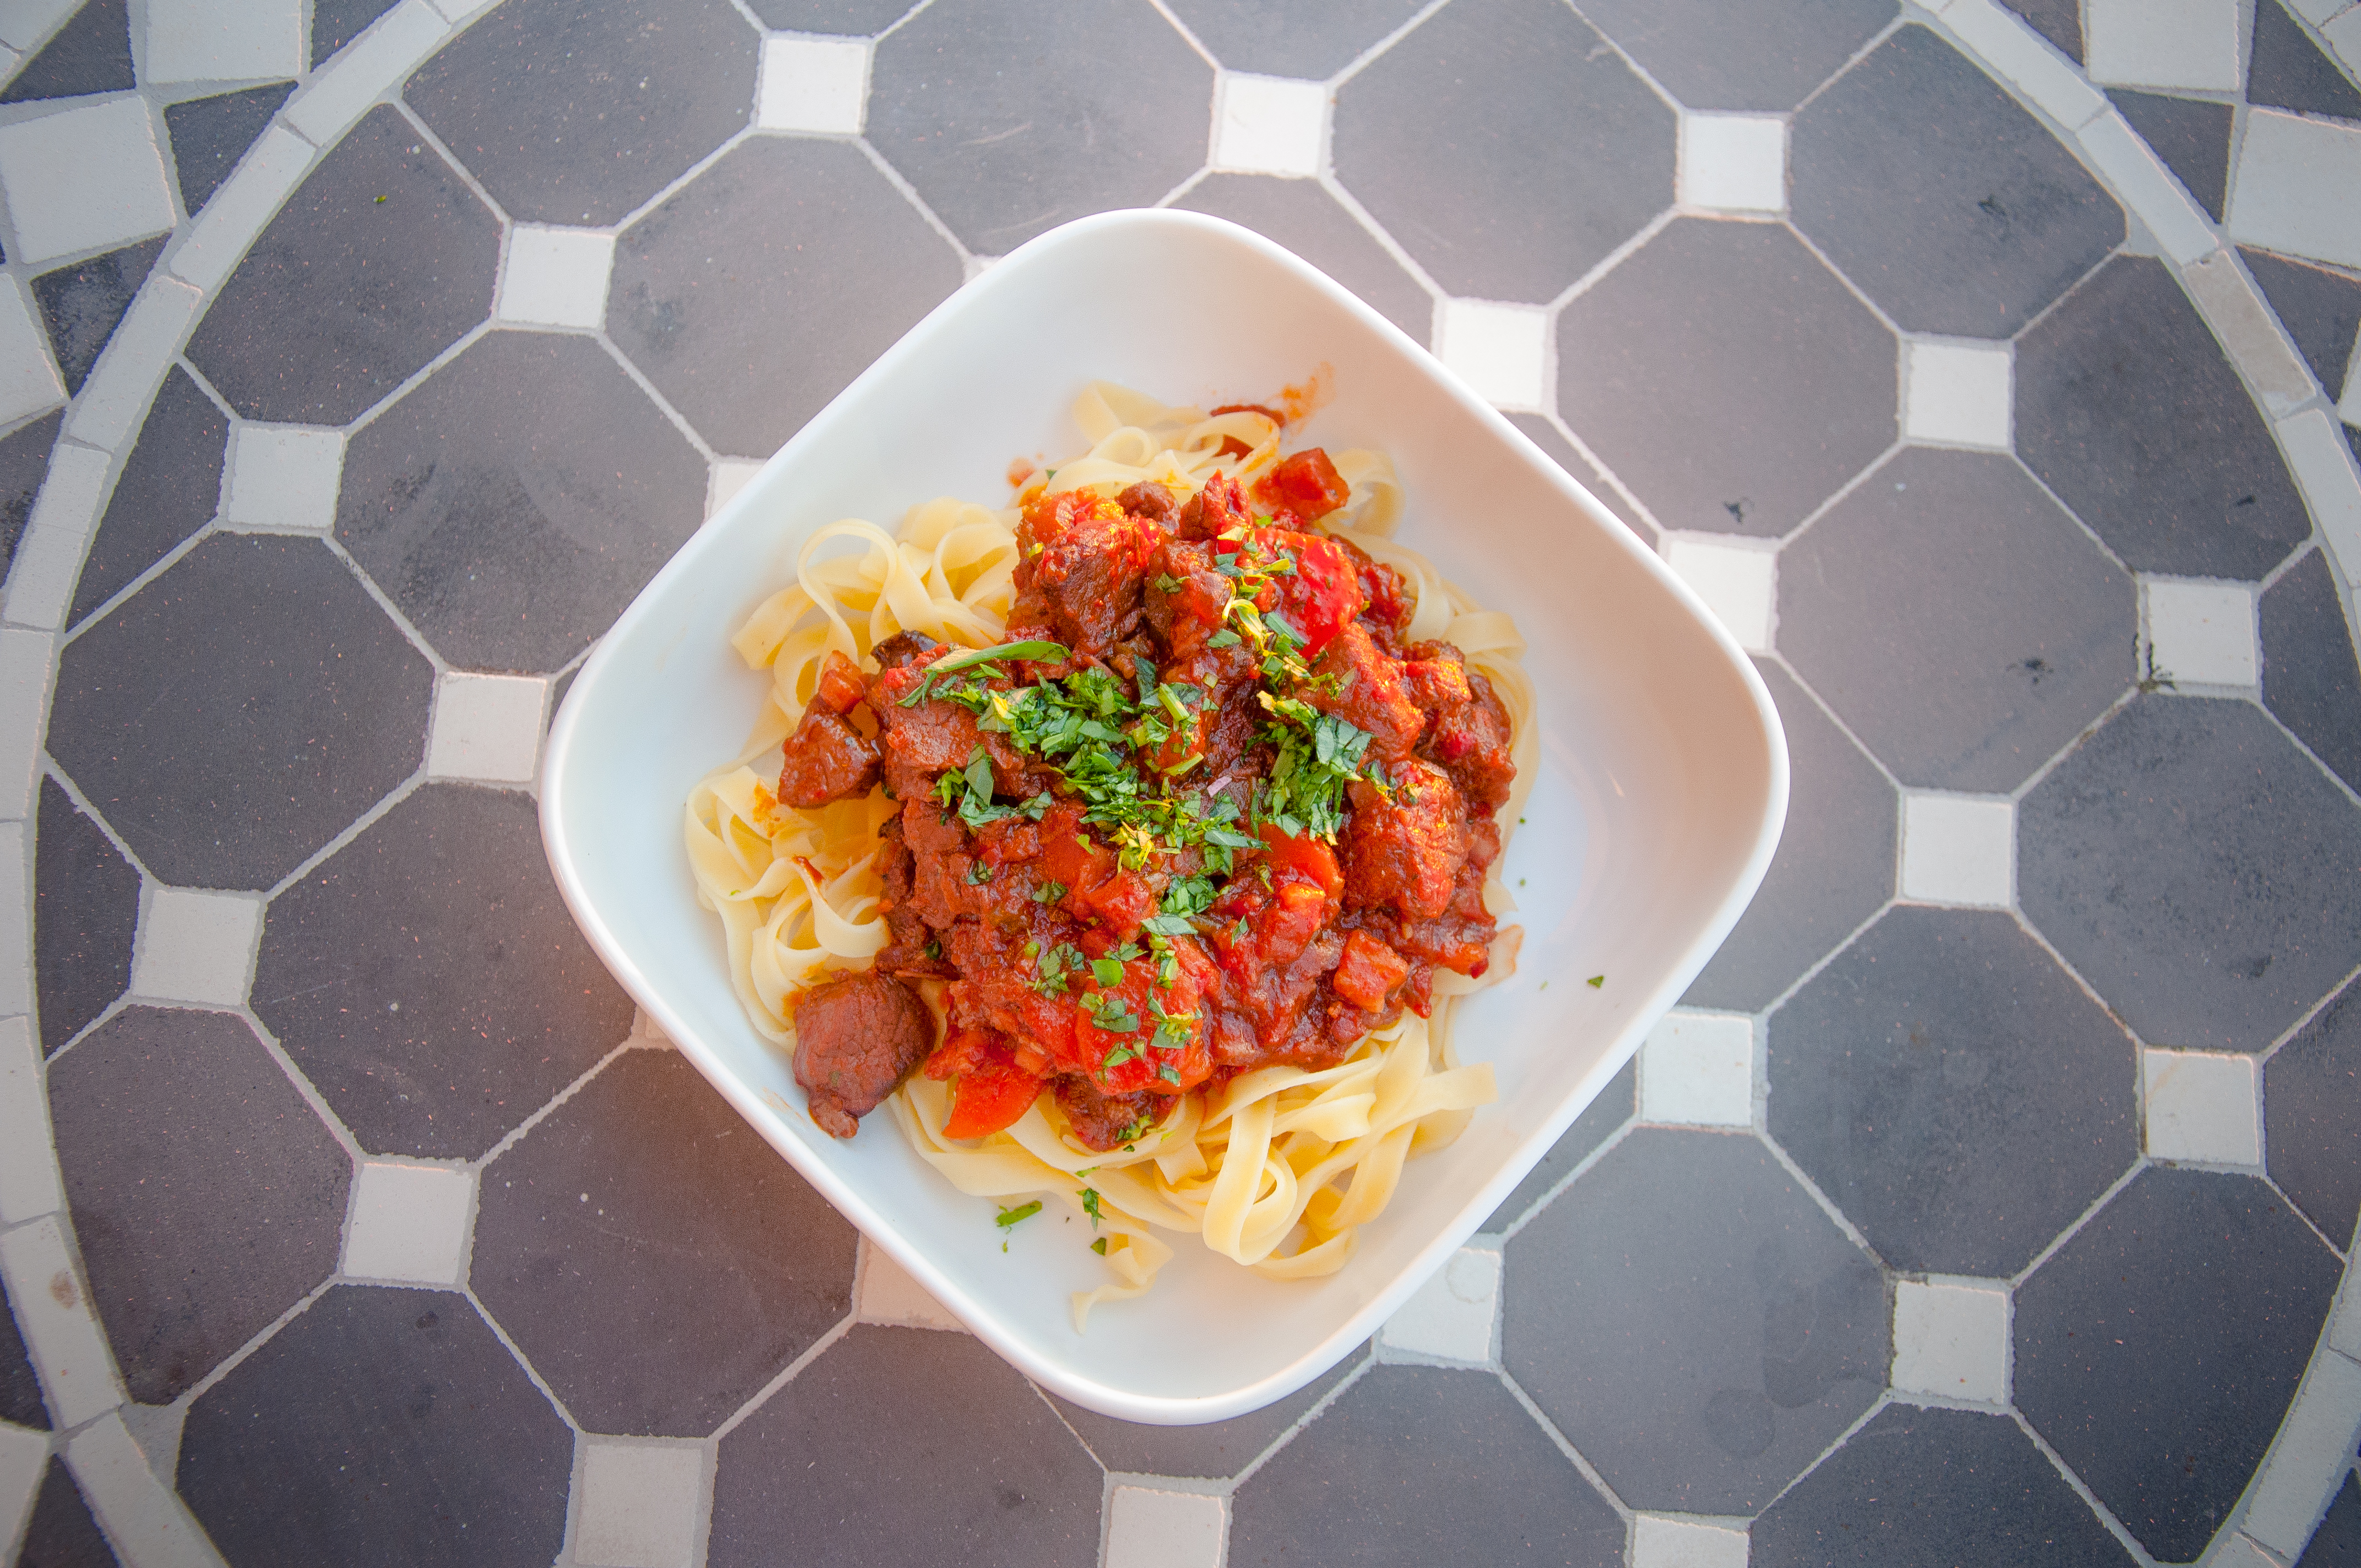
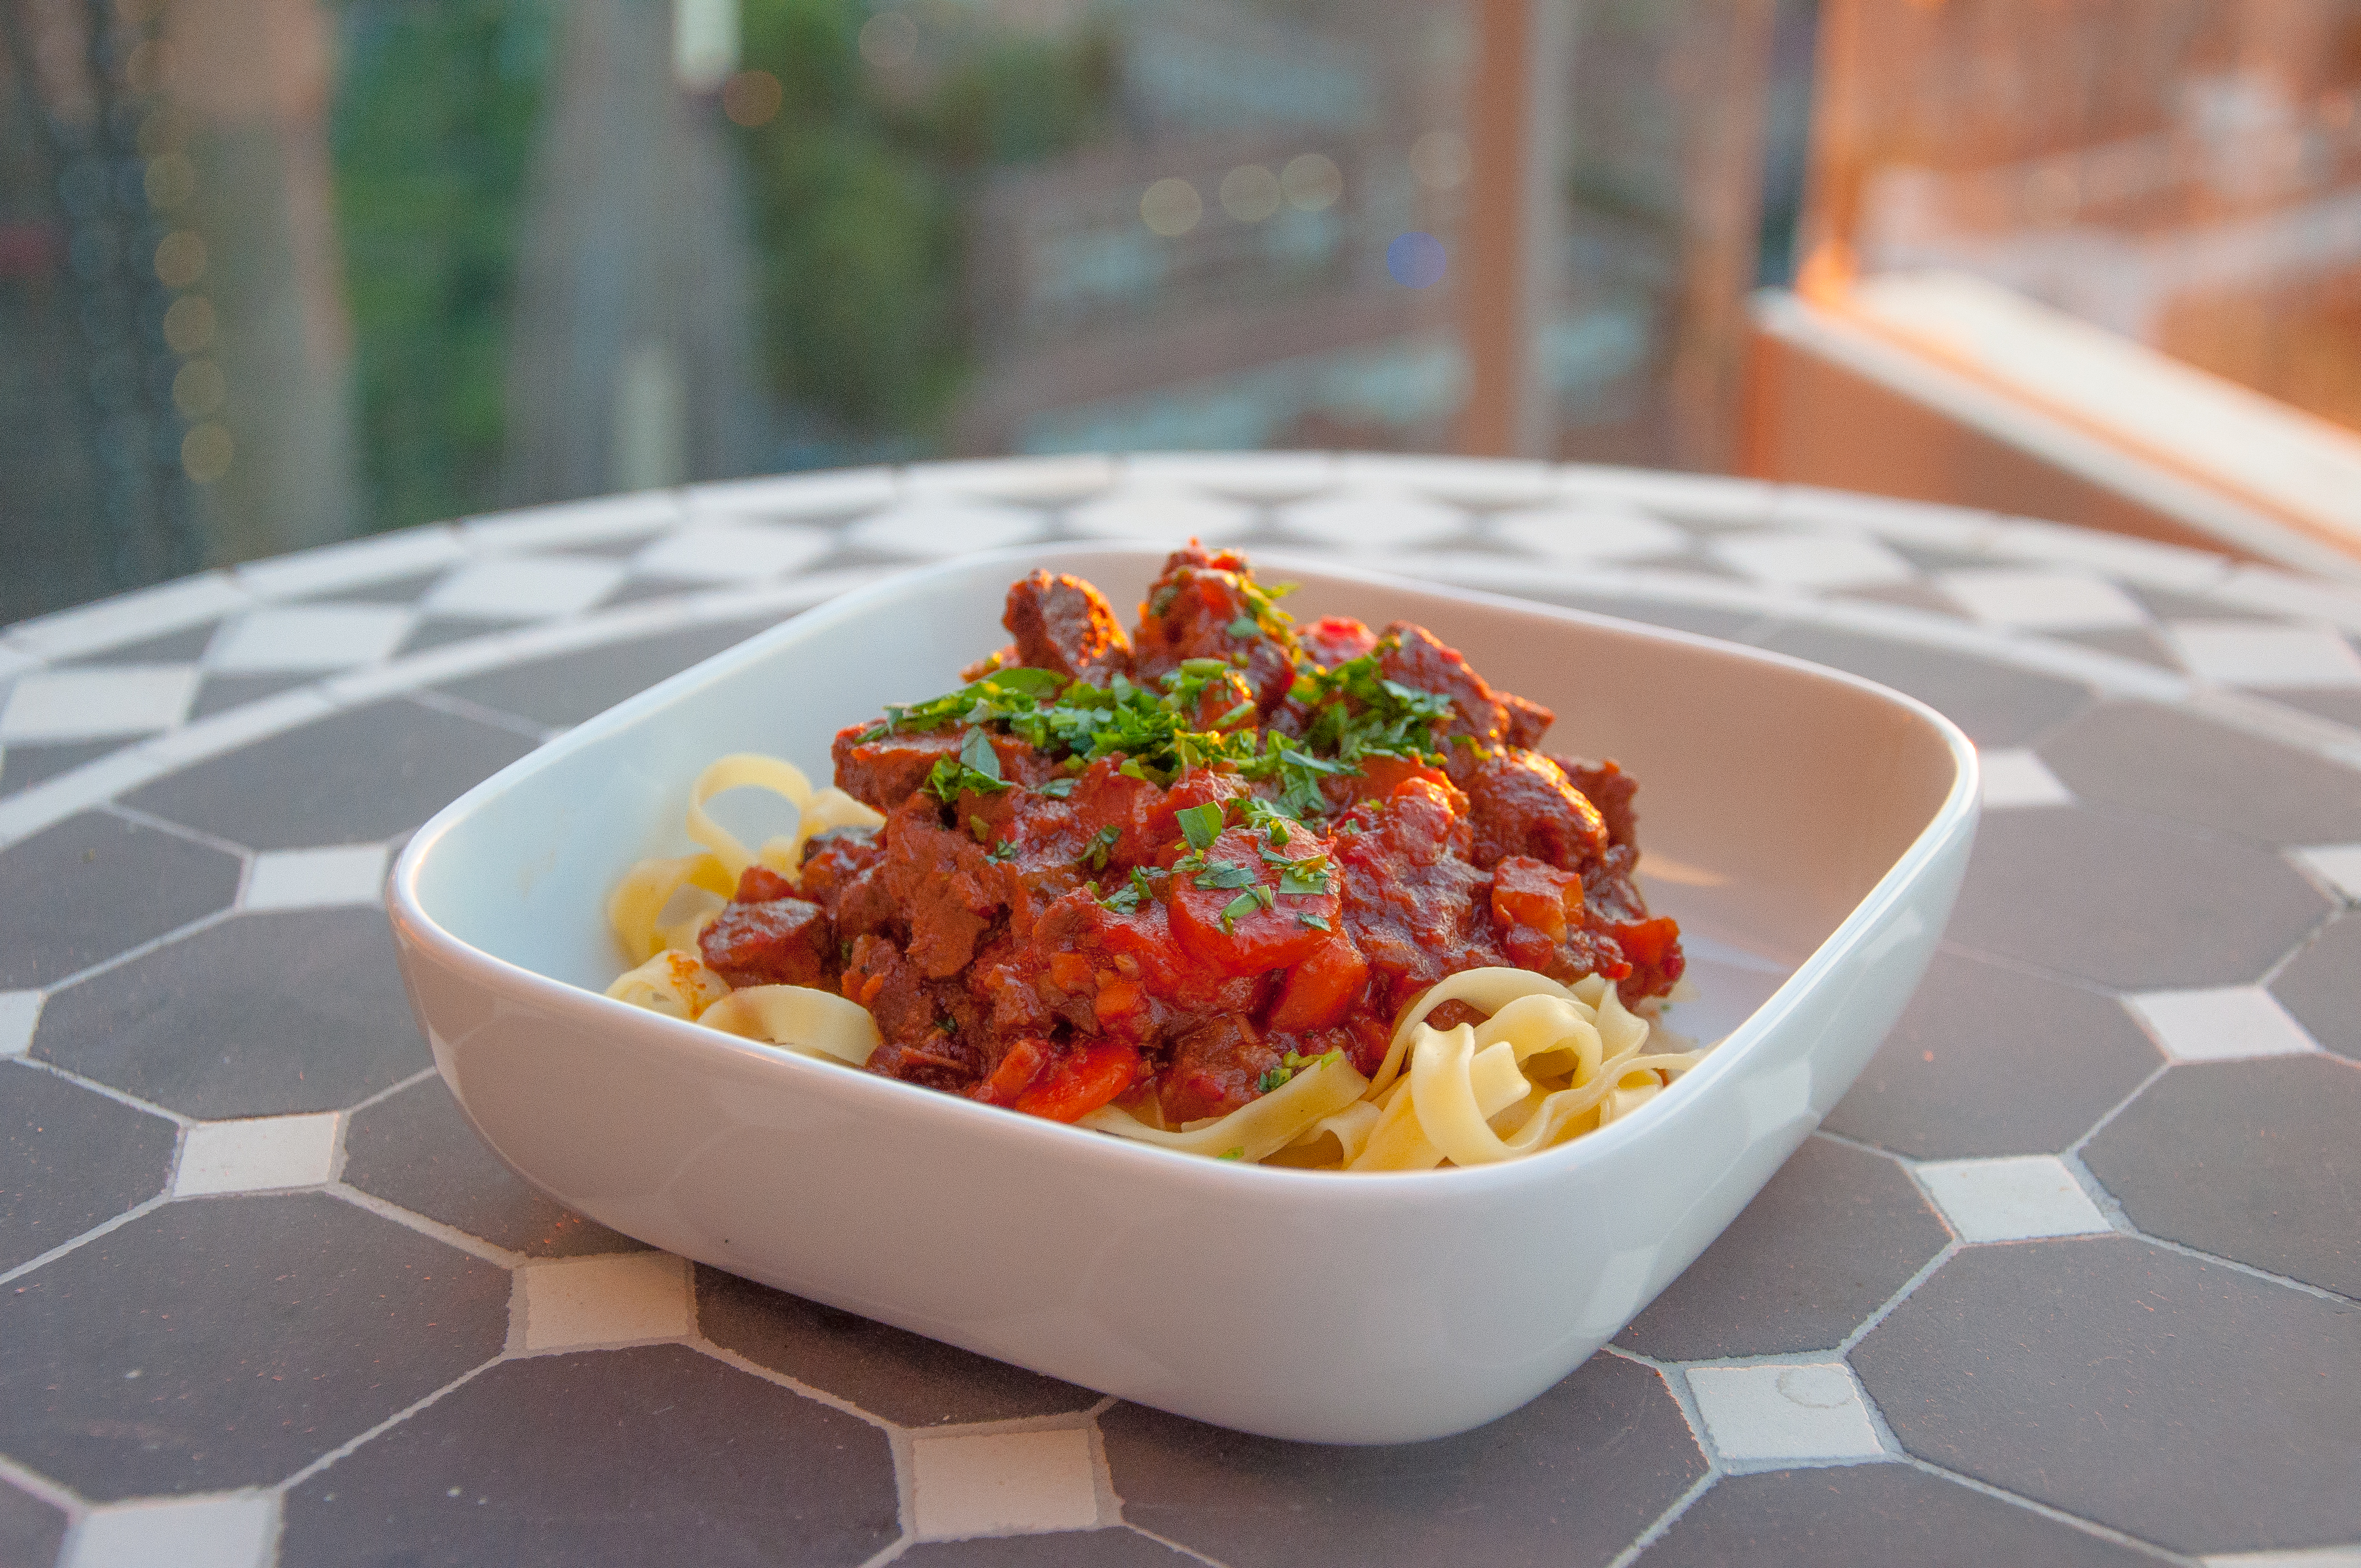
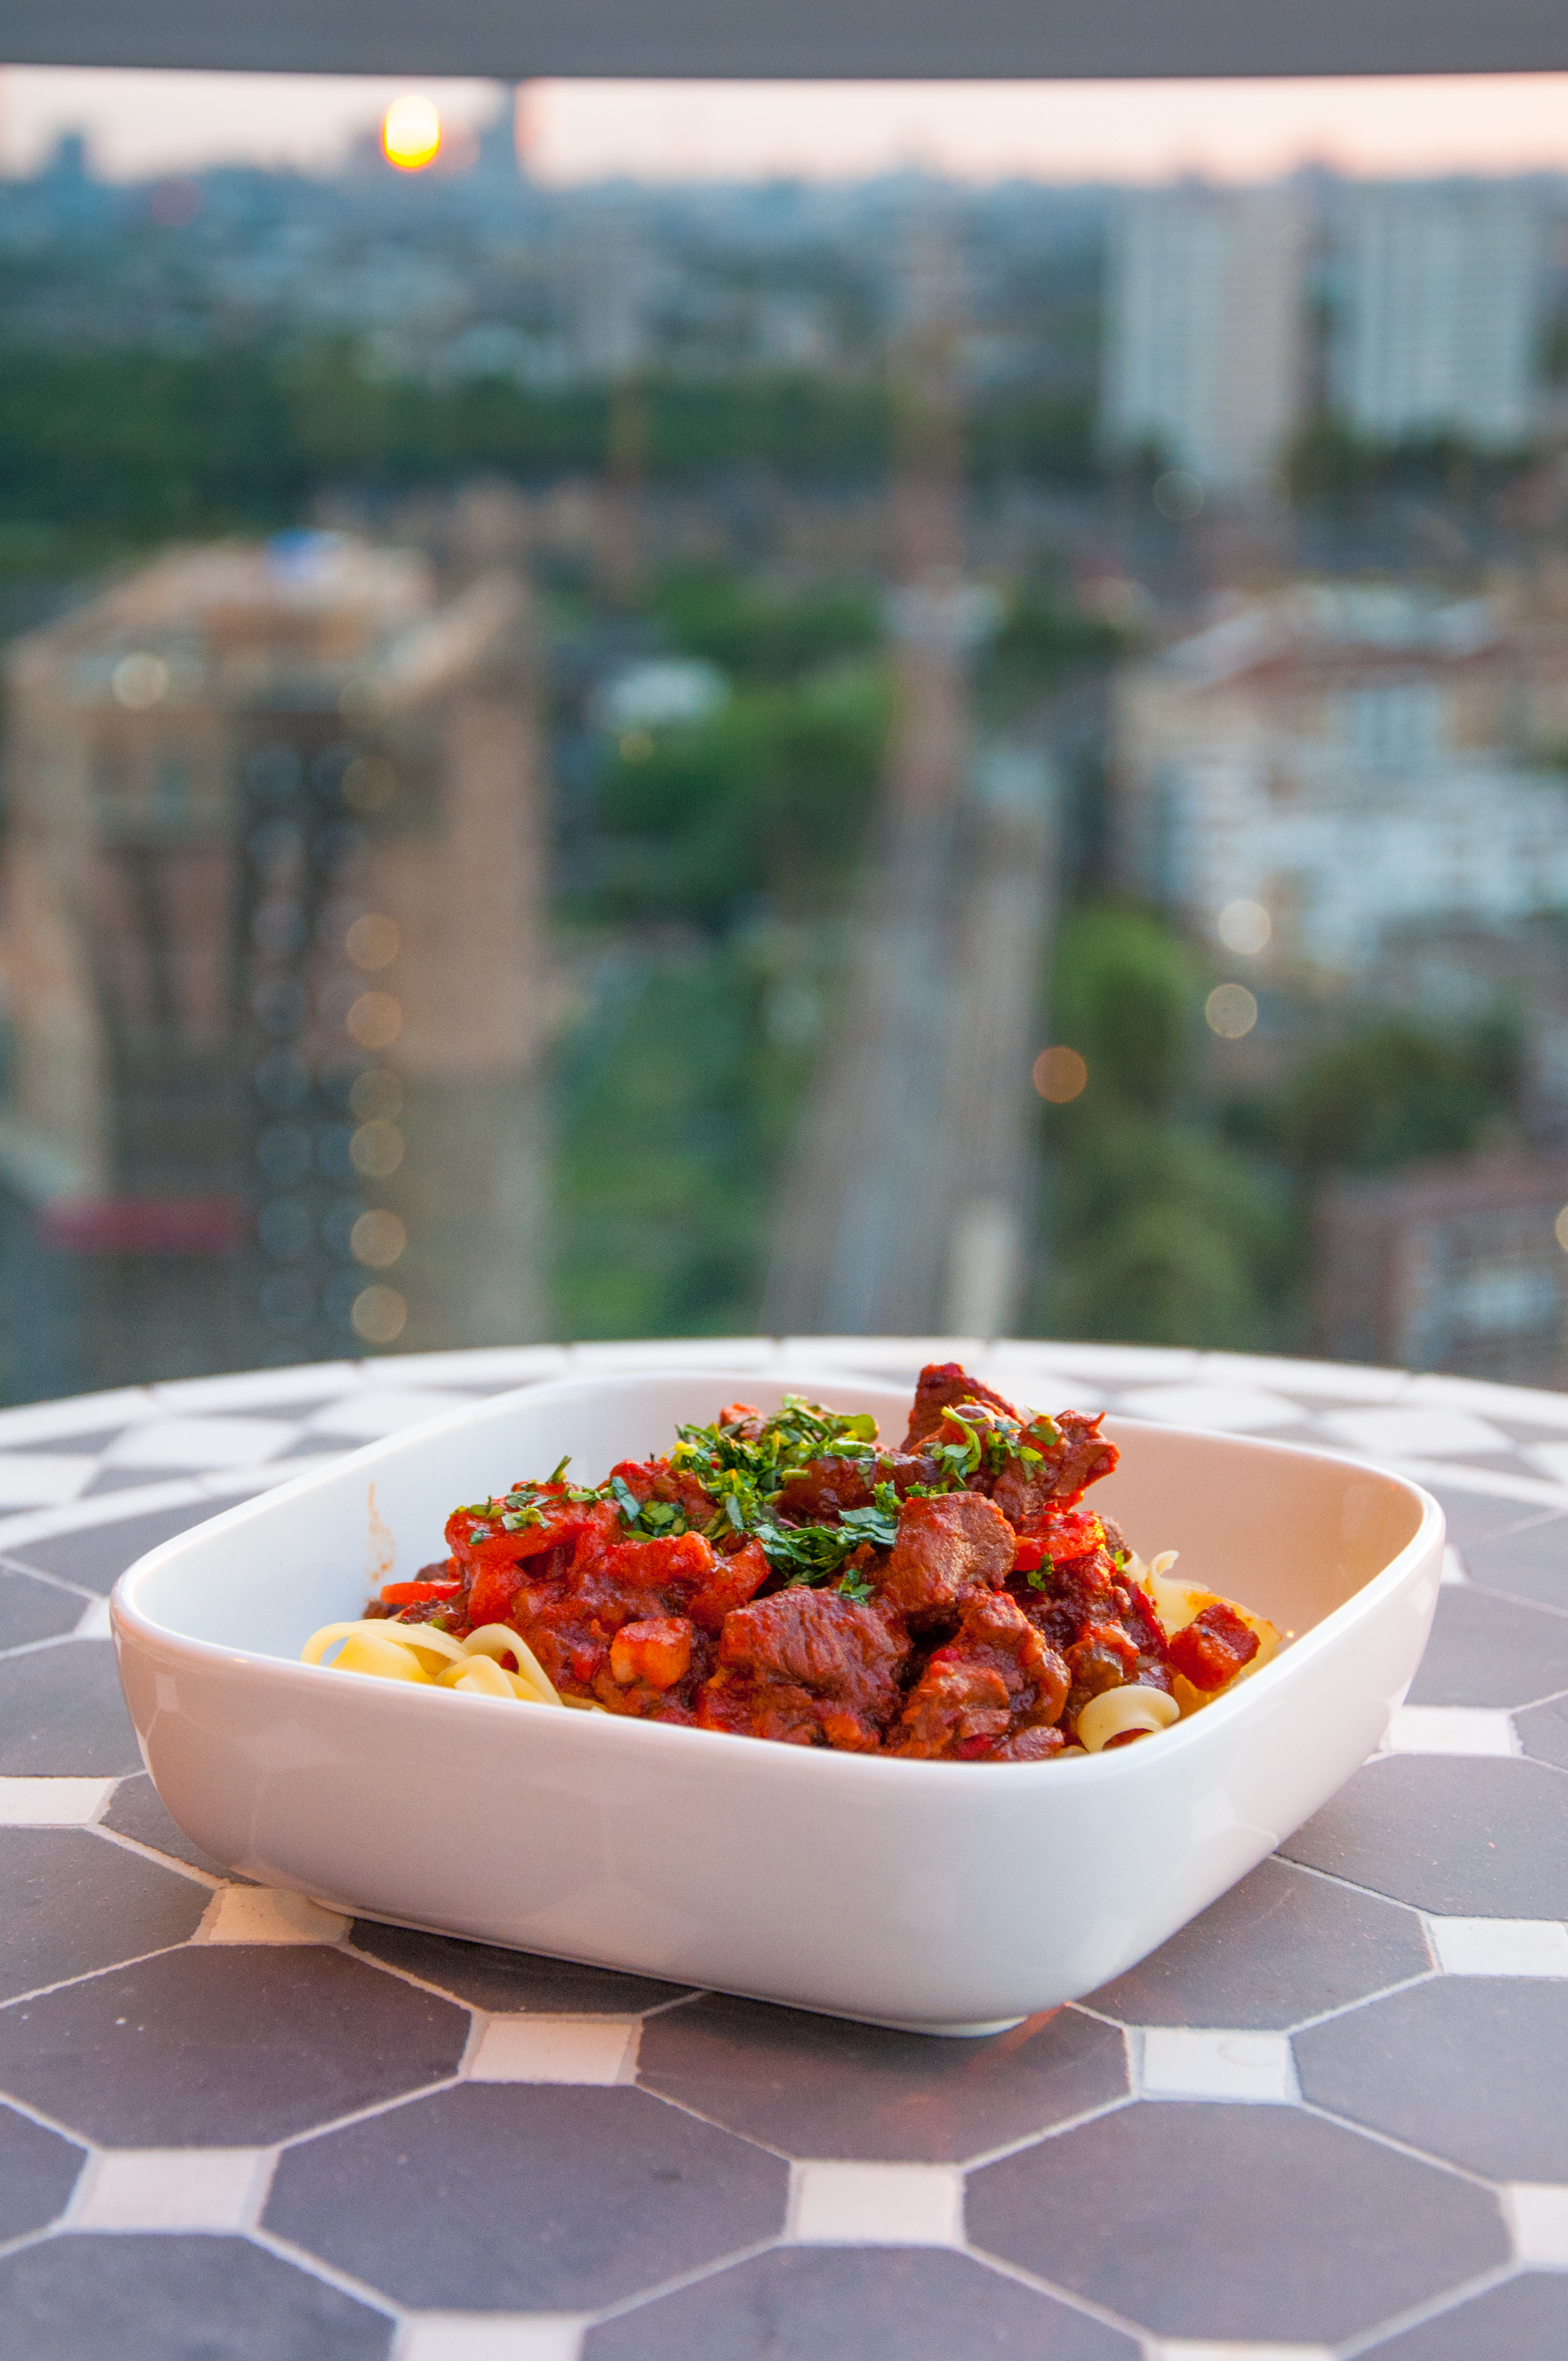
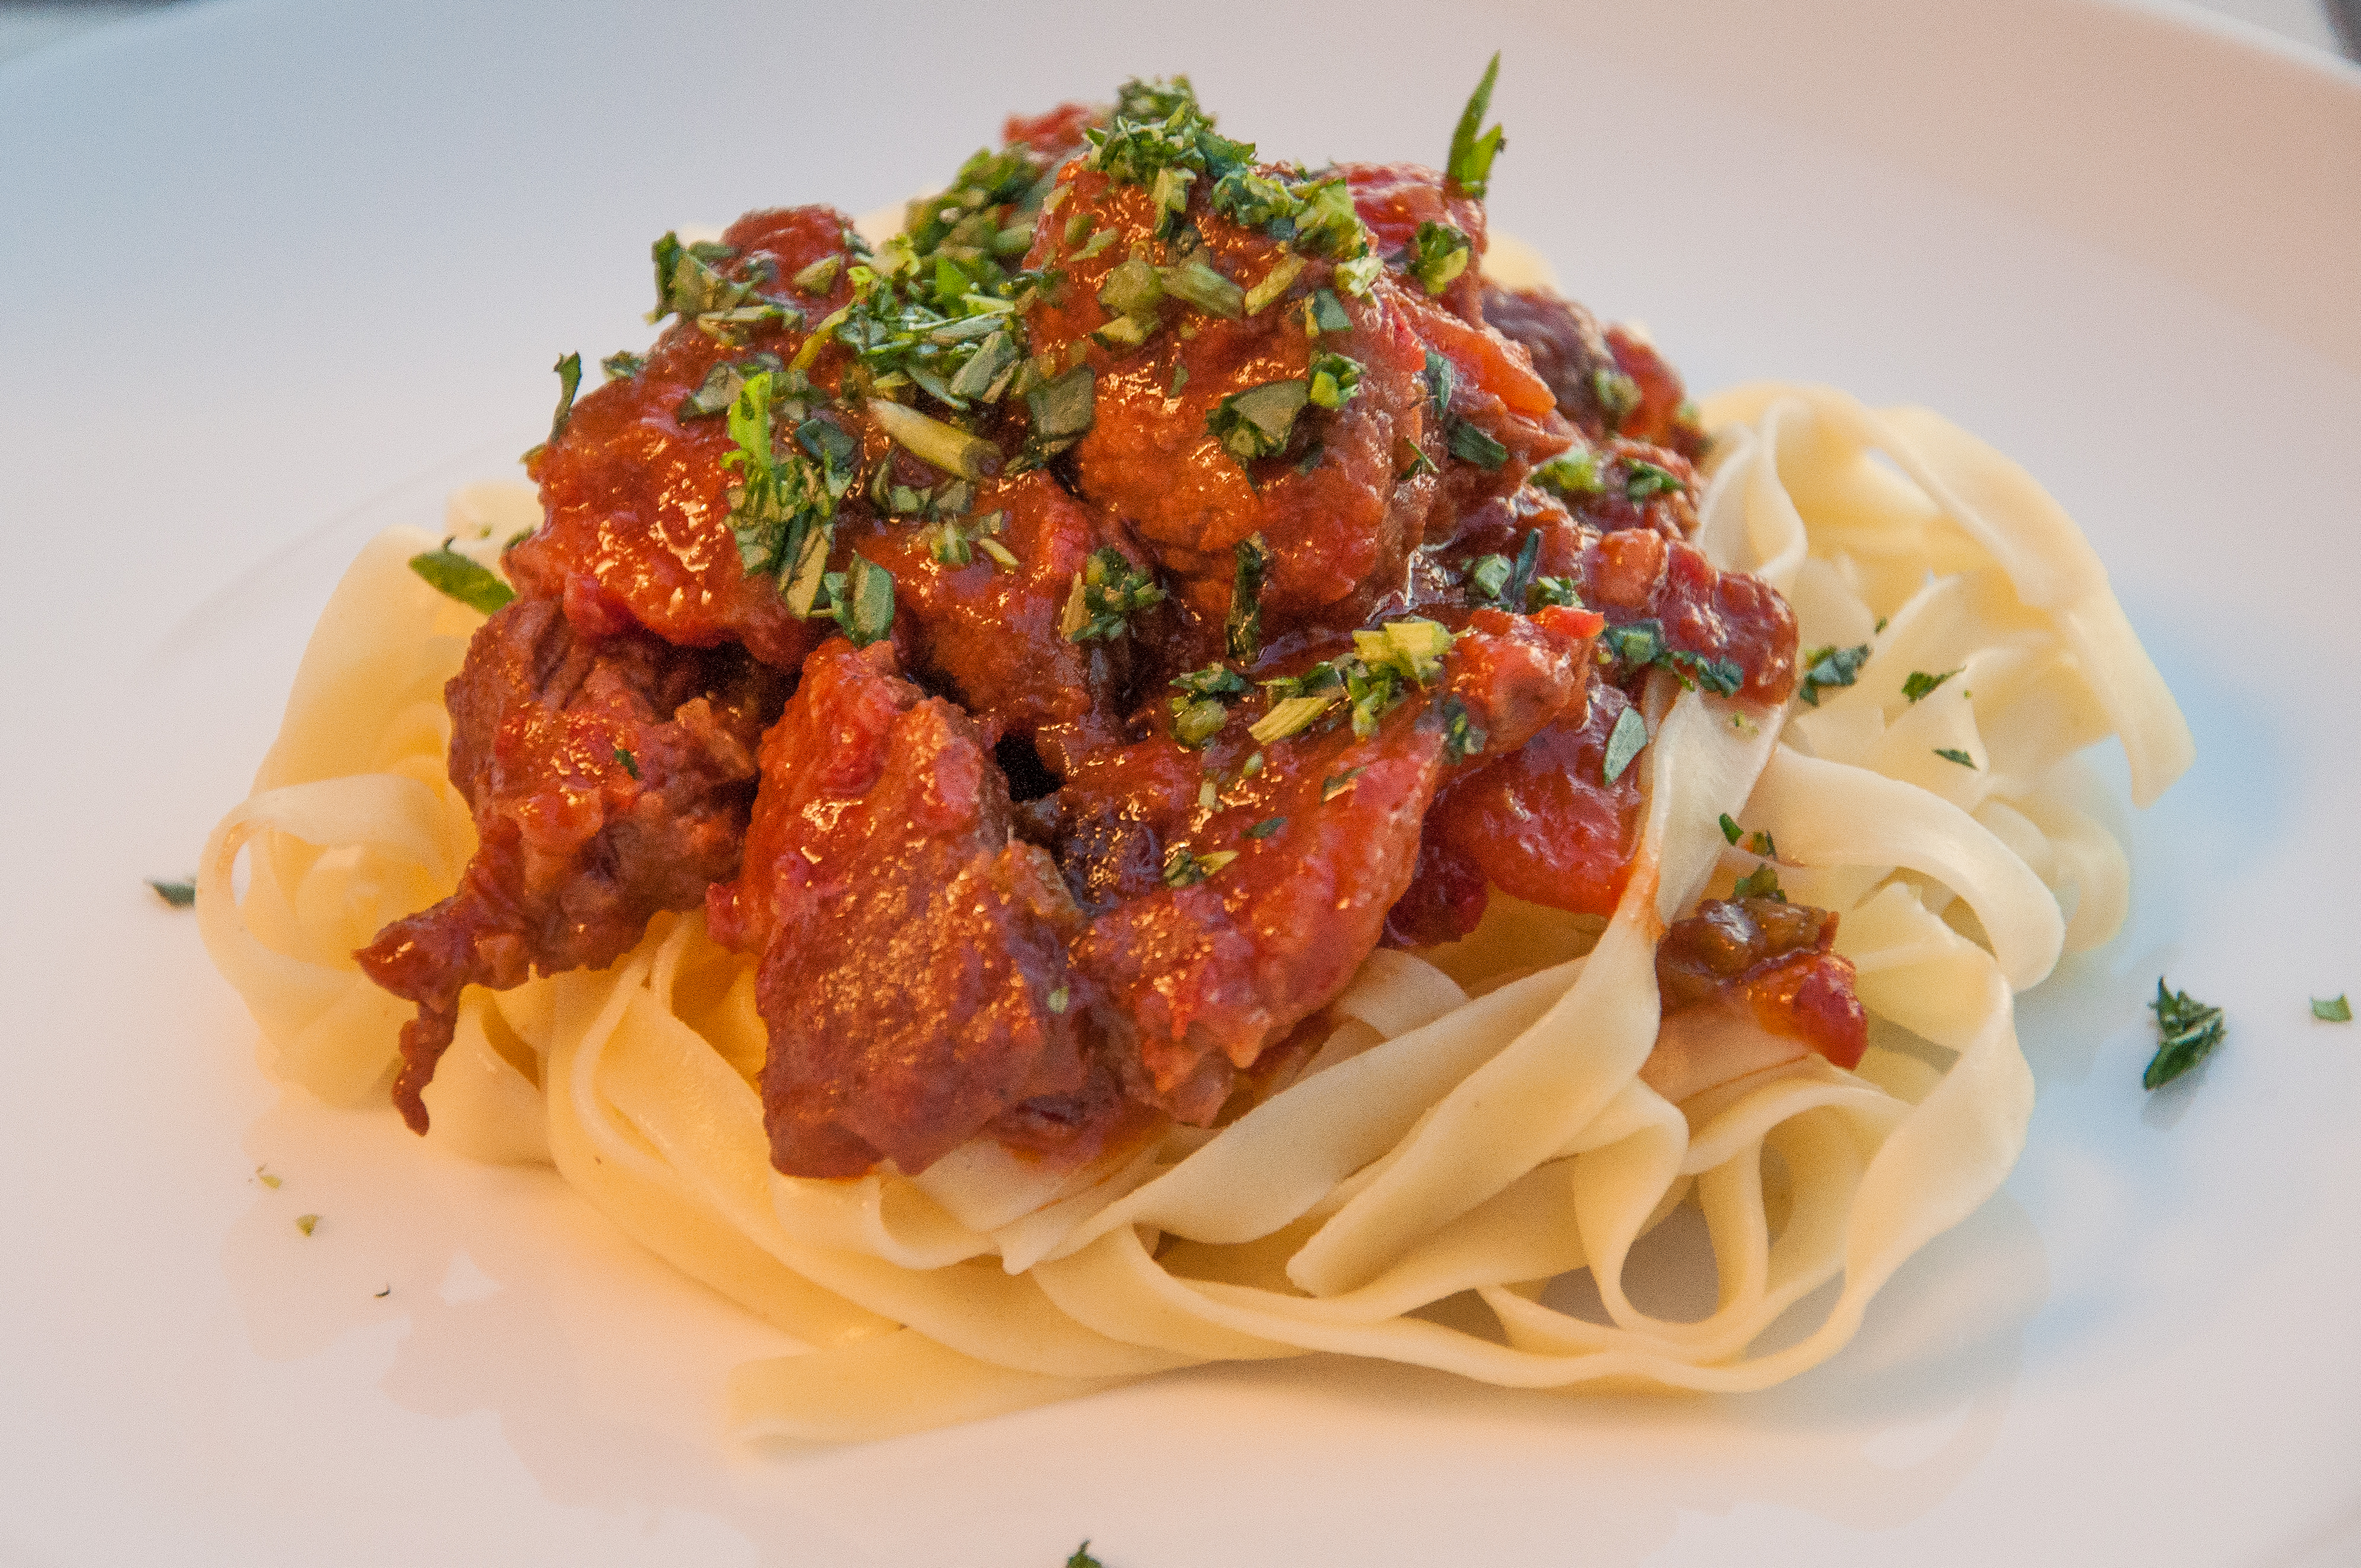
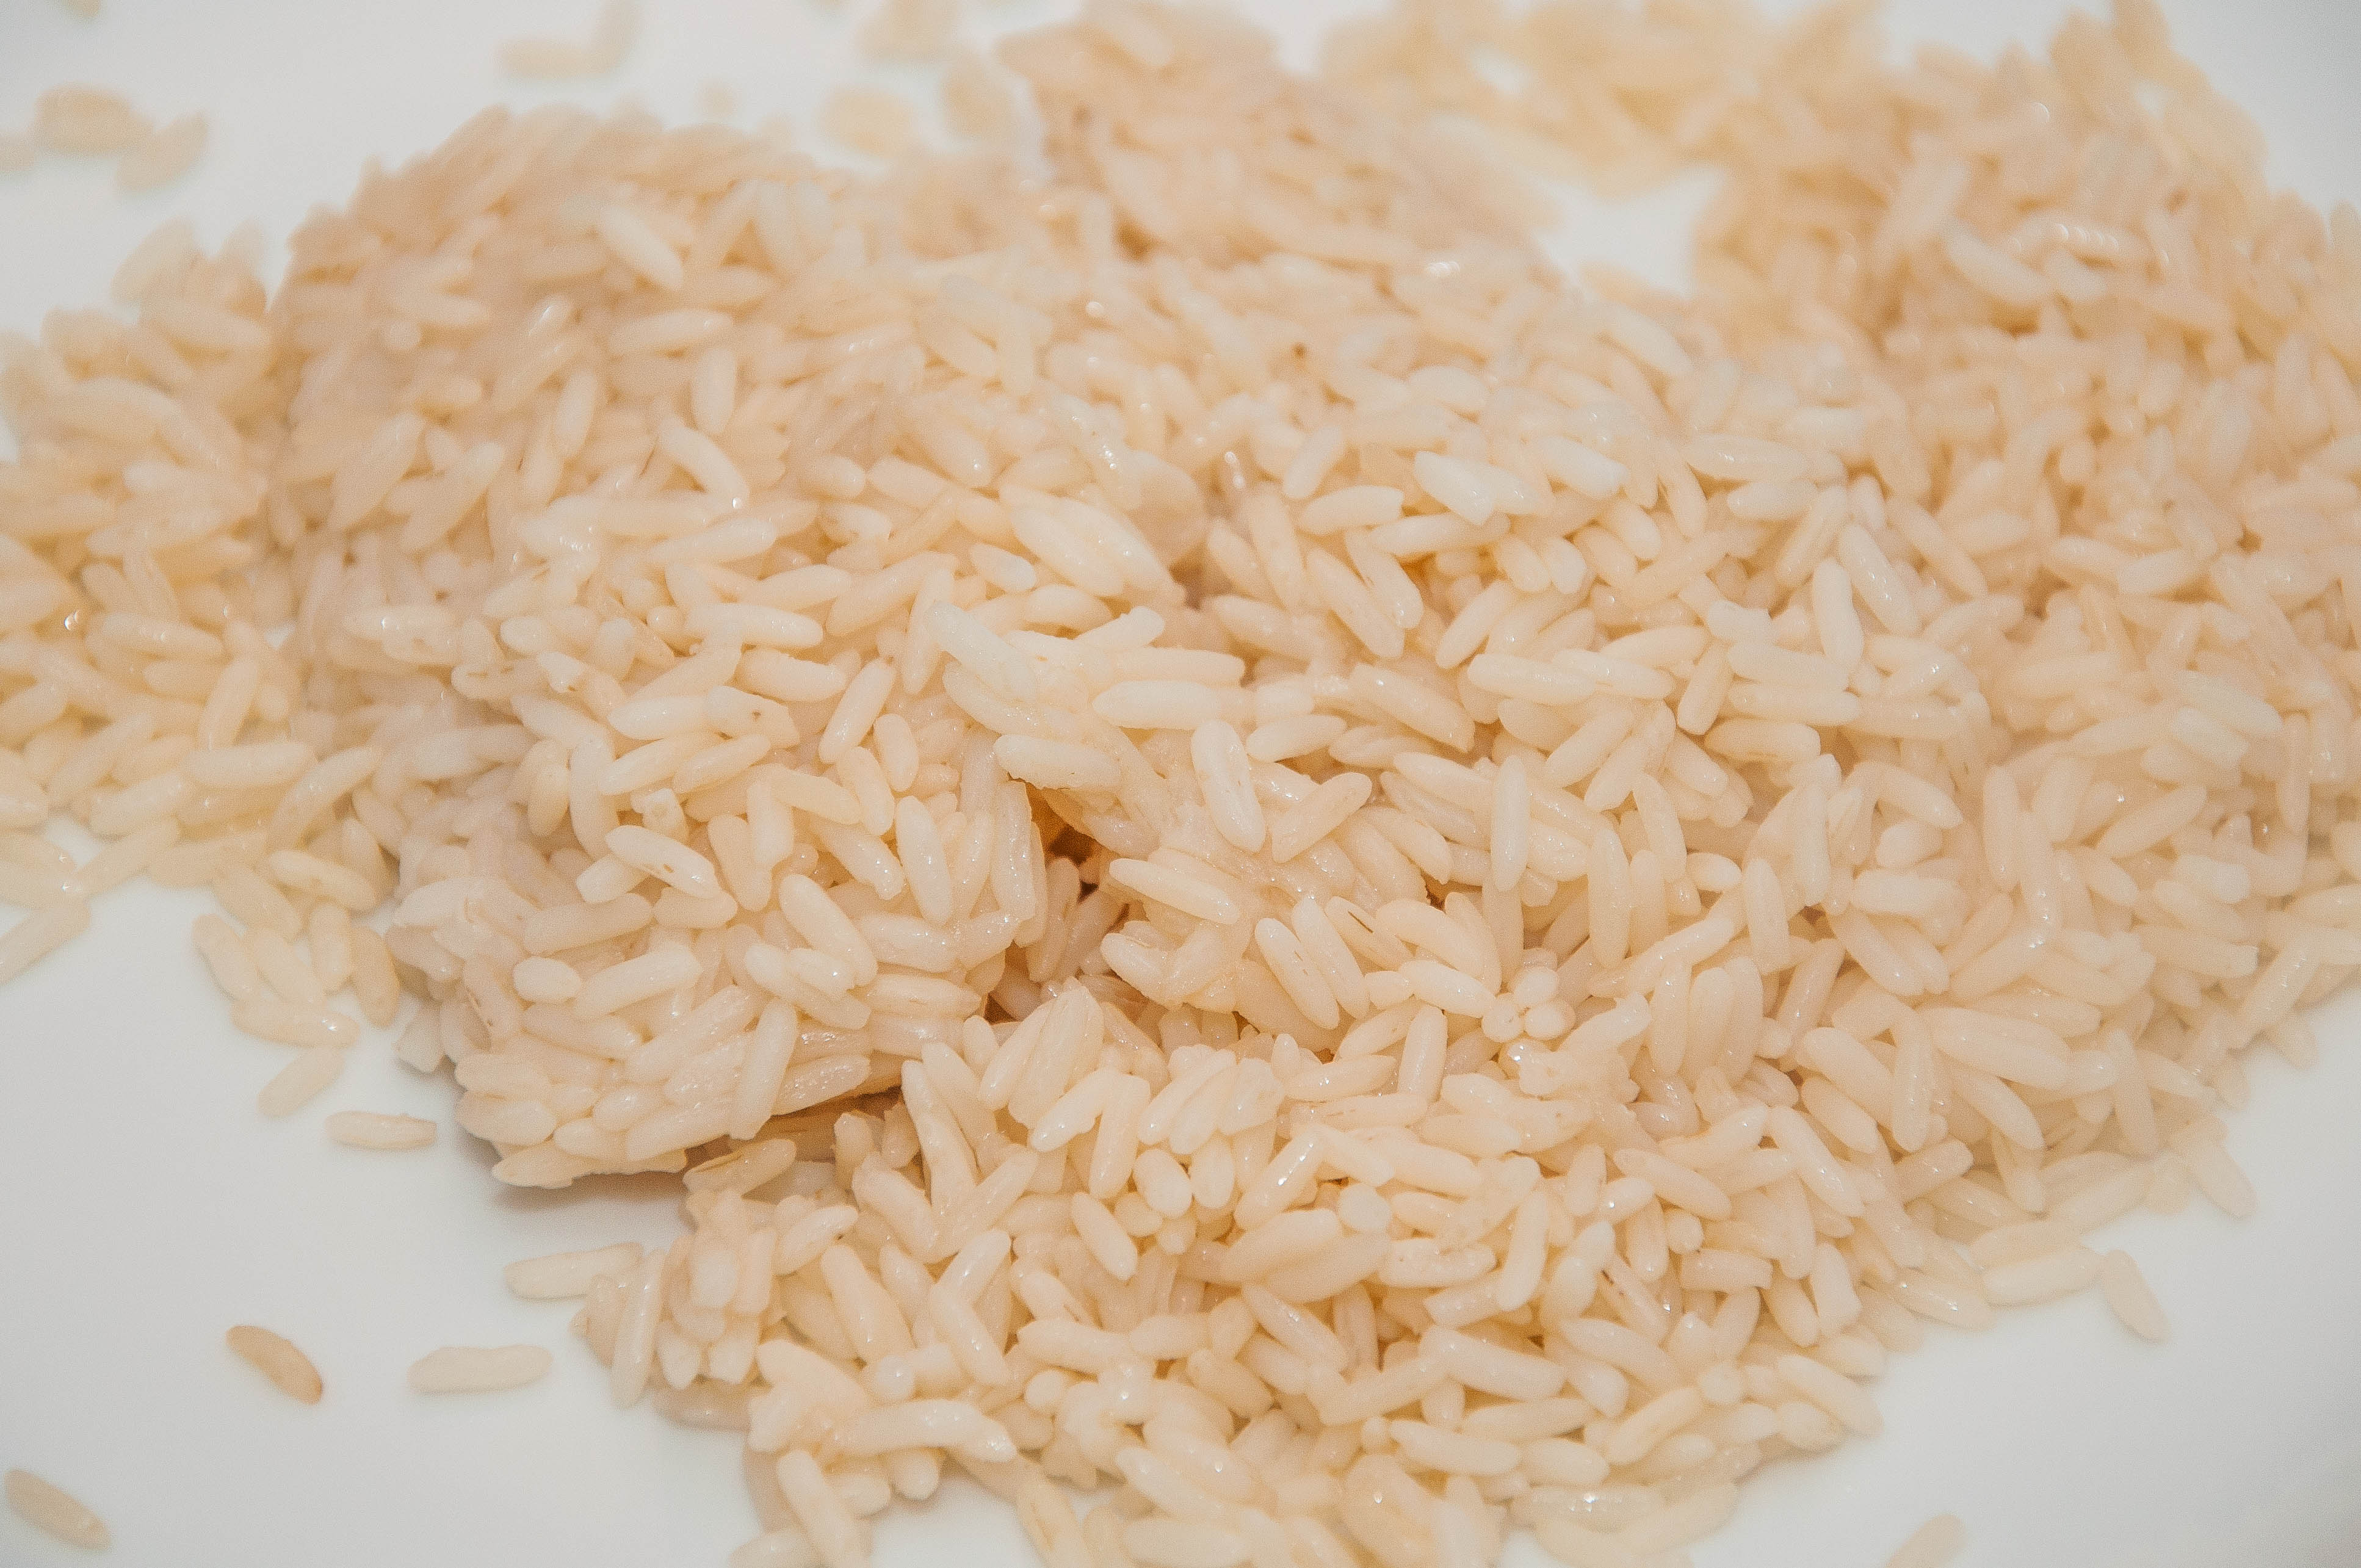
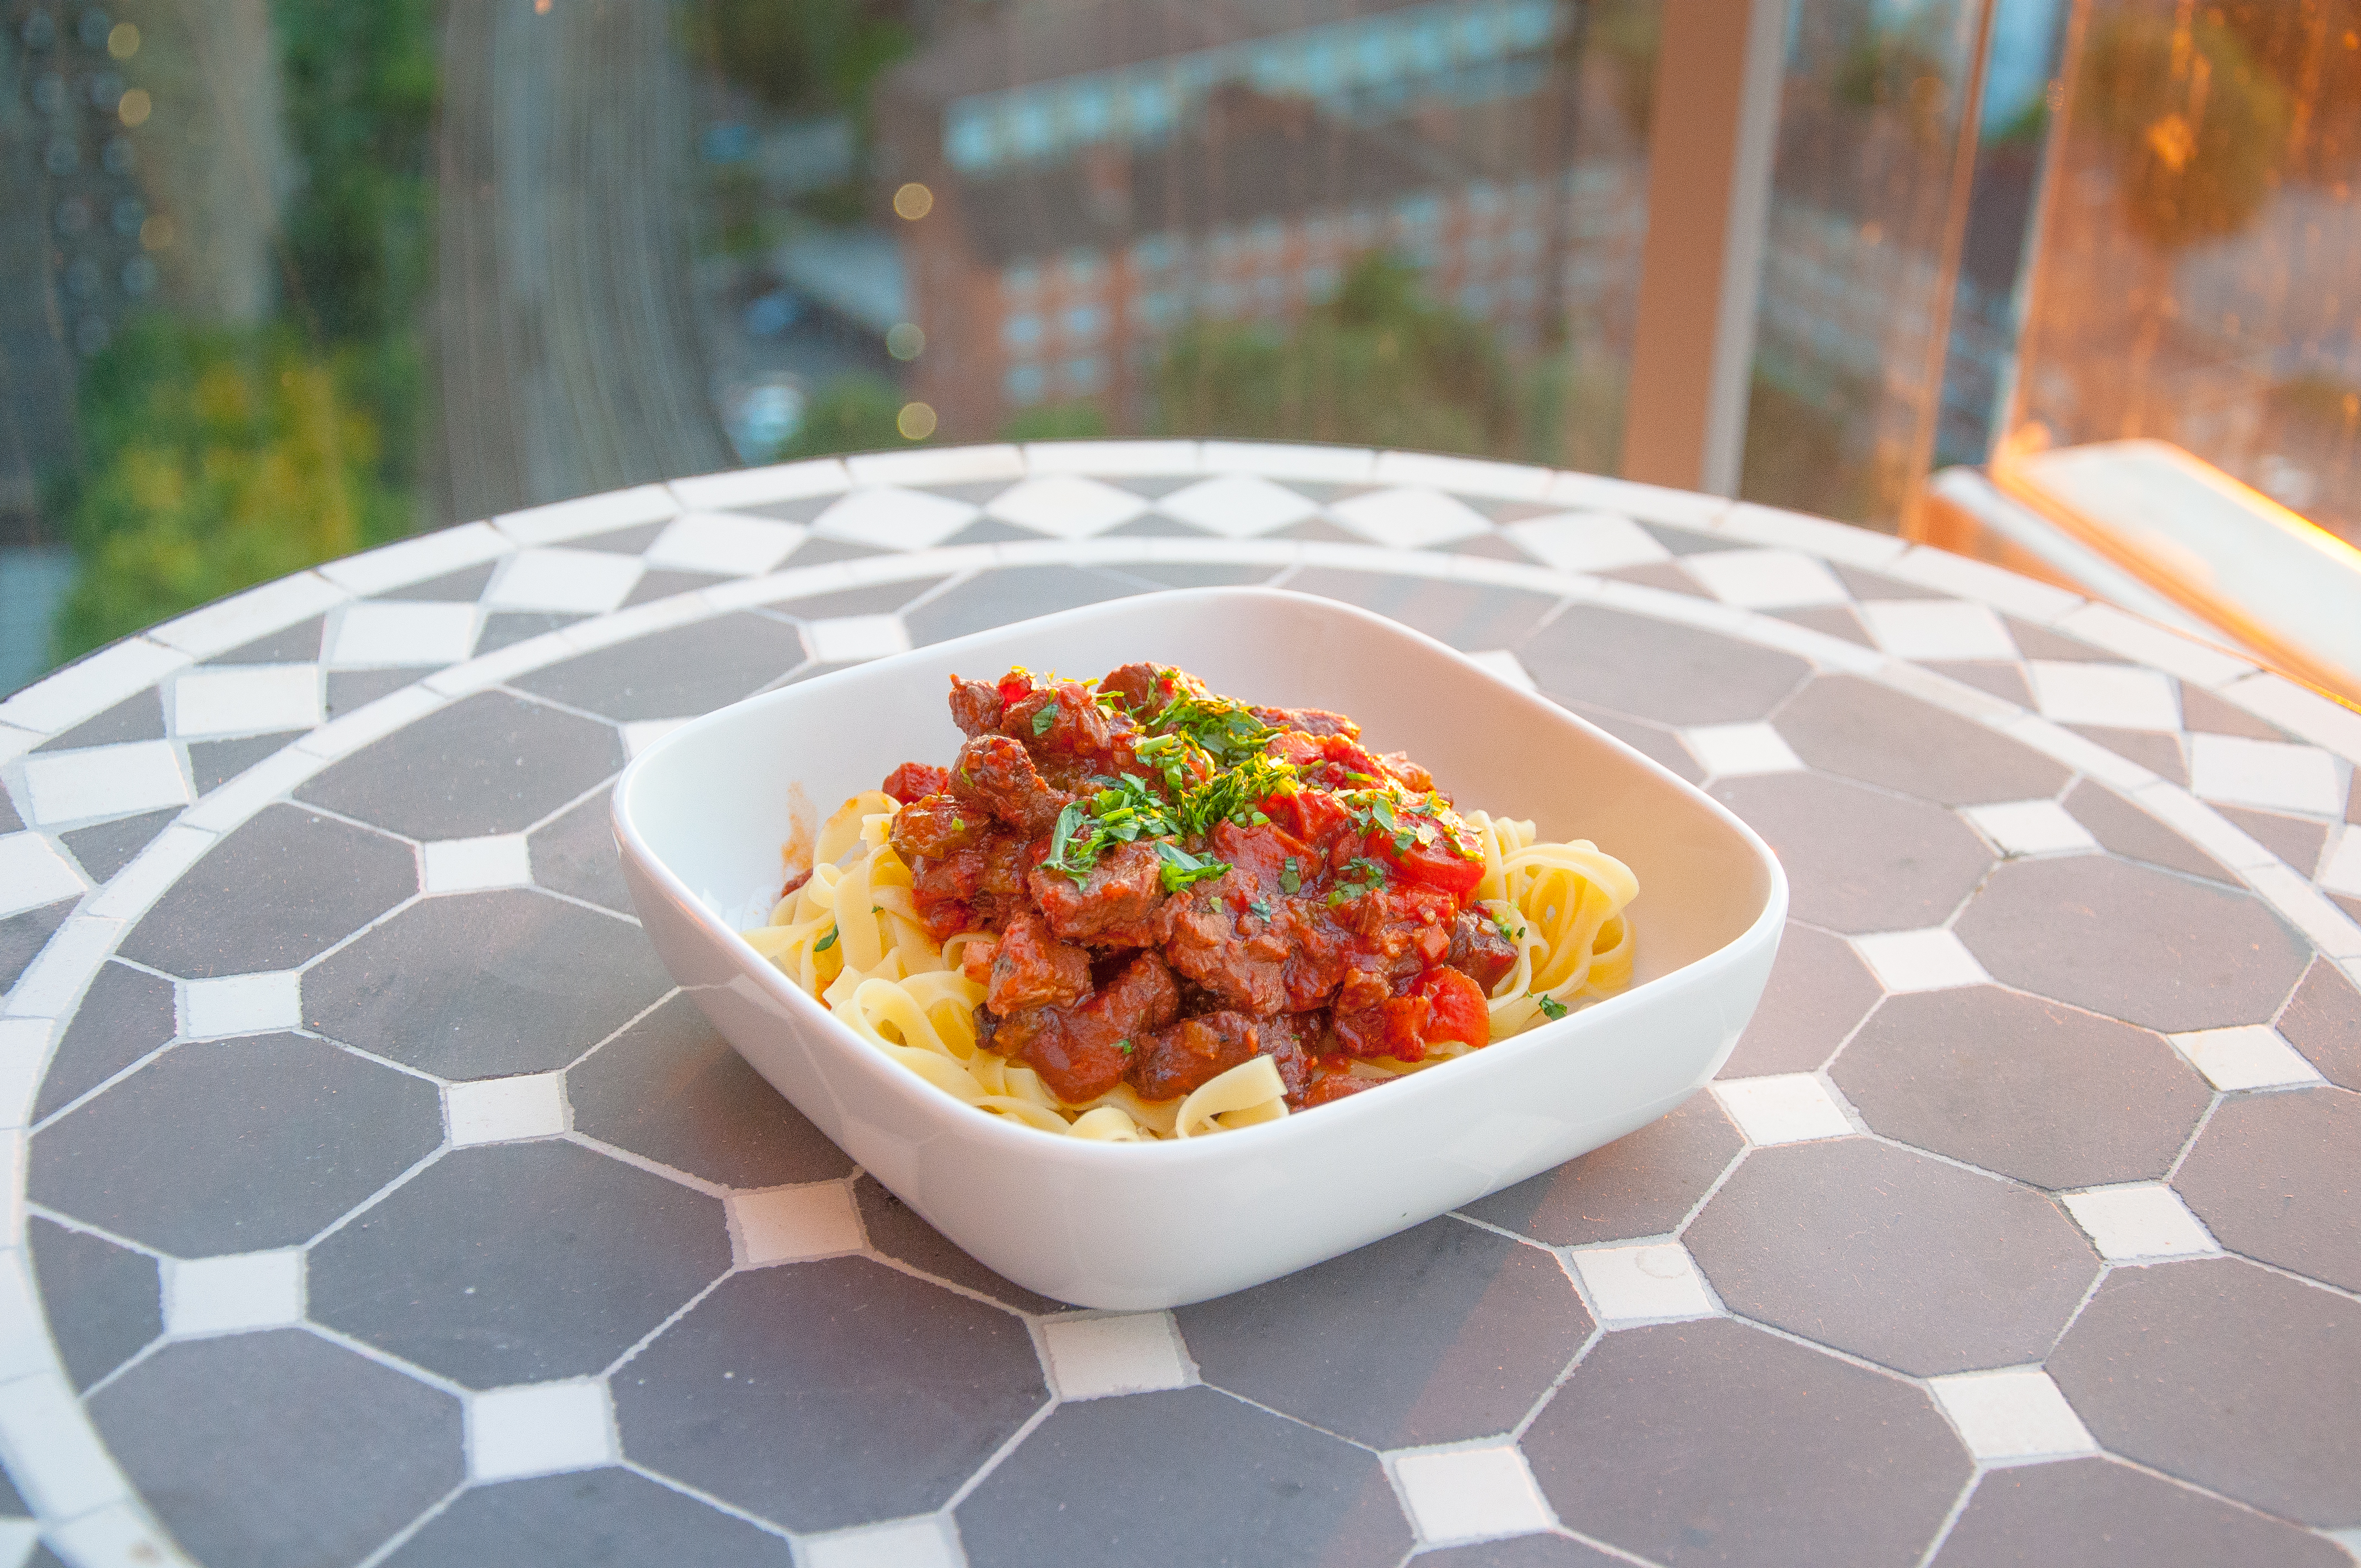
- To serve, place some fresh tagliatelle or pappardelle in a bowl and spoon over the ragù. Sprinkle over some chopped fresh tarragon.